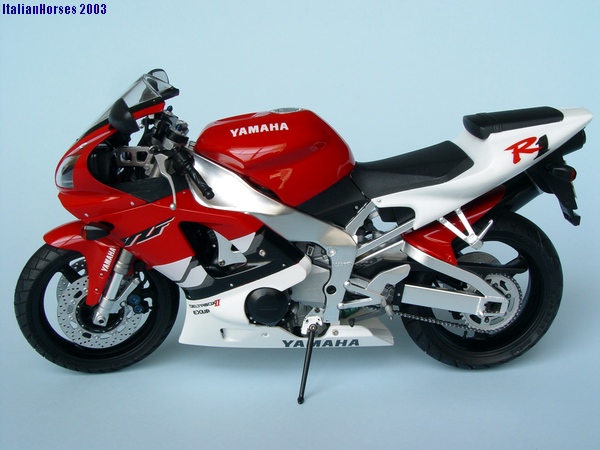
Yamaha YZF-R1
 |
 |
|
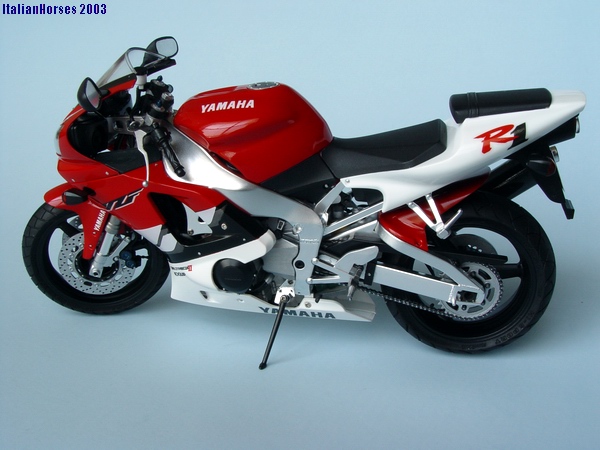
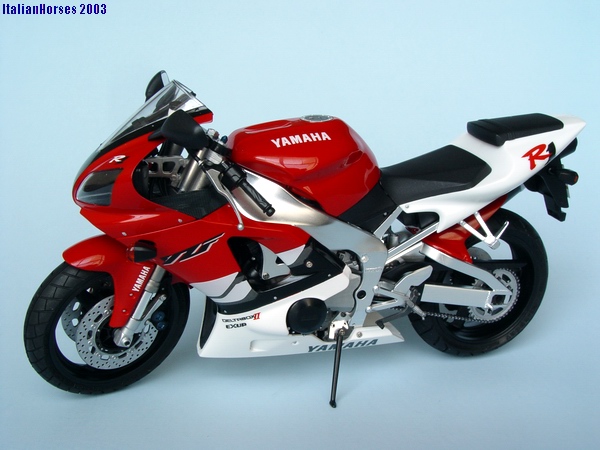
Kit: Tamiya 1/12 Yamaha YZF-R1 Kit # 14073
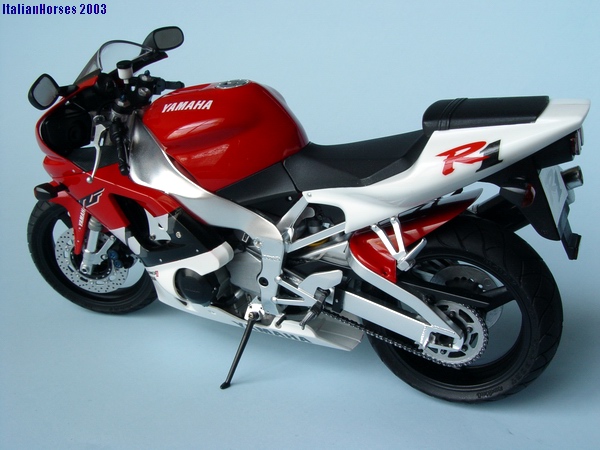
Pros: Traditional Tamiya quality. Very crisp details, excellent parts fit, good looking tires with authentic thread, very thin decals for 4 versions of the bike, compatible with setting solution (Microsol). Neatly plated frame. Great instruction sheet and correct color guide. Two kinds of vinyl piping provided, plus set of screws and tiny screwdriver. Since this kit is quite big, detailing should be very easy.
Cons: Brake rotors require drilling to look right, cowl fit is slightly off. Exhaust pipe need to be chrome-plated or painted with Alclad to look correct (its molded in gray plastic), front fork requires complicated masking to paint correctly.
Verdict: This is quite big kit, and even built straight from the box (like this one) it looks very good. With some additional detailing, this bike could be built into highly realistic replica of the real thing. Highly recommended to any builder.
|
 |
 |
|
|
 |
 |
|
|
 |
 |
|
Buildup
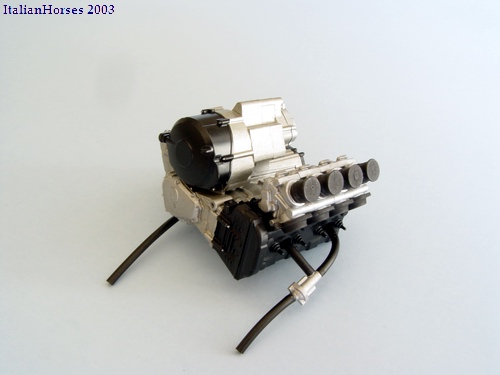 |
Since I decided to build this bike straight from the box, I assembled and painted the engine according to instructions. Colors indicated in Tamiya instructions are correct according to multiple pictures of the real bike that I found on the Internet. |
 |
Then I attached front fork to the frame, and glued the handles. All piping was also routed to where it should go. |
 |
Frame was carefully removed from the trees, and touched up with Testors aluminum metalizer. Mudguard and battery were painted flat black and installed on the frame. At this point I also added some other minor details to the frame. |
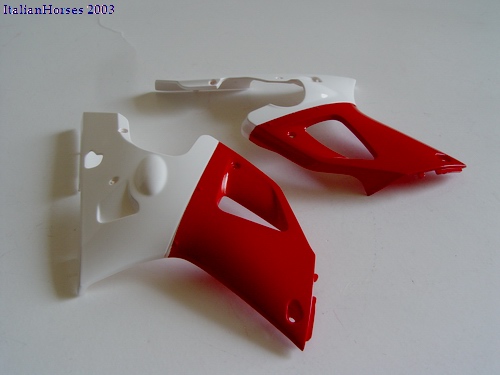 |
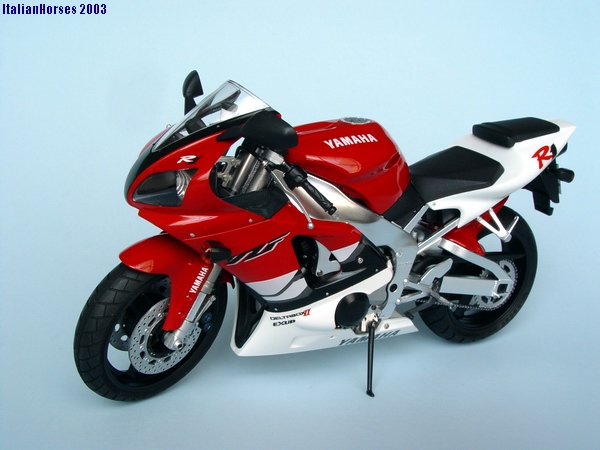
I decided to build 99' model bike in Bluish White Cocktail scheme. Cowl parts were primed with Tamiya white primer, and painted Tamiya Pure White. When white dried, I masked half of the cowl and painted the rest Tamiya Italian Red. |
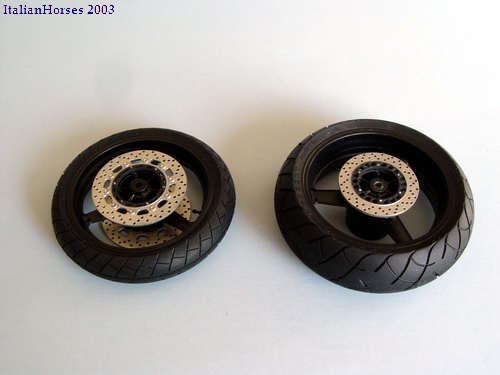 |
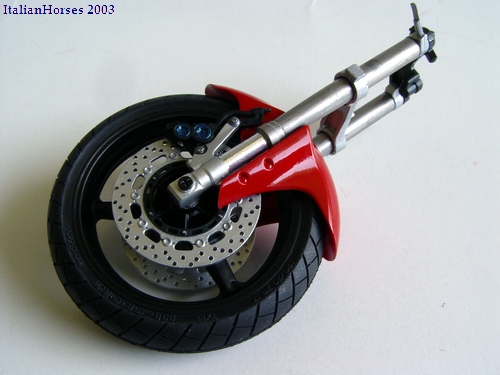
Wheels were painted semi-gloss black, fitted with tires and brakes. I drilled out the rotors and slightly scratched their surface to simulate the grooves left by the brake pads. |
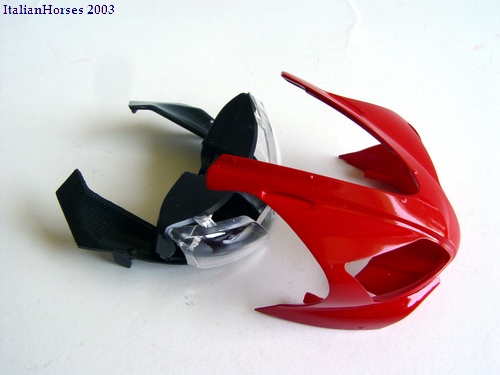 |
Upper part of the cowl was painted Italian Red. I also assembled headlights and armrests and decaled them with C/F. |
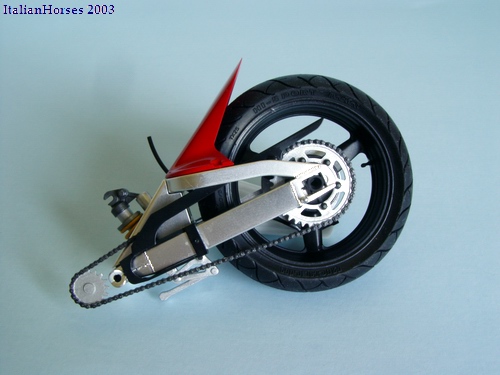 |
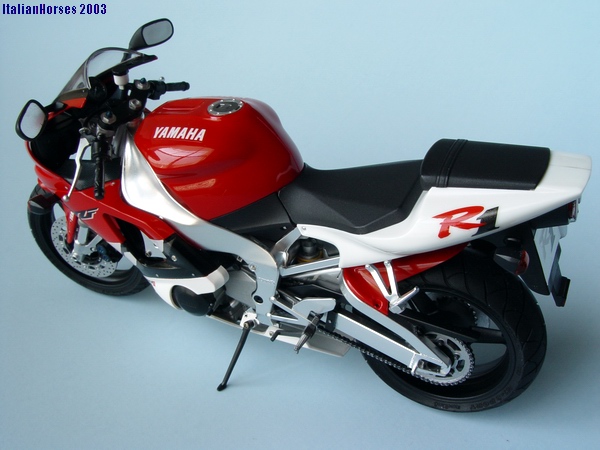
Rear swing-arm was also carefully cut off the tree and assembled. I painted the chain with Testors metalizers and slightly dry brushed it with mixture of aluminum and bronze to bring out molded-in details. |
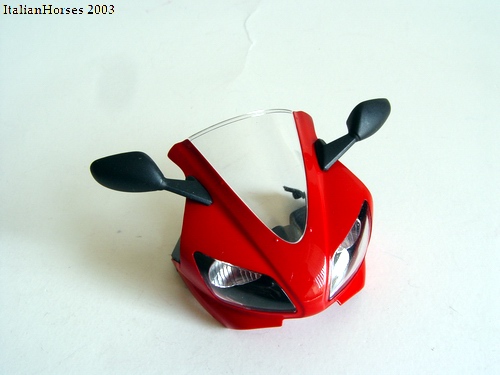 |
Then I attached side mirrors, windscreen and other small details inside the cowling. |
 |
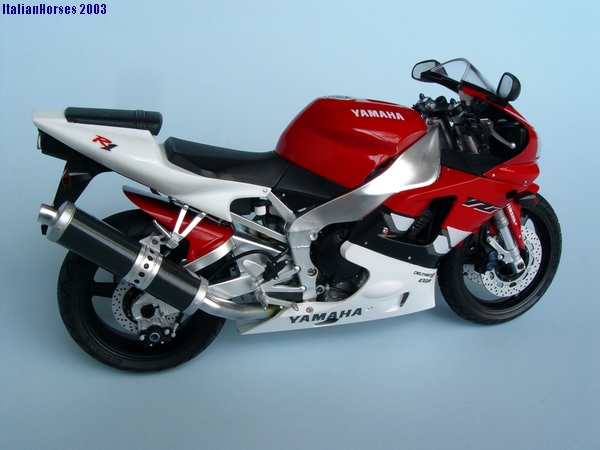
Upper parts of the front fork were sprayed with titanium-bronze metalizer, middle part wrapped in BMF, and lower part painted flat aluminum. Brake calipers were painted flat black. This is the most complicated (painting-wise) part of the kit. |
 |
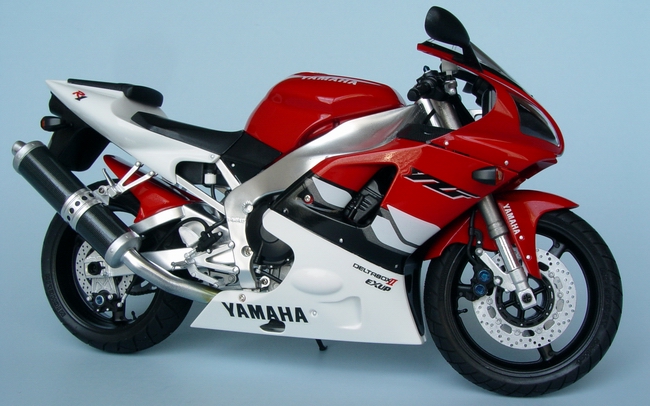
Gas tank was primed, then sprayed with gloss white. Then I masked the portion of the cowl that should remain white, and sprayed the gas tank itself Italian Red. |
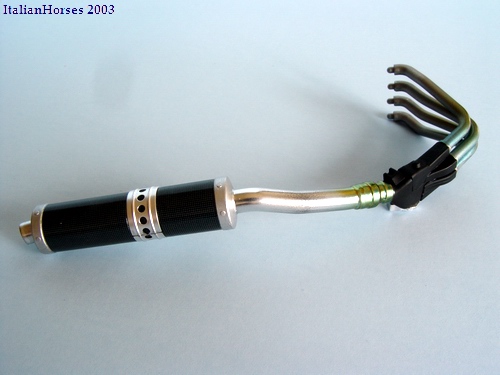 |
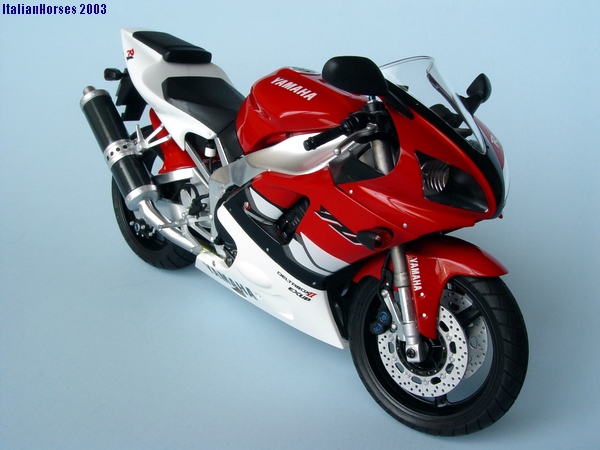
Exhaust pipe was sprayed with gloss black enamel and 4 exhaust manifolds with burnt-metal. After black paint has dried, I sprayed exhaust with Alclad II Chrome, and detailed it with C/F decals and blue and yellow transparent paints to simulate heat-stains. |
 |
After paint has completely dried, I polished it, and attached gas cap and seats previously painted satin black. |
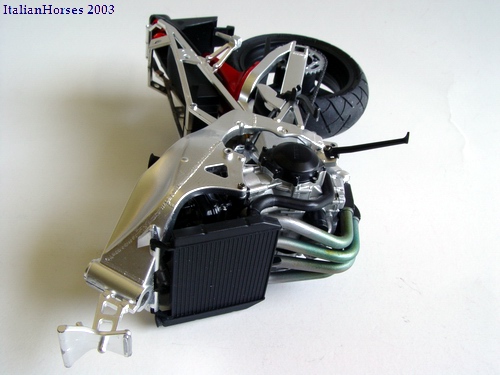 |
Then I installed the engine in the frame, attached the swing arm, exhaust pipe and the radiator assembly. Bike started to take shape. |
 |
Then I glued the gas tank/seats to the frame, as well as upper portion of the cowl. When everything was dry, I started applying decals. |
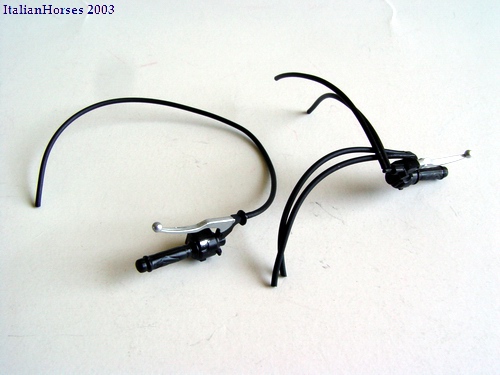 |
I cut thin vinyl piping and attached it to both handles previously painted satin black and detailed with aluminum metalizer. |
 |
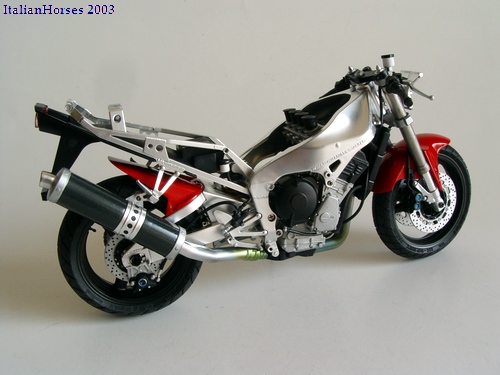
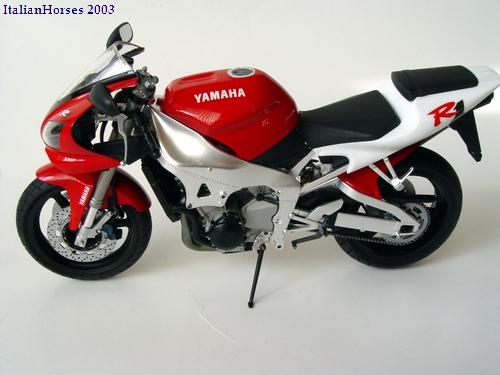
This is the final picture before cowl installation. Cowl fit was slightly off, but the fact that it screws to the body with tiny screws helps to align everything just right. |
Copyright 2003 Alex Kustov. No copying or reproduction in any shape or form without written permission of the author.