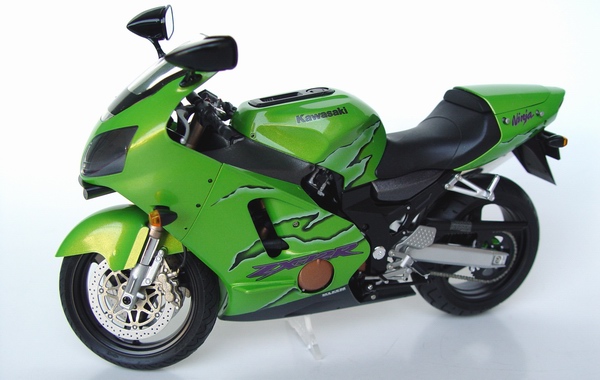
Kawasaki Ninja ZX 12R
 |
 |
 |
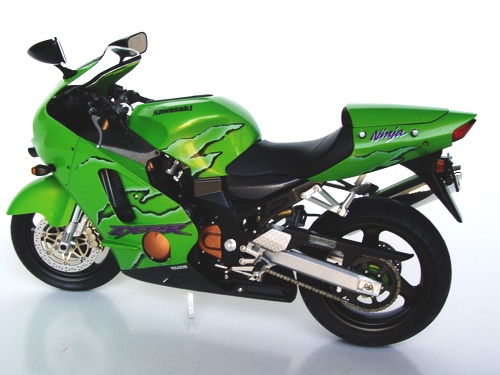
Kit: Tamiya Kawasaki Ninja ZX 12R Kit # 14084 Pros: Excellent parts fit, clean and crisply molded parts, great rubber tires with authentic thread, detailed engine and frame, thin and perfectly registered decals (respond well to Microsol), red and amber clear parts for taillight and turn signals, clear instructions and correct color guide. Almost perfect - traditional modern Tamiya bike kit. Cons: Not a lot, but still some: rear cowl is molded in two pieces, hard to glue together and attach to the frame without breaking in half again. Piping lengths sometimes incorrect in the instructions, measure before cutting. Verdict: As usual, Tamiya bike kits are a joy to build. Everything fits really well, and yields an exceptional result. Even built straight from the box, the bike looks extremely realistic. Highly recommended to all modelers. |
 |
 |
 |
|
 |
 |
 |
Buildup
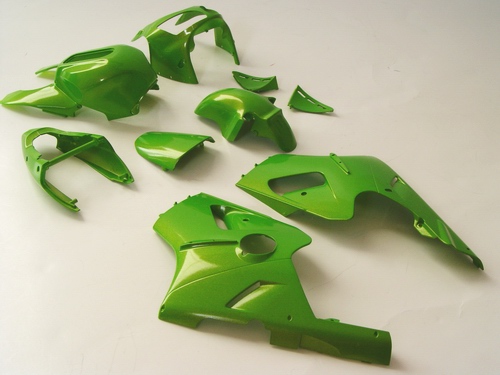 |
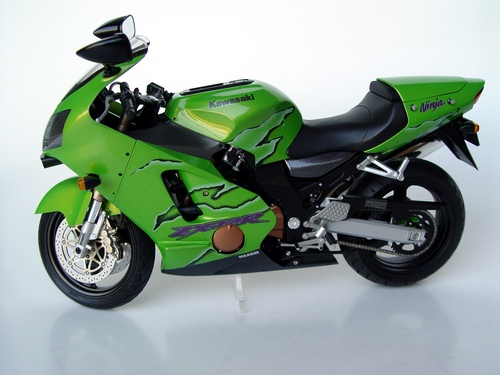
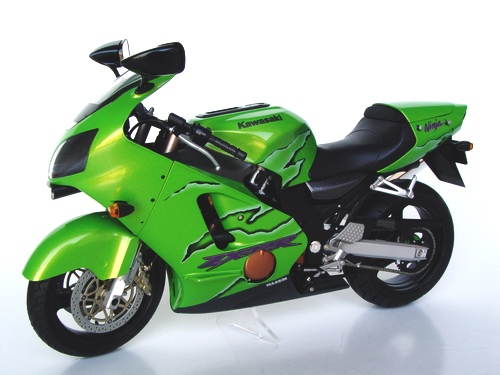
All body parts were cleaned, primed, and sprayed with Tamiya TS-52 Candy Lime Green. After two coats, the color depth was really nice, so after drying, I sprayed 3 thin coats of Tamiya clear. |
 |
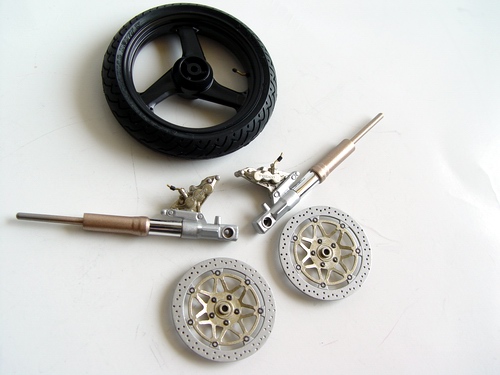
Rear brake rotor was drilled out, and painted with Tamiya gray metallic. |
 |
Few complex parts, such as frame, engine block, air intake, etc, were assembled and then painted with different brands of black, flat black, and semi-gloss black. |
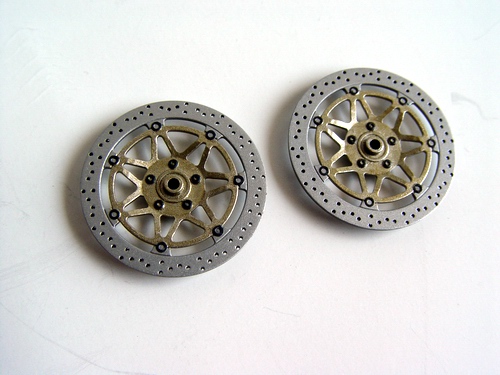 |
Front brake rotors were also carefully drilled out, and painted with various metallic paints. Rivets were picked out in black. |
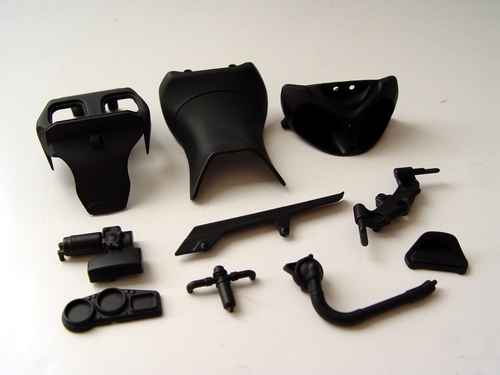 |
I cleaned and sorted most of the parts in groups (by color) and then started painting in batches. This is the "flat black" batch. |
 |
Front fork parts were detailed with metallic paints and chrome parts were simulated with sticky foil provided in the kit (used also for the mirrors and light reflectors). It looks very realistic when applied to a smooth surface! |
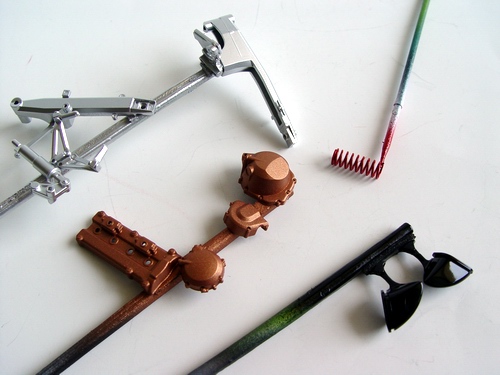 |
Various parts were cleaned, primed, and then mounted on wooden skewers by color, then sprayed. |
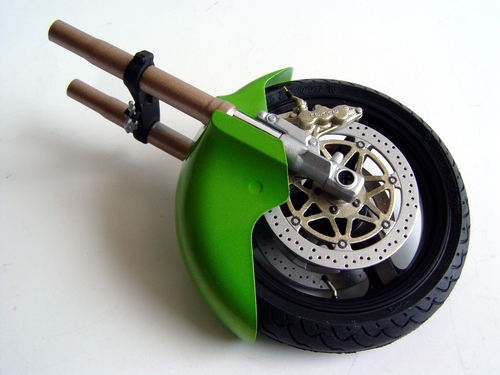 |
This is the picture of completed front fork. Brake valves that broke off during assembly were replaced with bronze wire. |
 |
I painted almost all parts in the kit before even attempting assembly. Parts that required more than one color were detail-painted later. |
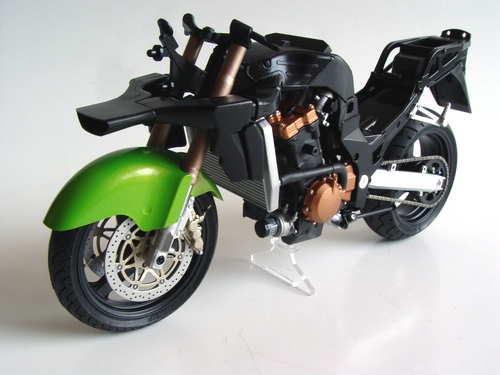 |
Fork was fitted to the frame, as well as the rear swing-arm. I also added radiator, rear inner fender, and few other small details. |
 |
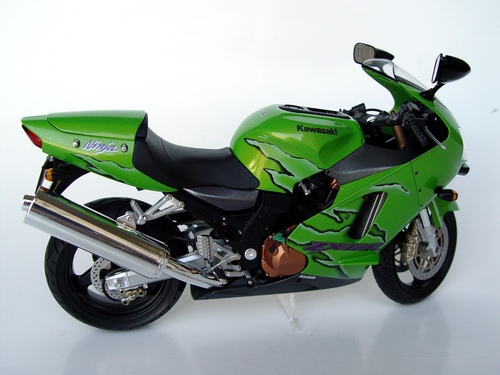
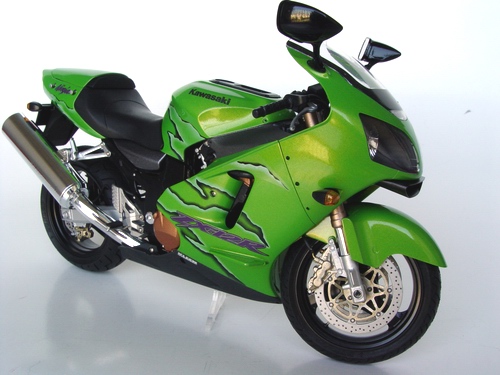
Exhaust manifolds were painted with light bronze, then "heat-stained" with transparent Tamiya paints - blue, yellow and red. |
 |
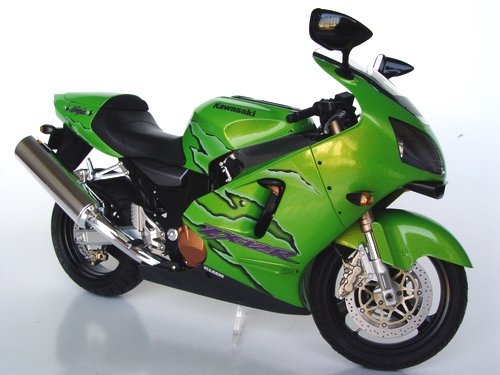
Body parts were polished, and decaled. Decals respond very well to Microsol, and are beautifully registered. Lower parts of the cowling were painted with mixture of black, silver, and dark blue. |
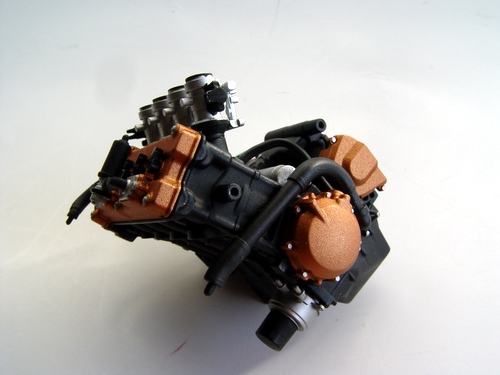 |
Block and gearbox covers were added to the engine, as well as injectors, oil filter, hoses, and few other small details. |
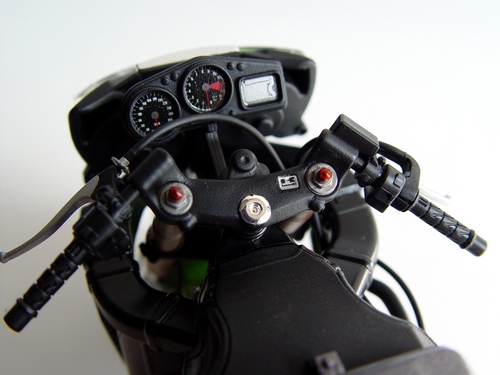 |
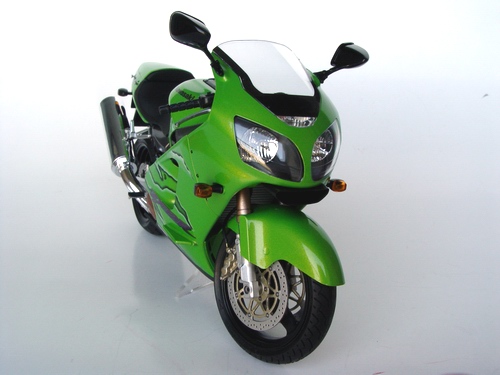
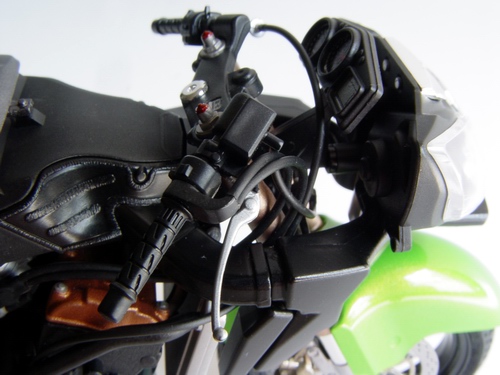
Then I added instrument cluster, headlight assembly, handles, and few other small parts. |
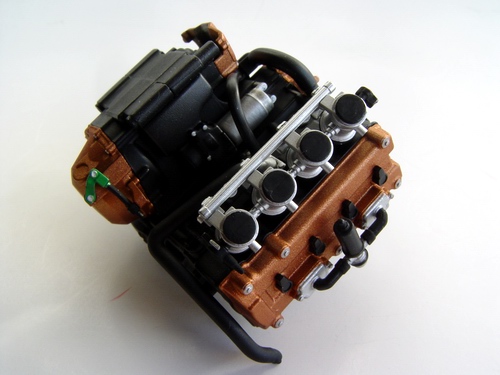 |
I used hoses supplied in the kit, although they must be a little thinner to be entirely correct. They fit nicely to the "pins" and simplify assembly. |
 |
All the wiring was done using kit-supplied piping. Again, it is too thick, but very easy and convenient to use. |
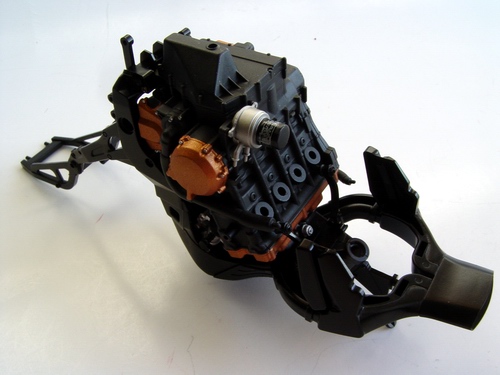 |
Air intake was glued to the frame and then the frame was fitted with completed engine. Engine was secured by two long screws. |
 |
Muffler was assembled, glued to the exhaust manifolds and then to the engine. I also added taillight, gas tank, shifter, handles and levers. |
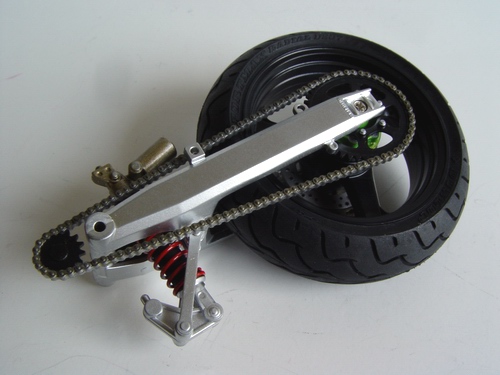 |
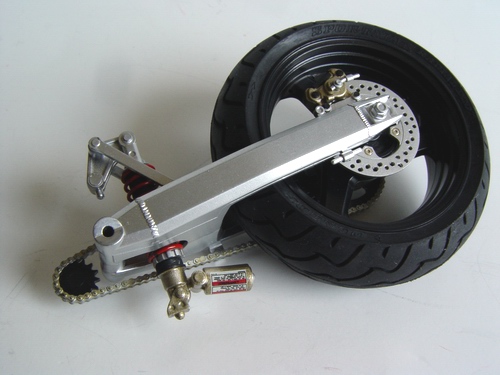
Both front and rear wheels were fitted with tires. Rear swing-arm was assembled together with shock absorber unit and chain/sprocket combo, then painted and detailed with metallic paints. Rear wheel was installed and secured by the screw. |
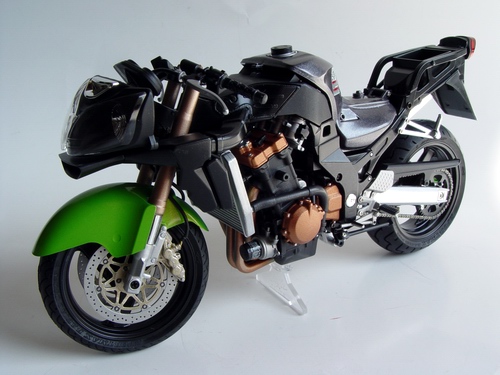 |
Completed motorcycle before attaching the cowling, Finally I added turn signals, side mirrors, and the seat. Few small decals here and there completed the model. |
Copyright 2004 Alex Kustov. No copying or reproduction in any shape or form without written permission of the author.