F e r r a r i 348ts
 |
 |
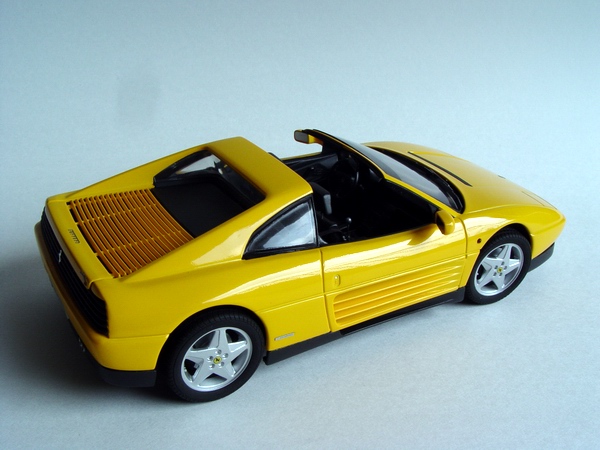 |
Kit: Hasegawa Ferrari 348ts kit #CA008 Pros: Kit is molded in white plastic which makes it so much easier to paint red or yellow. Kit has a very detailed engine, nice wheels, and excellent PE parts. Even PE hood screens and various mesh material included. Instruction sheet is very clear and provides relatively correct color guide. Very realistic and easy to assemble suspension and separate door air intakes. Kit has all correct PE badges and scripts. Cons: Some fit problems, especially with rear wheel arches, they just do not fit, and require lot of trimming to sit correctly. Molding quality of interior is on the soft side, but still have good details. Brittle plastic, and many pin marks that require some filling and sanding. Chrome parts were a little dull and scratched in my kit. Verdict: Kit has good interior detail, which is important since it is a targa model. Would be a good project for a seasoned modeler. |
 |
 |
 |
|
 |
 |
 |
Buildup
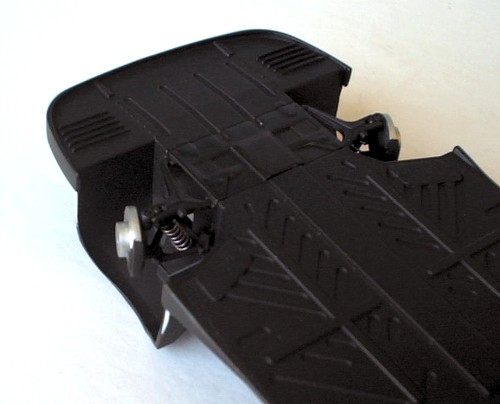 |
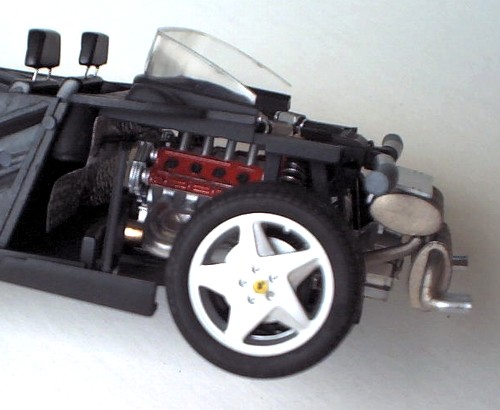
This picture shows assembled front suspension. I scratch built coil springs for both front and rear shocks. They look much more realistic when made from real metal. Steering rack and links are yet to be installed. |
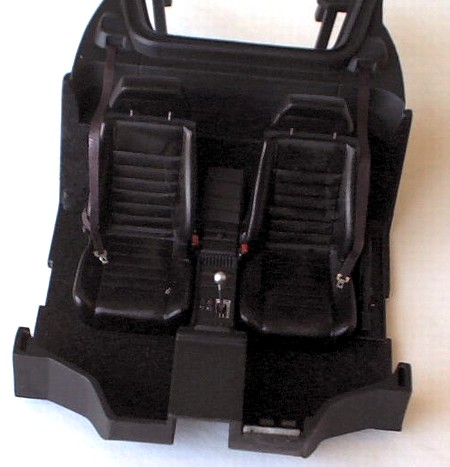 |
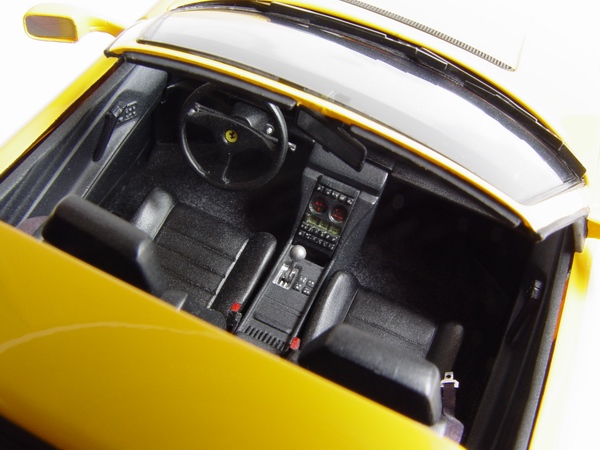
This is the picture of almost complete interior. I replaced headrests' plastic rods with metal rods, and positioned them on different heights. Entire interior was flocked (hardly noticeable in this photo). Shifter was replaced by modified bobby pin, plus I scratchbuilt seatbelts with buckles and their catches. |
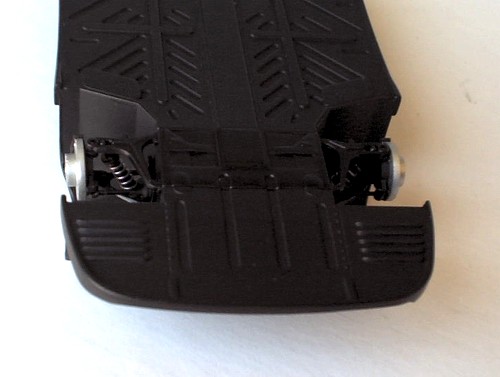 |
Another shot of front suspension. You can clearly see the springs on the shock absorber here. It took me a while to remove the old (molded) spring details without breaking the tiny parts! Steering links installed. |
 |
In this picture you could see some details added to handbrake. It is also clear how seatbelts attach to the seats. |
 |
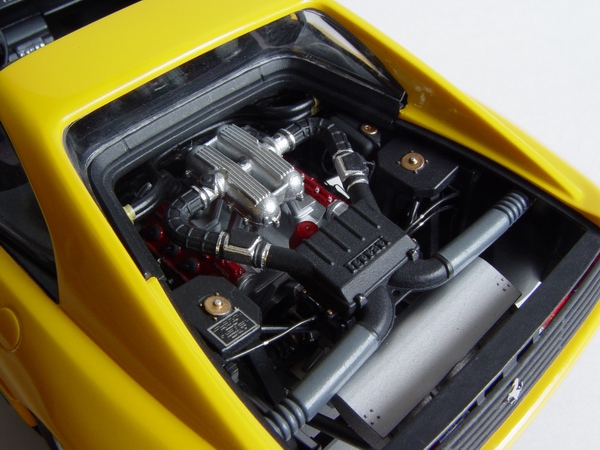
I added some radiator hoses to the underside of the interior. They will be clearly visible, and add a lot of realism to the completed engine bay. |
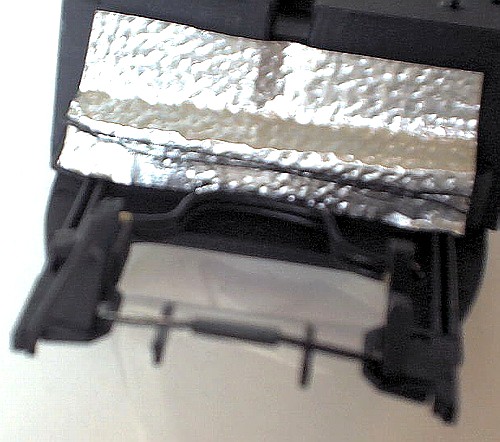 |
Also I glued some textured foil to simulate heat screen between engine compartment and interior. According to the pictures of the engine bay, I also added some minor wiring. |
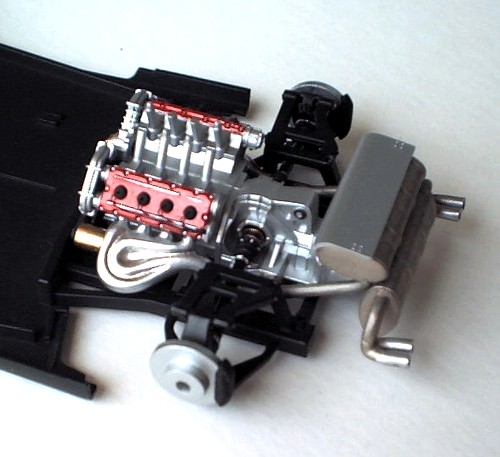 |
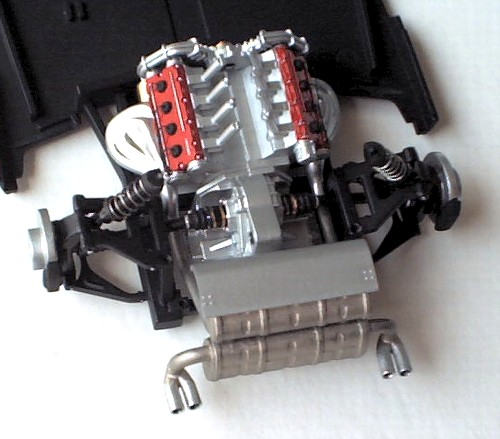
Now where it gets interesting. The engine block was glued together, and sprayed with Testors Aluminum metalizer. Exhaust manifolds were sprayed with chrome, and muffler with burnt metal metalizer and buffed with soft cloth. |
 |
Pulleys assembly was sprayed flat black, and then detailed with gold and silver metalizers. |
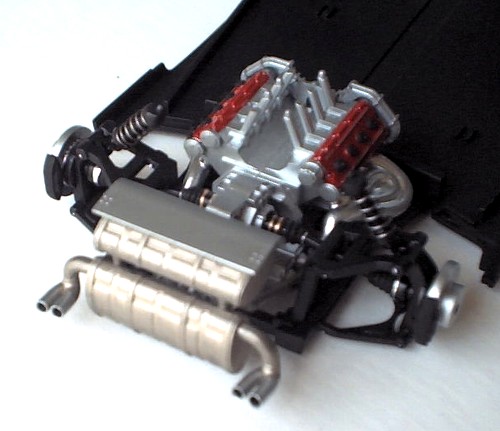 |
Boot shafts were detailed with chrome and bronze BMF. On this picture you could see rear shocks added. Exhaust tips were drilled out, thinned down, and painted flat black inside. |
 |
Engine was wired (hardly seen in this picture), and installed to the chassis. Also, all nuts and bolts were picked out with silver and brass paints. |
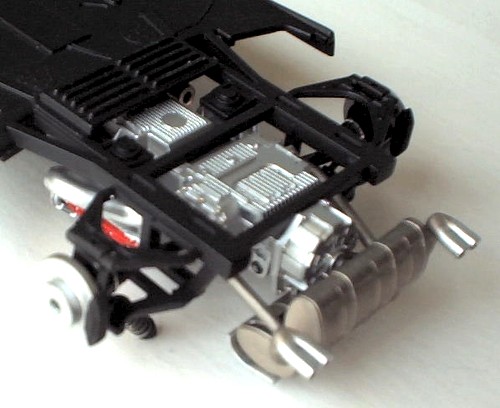 |
This picture shows how detailed the underside of the chassis is, and how well the engine sits in there. |
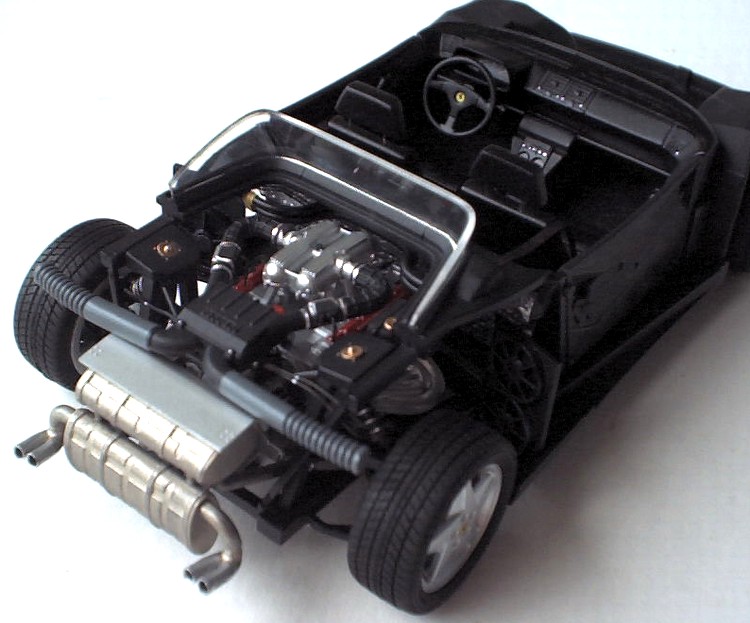 |
This is the picture of almost completed chassis, with interior and engine details completely assembled. Note additional wiring in the engine bay, as well as water reservoir and radiators. |
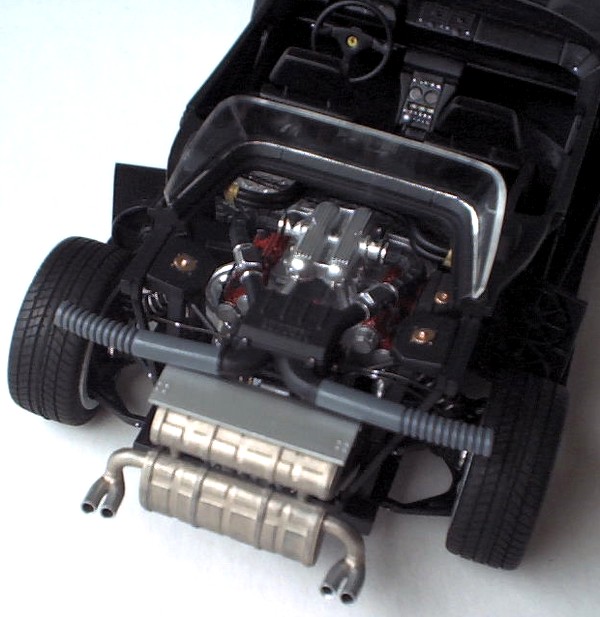 |
Another picture of the completed chassis with installed wheels and rear window. |
 |
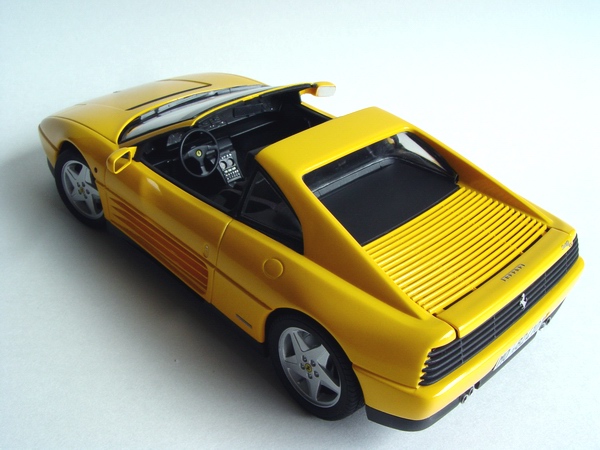
On this photo you can see how foil screen is positioned. Different heights of the headrests also clearly visible. |
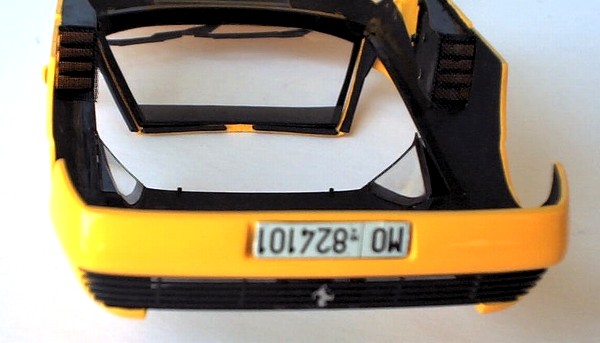 |
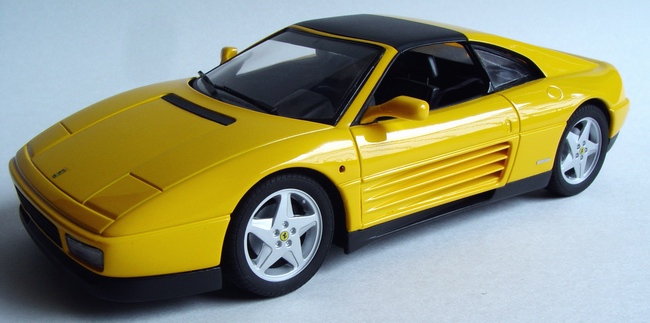
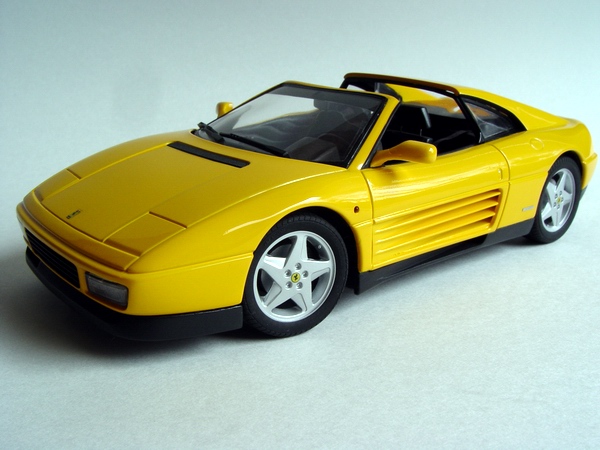
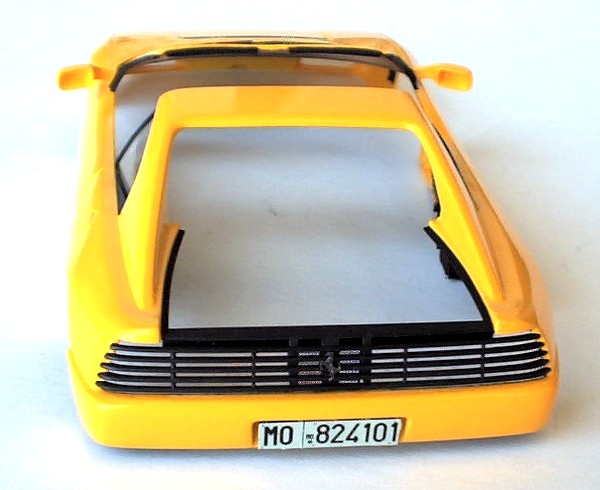
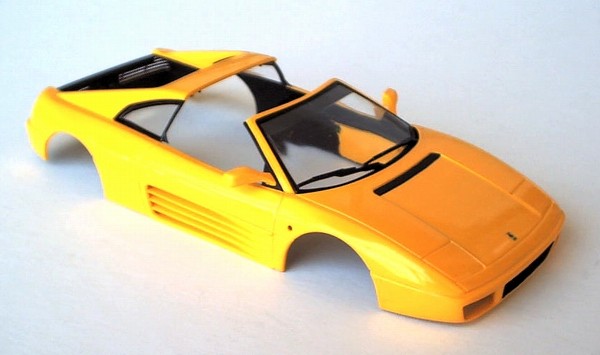
Now let's move to the body. Body was primed and sprayed with Tamiya Lemon Yellow - close match for 348 Ferrari Fly Yellow. I also added some fine mesh to the radiator intakes, visible in this photo. |
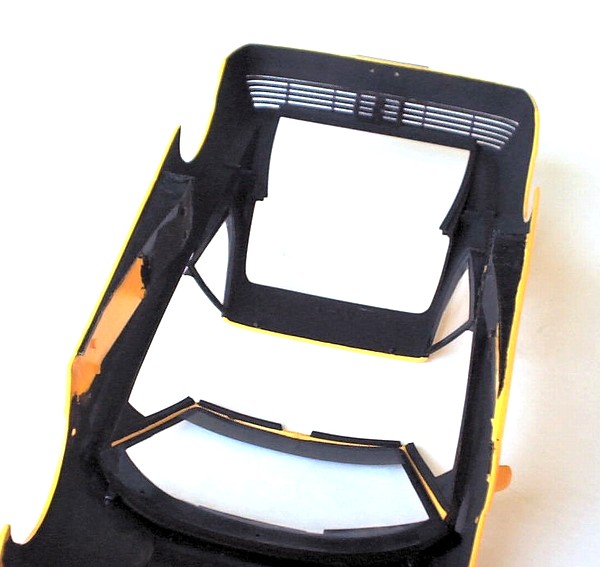 |
Body was brush painted flat black inside, and all the glass parts were installed. Make sure you glue the windshield wipers before gluing in the windscreen. |
 |
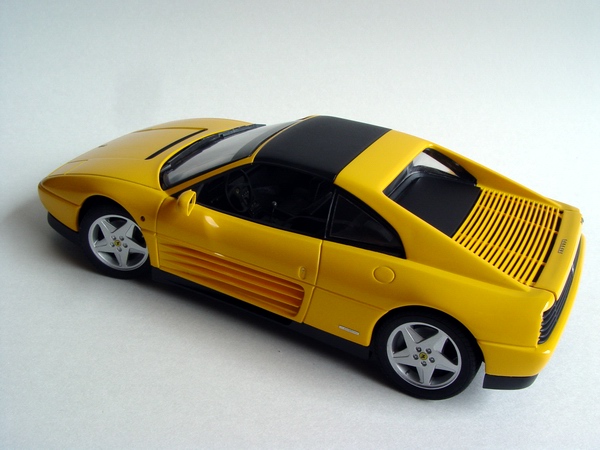
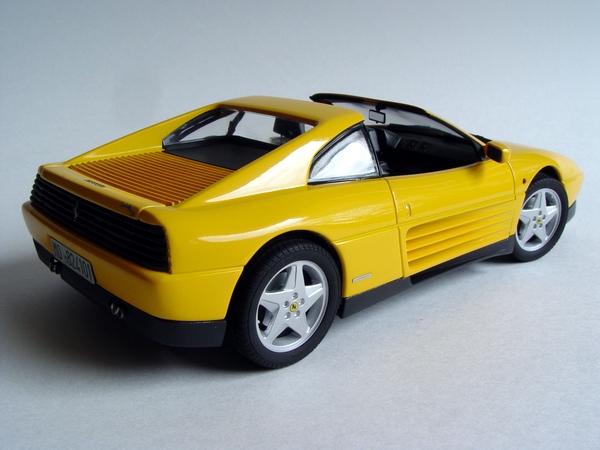
Rear end with PE mesh clearly visible behind the PE prancing horse emblem. Nice touch! |
 |
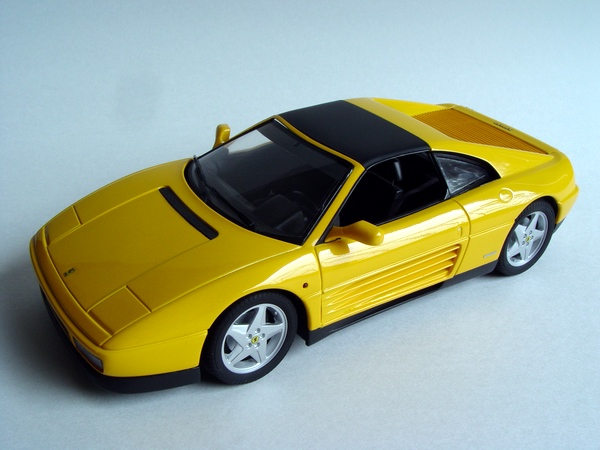
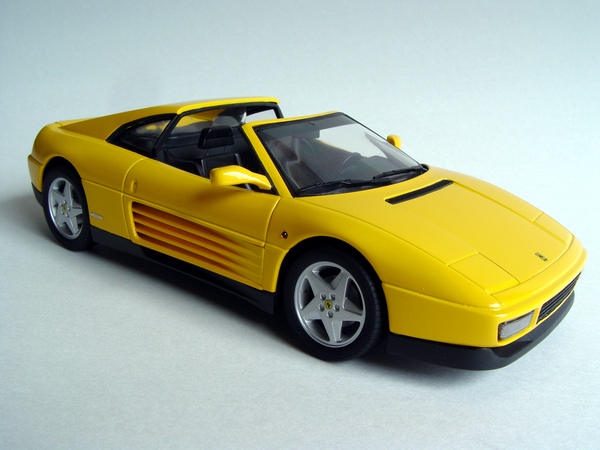
Body completed and ready to be decaled. Headlights, taillights, and PE emblems and scripts were installed after gluing the body to the chassis. |
 |
This is the underside of the hood. Hasegawa included very nice PE mesh screens that you could see on this picture. It makes it so much better! |
 |
Hood with installed PE Ferrari script and 348ts emblem. When assembled, you could see fine PE mesh from the outside. |
Copyright 2002, 2004 Alex Kustov. No copying or reproduction in any shape or form without written permission of the author.