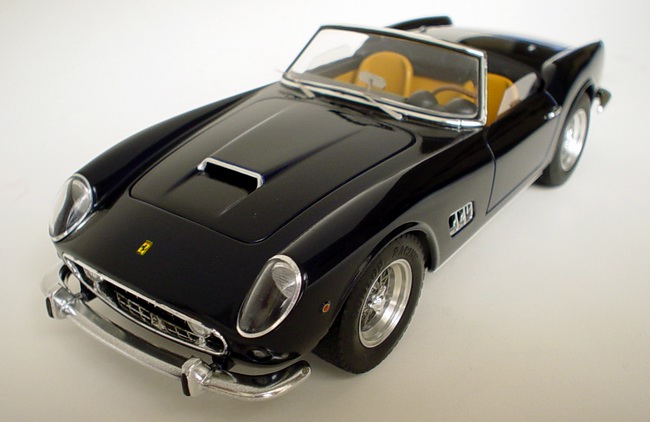
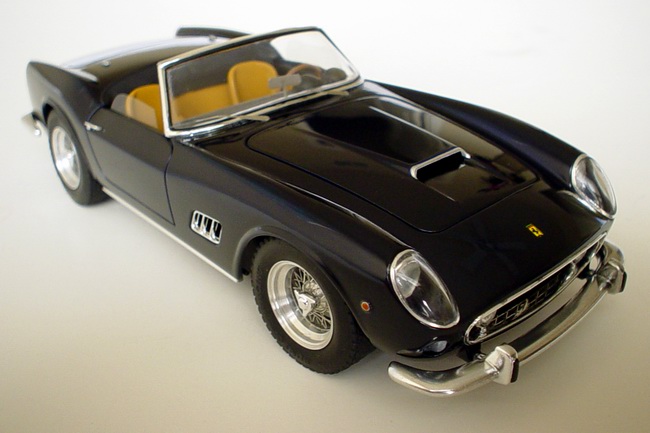
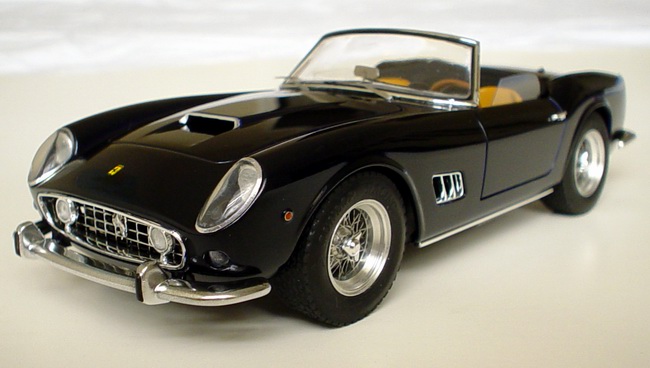
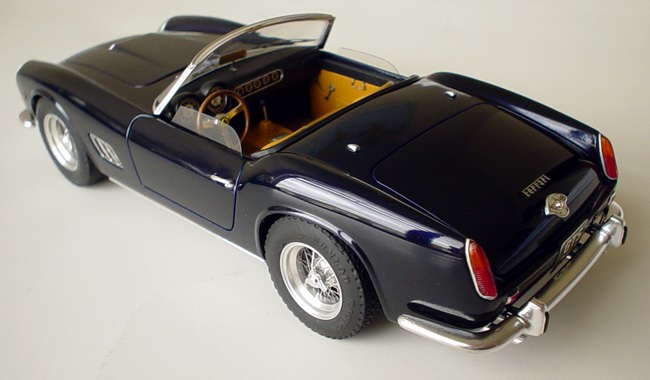
F e r r a r i 250 GT SWB California Spyder
 |
 |
|
Kit: 1/24 Italeri Ferrari 250GT SWB California Spyder, kit #662 Pros: This kit is typical Italeri car kit. Overall proportions are true to the original car, and mold quality is quite good, taking into account its almost 20 years old. Kit has very high level of detail, including relatively accurate Ferrari V12. Instructions are easy to follow. Cons: This kit shares many parts with other Italeri 250 GT series kits, and thus, some of the details are incorrect for this particular car (door panels, carburetors, some exterior and chassis details). Tires has poor details and look slightly bigger than necessary, and too wide. A lot of sink marks and pinholes, and this is especially disappointing on chrome parts (bumpers), which impossible to correct without stripping the chrome. Clear headlight covers are too thick, as well as windshield. Most interior details and small parts (shifter, wipers, door handles) are very crude. Heavy looking wire wheels. Verdict: This is very average kit, but still the only plastic kit of this great spyder. With little corrections (changing tires to period correct Dunlops, possible PE wire wheels and adding/correcting exterior and interior parts) it could be built into impressive replica. I recommend stripping chrome bumpers, fill in the sink marks, and re-chrome them - they will look much better. Not recommended for beginners. |
 |
 |
|
|
 |
|
|
Buildup
This buildup was also published in Scale Auto June 2005 Volume 27, Number 1, Along Came a Spyder
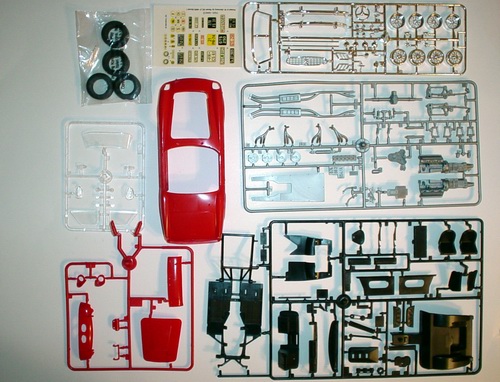 |
These are all the parts that were included in the kit. Kit is nicely packaged, but you can see some tree warpage and flash right away when you open the kit. Glass parts are not scratched, but chrome tree is in several places. Decals were yellow, so I taped them to the window to bleach for a few days. |
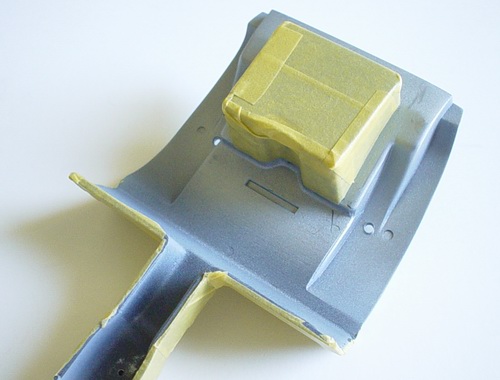 |
Moving to the interior. Fuel tank was painted aluminum, and interior part was painted custom mixed brown to simulate Connolly leather. Then tank and the bulkhead were masked off. |
 |
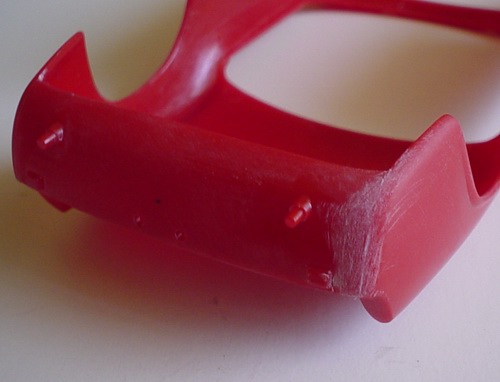
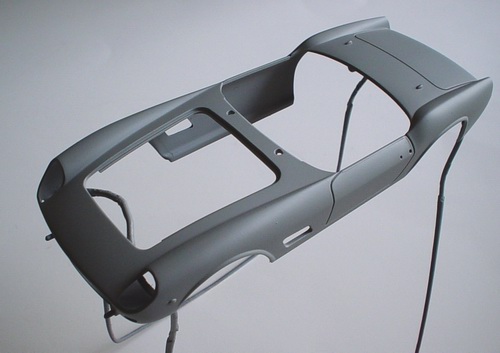
As usual, I started with the body. Font lower part of the body is a separate part (with terrible fit), so it was glued with Tamiya liquid plastic cement and puttied with white Squadron putty. After putty has dried, I roughly sanded the excess. |
 |
I sprayed the entire part with flat black from WM spray can, then removed the masks to expose fuel tank and the bulkhead. |
 |
Rear panel is also a separate part (the kit is almost 20 years old). Apparently there were no equipment to mold such shapes back then) so it was also glued with plastic cement, puttied, and sanded. |
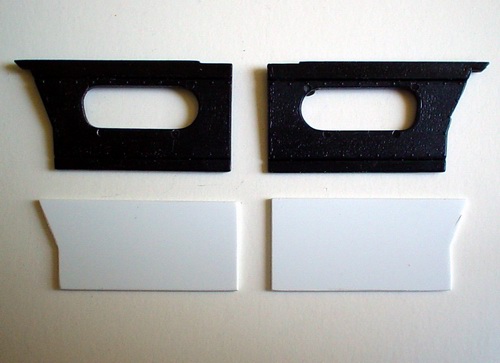 |
Door panels included with the kit were not correct. They are 250GTO doors (both kits share same tooling), so I decided to fabricate new door panels. I cut the top portions off, and made the rest from the 0.040 sheet styrene. |
 |
After inspecting the body, I also removed all the flash, mold lines and molded in Ferrari script from the trunk lid. I will use Tamiya metal transfer. Plastic is relatively soft, so I lightly sanded the body with sanding stick to flatten some of the panels. |
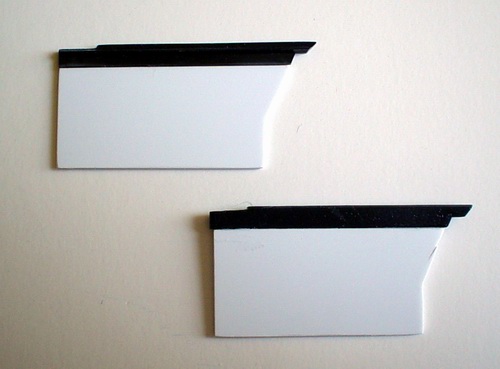 |
Then I glued the tops to the newly made panels and sanded everything smooth constantly checking how they will fit to the interior panels. |
 |
Then body was washed, wet-sanded with fine paper to smooth all the sanding stick marks, and primed with 2 coats of Tamiya gray primer. I also lightly sanded the body after first primer coat. |
 |
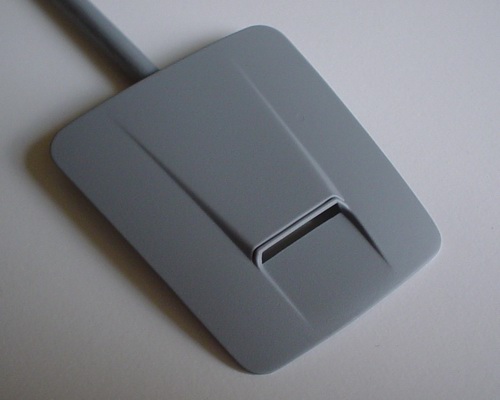
Door pockets provided in the kit were also modified. I shortened them, then thinned them down so they look like they made from thin leather, not from sheet plastic! |
 |
Pinholes were removed from the inside of the hood, then it was sanded and primed twice, just like the body. It should be mentioned that there are not as many pinholes on the body as on the rest of the kit. |
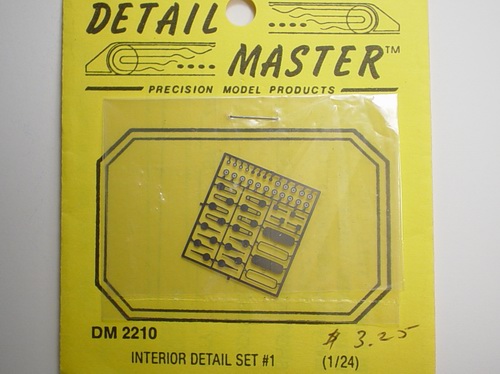 |
Finally I used Detail Master Interior Detail Set #1 (DM2210) to make window cranks and door handles. |
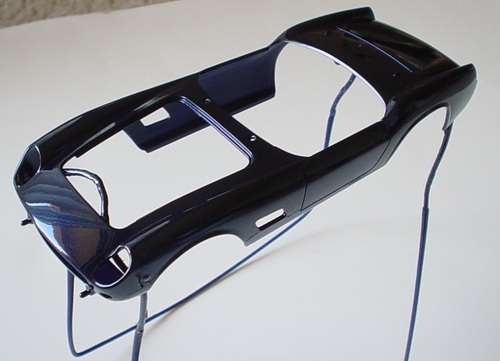 |
After primer dried completely, I lightly wet-sanded it with 1200 grit paper and sprayed 3 mist coats of Dark Blue Metallic lacquer. |
 |
Door panels were masked and pained with same custom mixed brown. Then I attached all photoetched parts. Now doors look correct. |
 |
Lacquers dry really fast, so after about 3-4 hours I sprayed first wet coat. It made paint look almost black, with metallic particles visible only in direct light. |
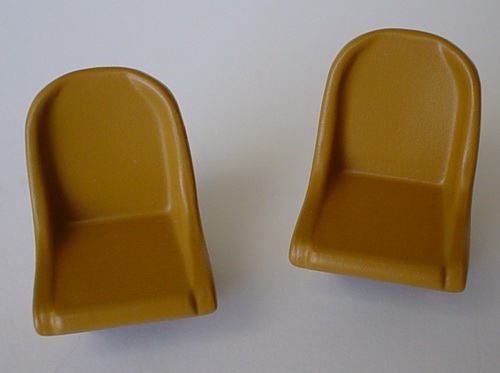 |
Seats were thoroughly cleaned, sanded, and sprayed with 3 coats of primer and them with 2 coats of brown. |
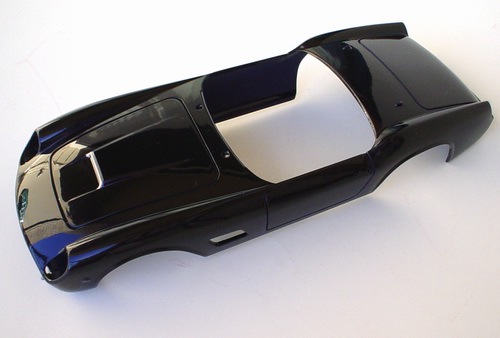 |
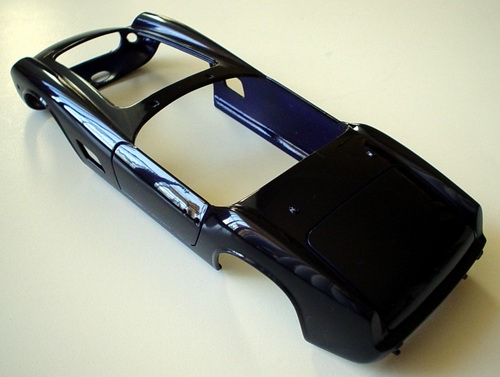
Next day I sprayed second wet coat, and left body to dry. After 48 hours I clearcoated it with Tamiya Clear TS-13. Clear coat was dry in 3 days and the paint was polished with 3M Fine rubbing compound and then waxed with Treatment's Last Detail wax. |
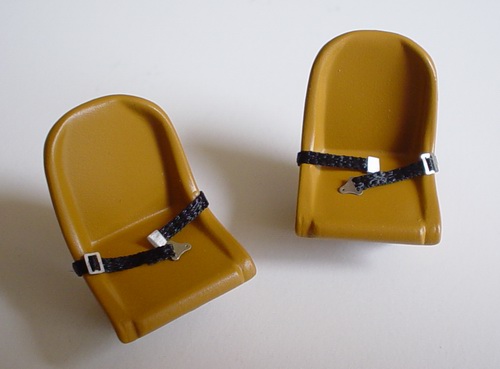 |
Detail Master hardware and thin black ribbon from Hobby Lobby were used to make nice lap belts. |
 |
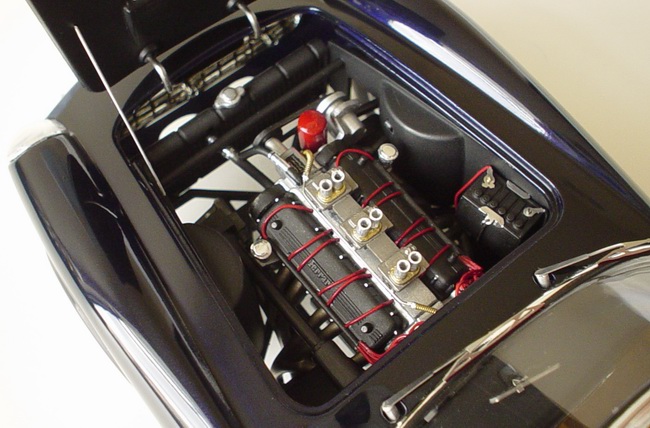
Meanwhile I was working on the engine. Engine halves were glued together and painted with Testors aluminum metalizer. Valve covers were painted "crackle black" with Wal-Mart spray can satin black. |
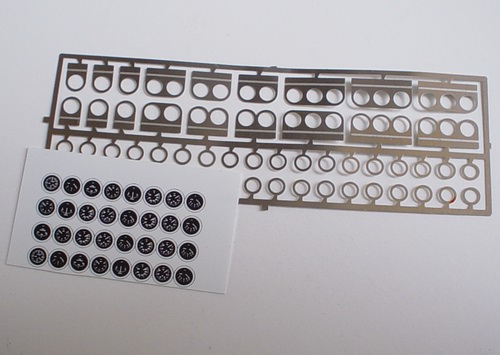 |
Kit instrument decals were not very good, so I used Detail Master Gauges and Faces photoetched set for the small gauges on the dashboard. Faces were clearcoated to simulate glass over the gauges. |
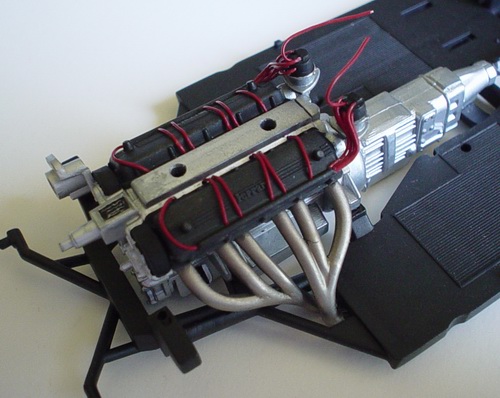 |
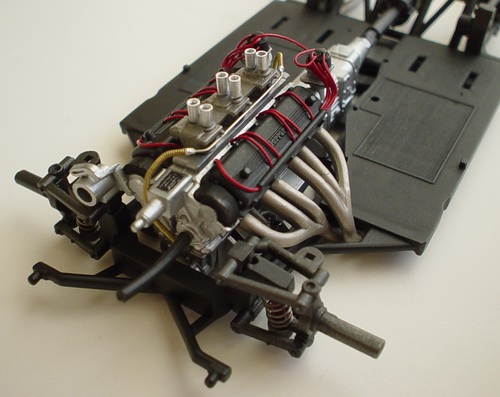
I installed the engine in the chassis frame and attached exhaust manifolds painted with Testors Burnt Metal metalizer and dry-brushed with some flat aluminum. Then I attached drilled-out distributors and wired the engine using Detail Master ignition wire. The engine was wired as an inside-plug version. |
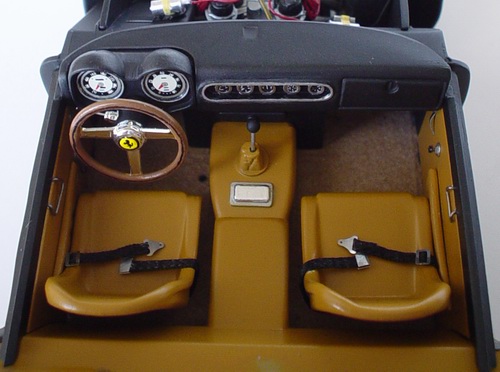 |
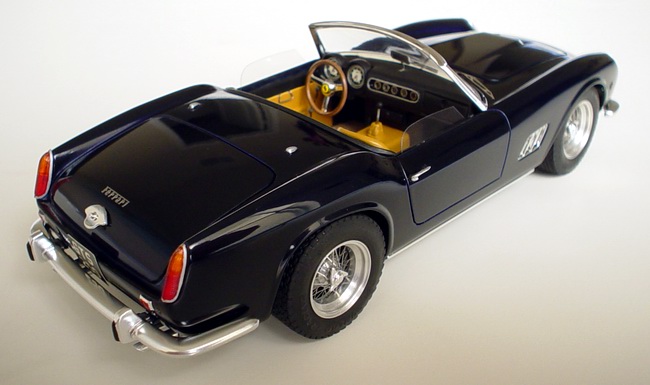
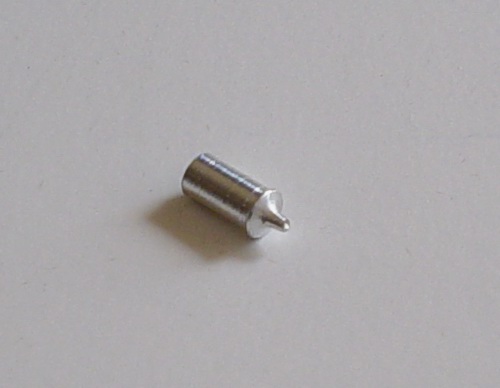
Everything was assembled together. I also applied small piece of BMF to the ashtray, and substituted kit's horrible thick shifter with small pin. Steering wheel was painted with mixture of Tamiya dark brown and tan acrylics and topped off with Cavallino decal. |
 |
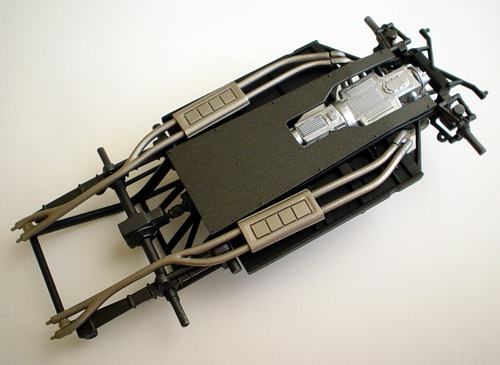
Rear suspension was painted with Gunmetal Testors metalizer, and slightly buffed after 30 minutes of drying. I also painted all the bolts and rivets aluminum and then used black wash to bring out the detail of the leaf springs. |
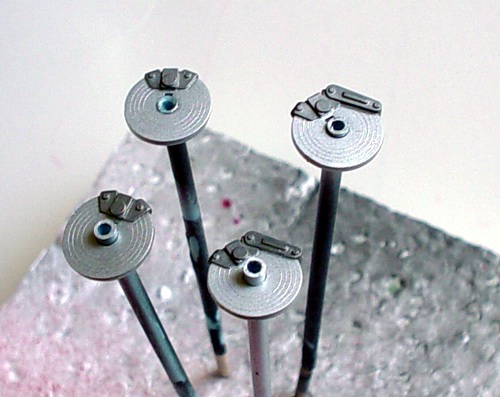 |
Back to the chassis. Brake disks were painted Testors aluminum metalizer and weathered. Calipers were painted with mixture of Testors burnt metal and titanium. |
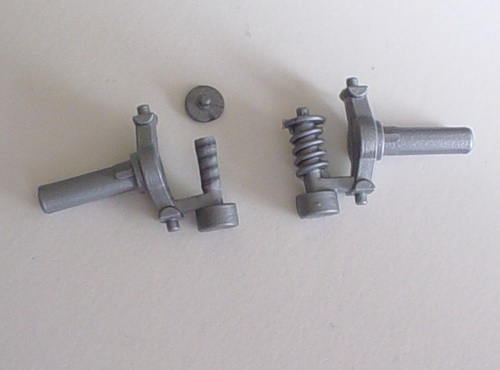 |
Front suspension had those molded in springs, so I decided to remedy the situation. As you see on the picture I cut off the top of the shock and removed the molded spring with sharp Xacto knife. Then shock was smoothed with a sanding stick. |
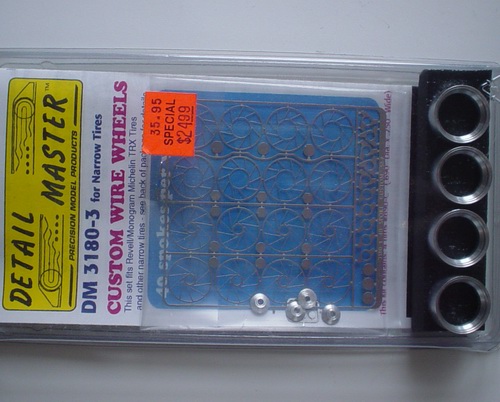 |
Kit wire wheels were terrible! Thick spokes, ugly looking rims. Chrome plating was also thick and didn't improve the situation. Detail Master DM3180-3 Custom Wire Wheels set was used to recreate Borannis. Wheels set has nice center hubs and great turned aluminum rims. |
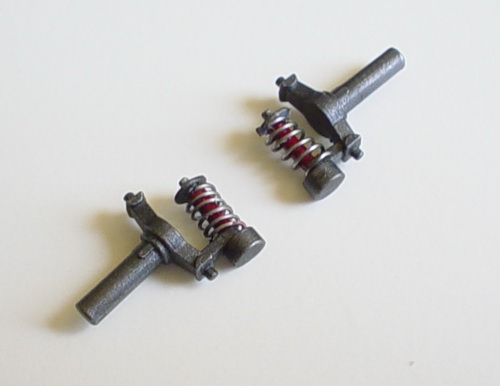 |
I made a spring from thin wire wrapped around a 2mm aluminum tube. Then I painted the shock red, slipped the spring over it, and glued the top of the shock back. Now we have real springs. |
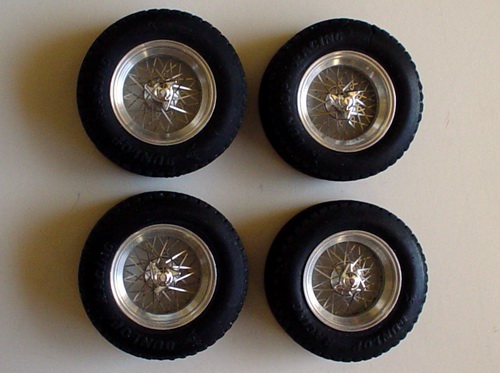 |
Each wheel was assembled from more than 7 parts and fitted with kit knock-offs. I used kit tires that fit perfectly, but slightly bigger and have very poor thread and side wall details. But, they look all right on those gorgeous wheels. |
 |
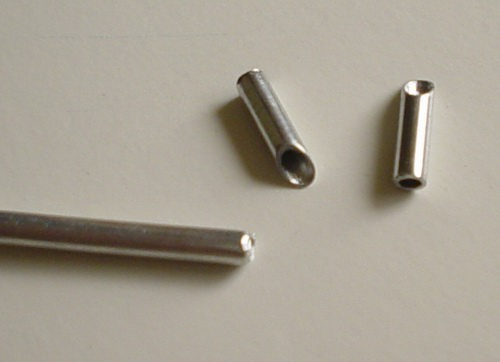
Carburetors in the kit look like three blobs of plastic, so I used carbs from another Ferrari kit (Italeri 250GTO). Carbs were connected together with thin plastic stripe. Then I drilled 2 small holes in each for the bell mouths. Thin polished aluminum tubing drilled out from the inside were used for the mouths. |
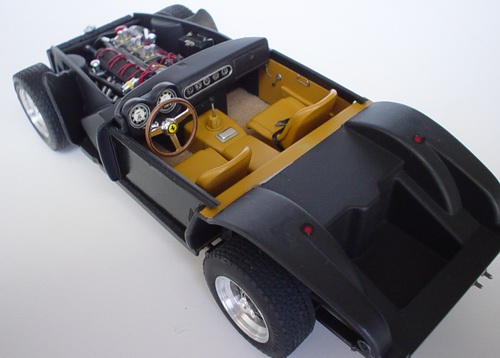 |
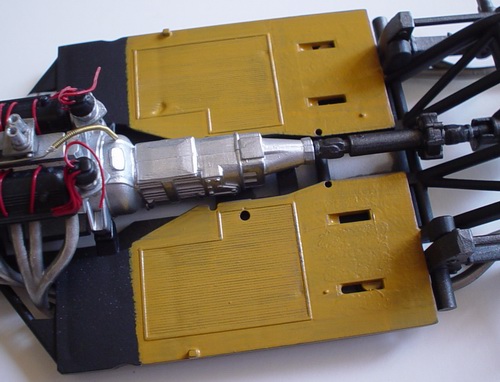
Disks and wheels were fitted to the chassis, door panels painted black from the outside, rear shocks installed, and everything test fitted to accept the body. |
 |
Then I installed the carburetor assembly on the engine. Front suspension was also assembled at this time. |
 |
If you ever to build this kit, make sure you test fit completely assembled chassis to the body very carefully, since kit precision is far from perfect, and many parts will require some tweaking at this stage for the body to sit right. |
 |
Then I used acoustic guitar string to make carburetor fuel lines. Fittings were made from tiny strips of BMF. Finally, I stripped insulation from 1.5 mm black wire and used it as a radiator hose. |
 |
Plastic hood hinge was discarded and replaced with new hinge made from suitable paper clip. Since the hinge will be a moving part, I glued it with 5 minute epoxy for additional strength. |
 |
Ferrari twin exhausts with mufflers were painted Testors burnt metal metalizer and weathered with gray wash. |
 |
Window frame was stripped, painted black and then chromed with Alclad II Chrome. Headlight covers were detailed with some BMF to simulate chrome cover surrounds. |
 |
Now to the interior. Floor was painted with custom mixture of Tamiya acrylic paints. |
 |
Awful kit exhaust tips were also discarded and new tips were made from polished aluminum tubing thinned out from the inside for additional realism. |
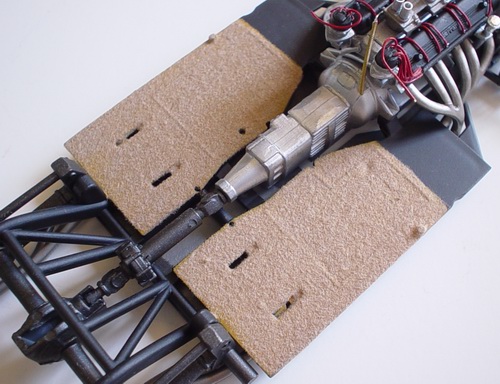 |
Then I applied Detail Master Tan flocking to simulate luxurious California carpeting. I used white glue as an adhesive to slightly lighten the flocking. |
 |
Both front and rear bumpers had several huge sink marks in very visible areas. Both were stripped, puttied, sanded, and painted with Alclad II Chrome. |
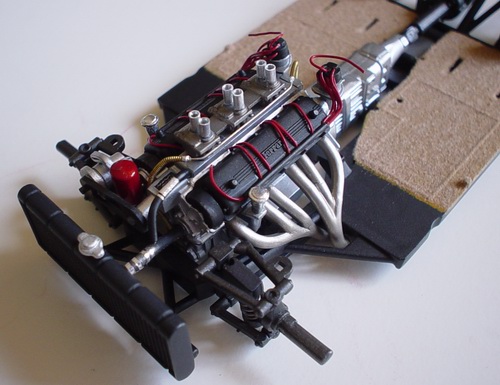 |
Finally I added oil filter, belts and pulleys, radiator, some additional hoses (clamps made from BMF), oil funnels, and weathered the engine with black wash. The engine is almost complete. |
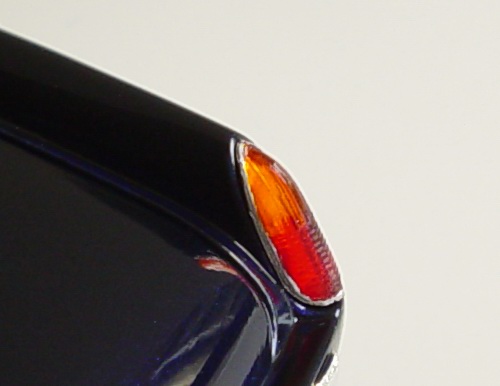 |
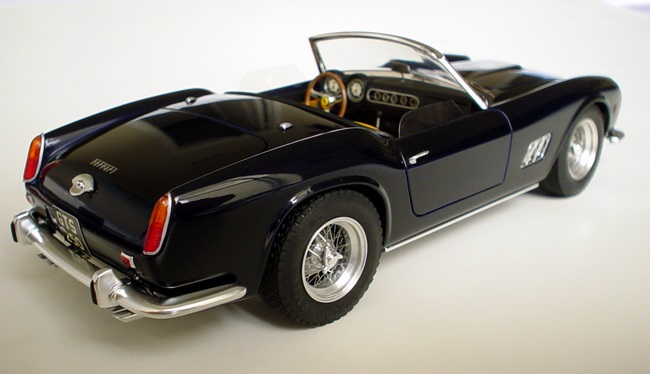
Taillights were painted with Tamiya clear paints and backed with the reflective foil glued with CA glue. Trim was painted with Testors Silver enamel. |
 |
For the ignition coils I used Detail Master turned aluminum coils. These can be made from thin aluminum tubing and sheet plastic as well. |
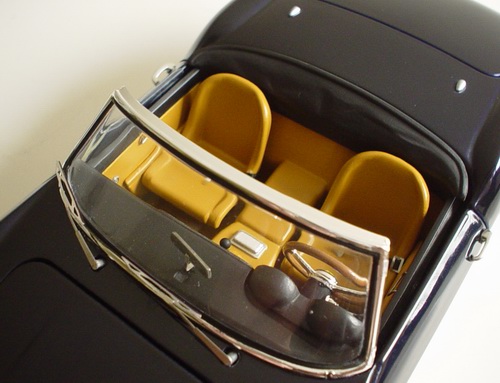 |
Windscreen was glued to the body, and a set of Detail Master photoetched wipers was used instead of inaccurate kit parts. Note photoetched mirror on the dash from DM Interior set. |
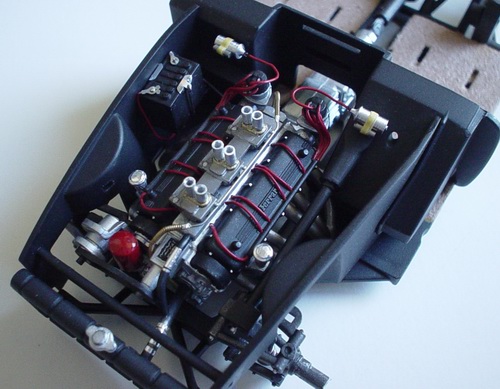 |
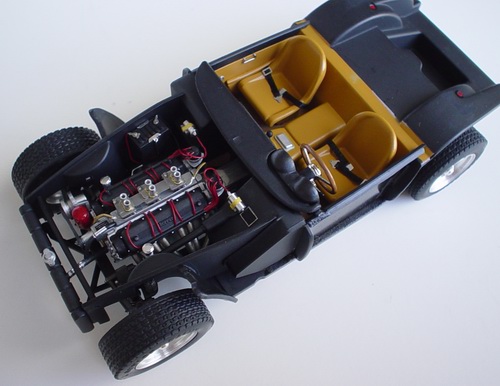
Next I installed inner fenders, firewall, ignition coils, steering linkage, and scratchbuilt battery - wired with Detail Master battery wiring kit and wires. Now the engine is complete! |
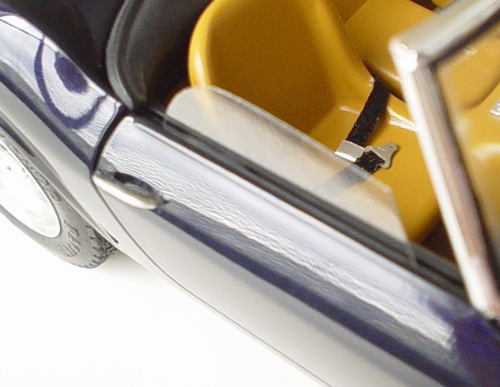 |
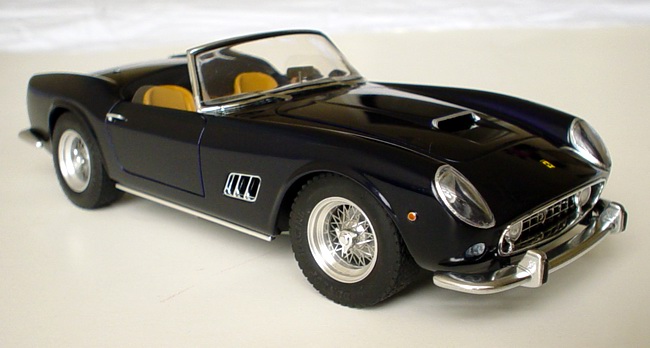
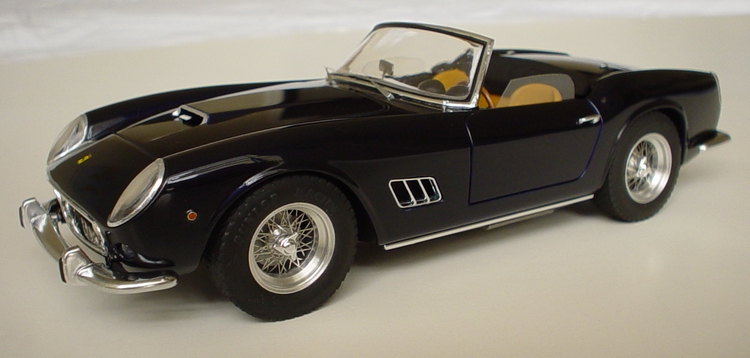
Side windows were cut from thin sheet of clear plastic using kit part as a guide. I used Elmer's white glue to attach them. Door handles were also re-chromed with Alclad. Finally I lightly waxed the model, attached Ferrari script, and - done! |
Copyright 2003 Alex Kustov. No copying or reproduction in any shape or form without written permission of the author.