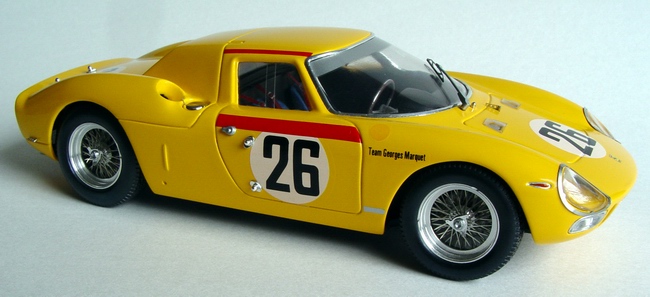
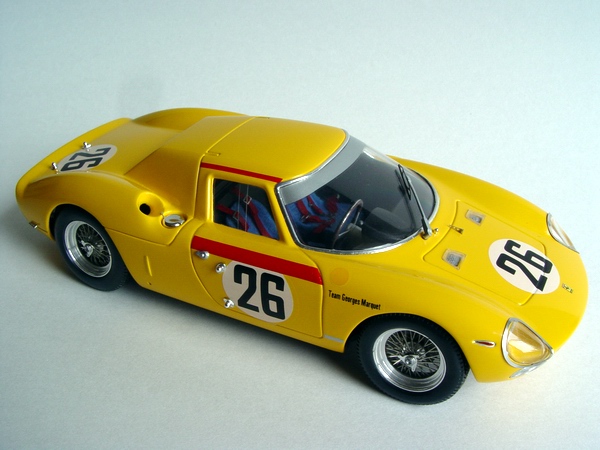
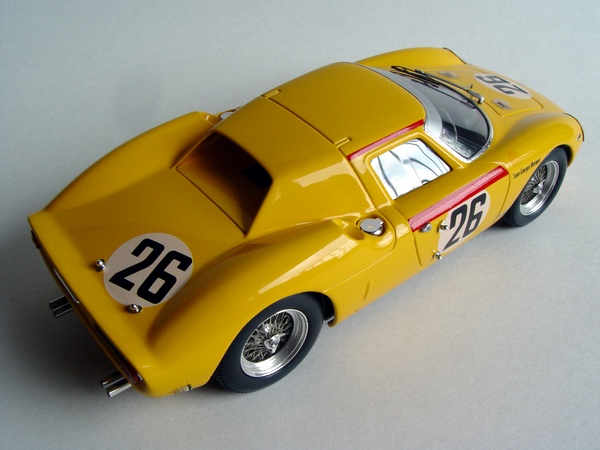
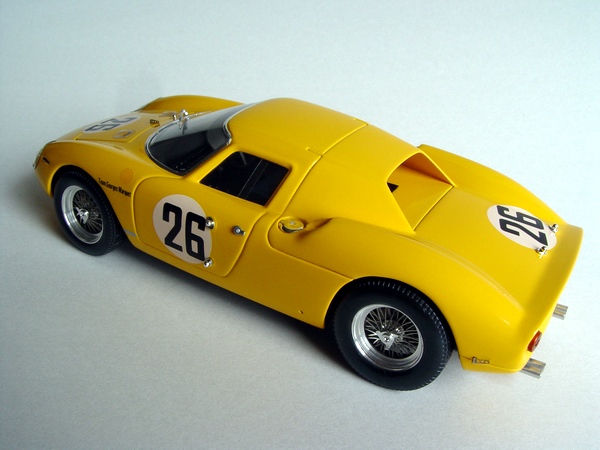
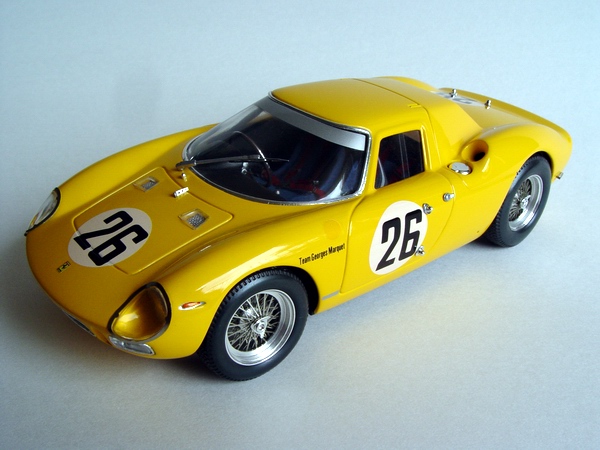
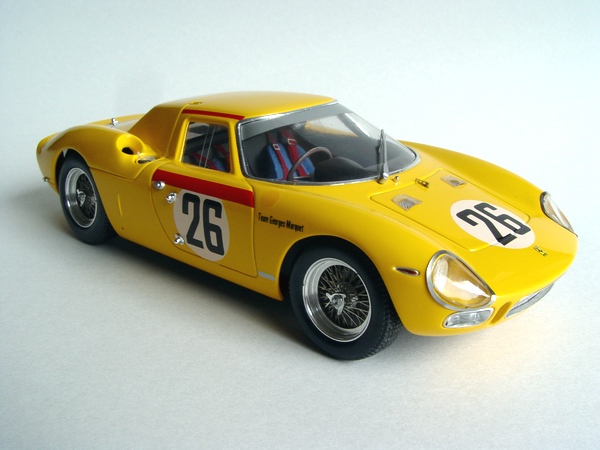
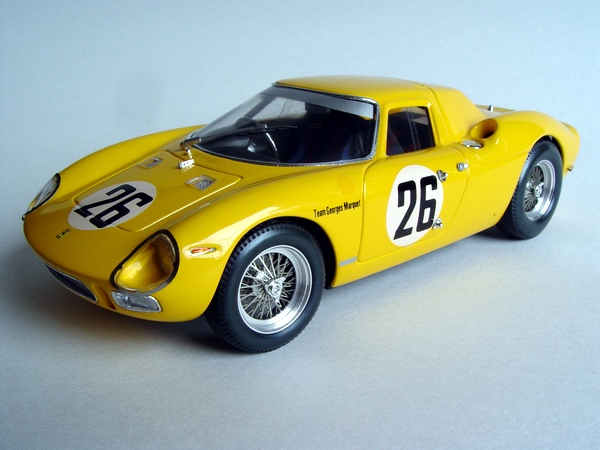
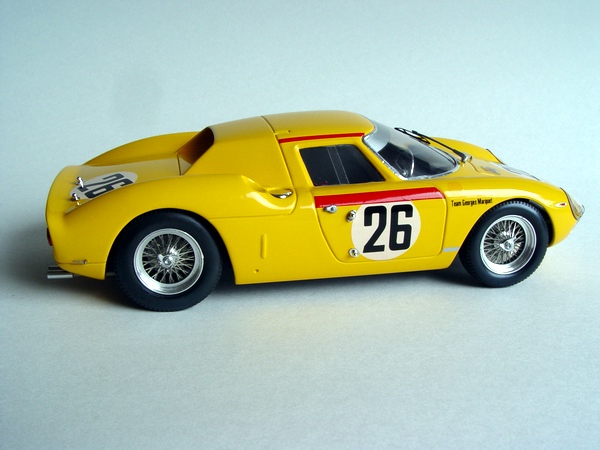
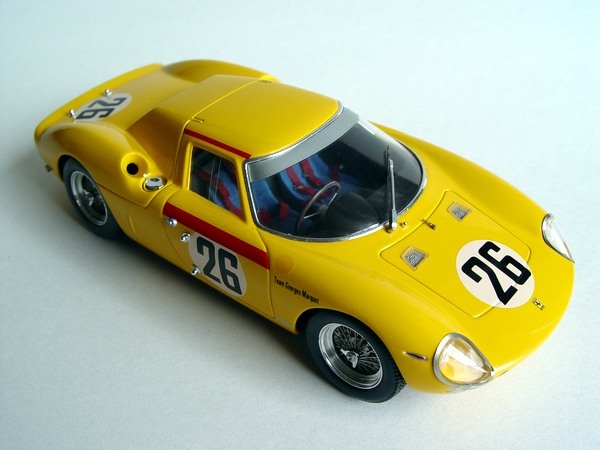
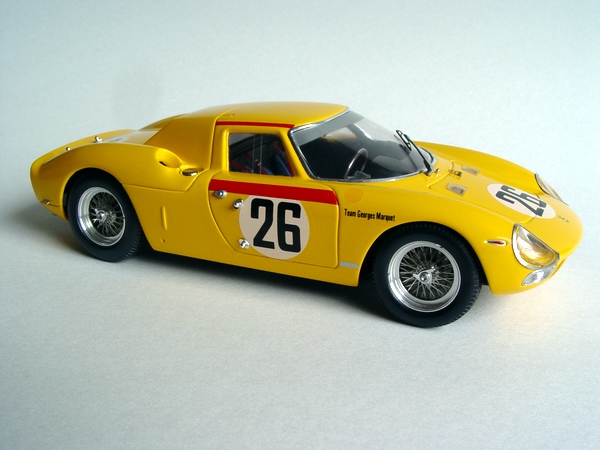
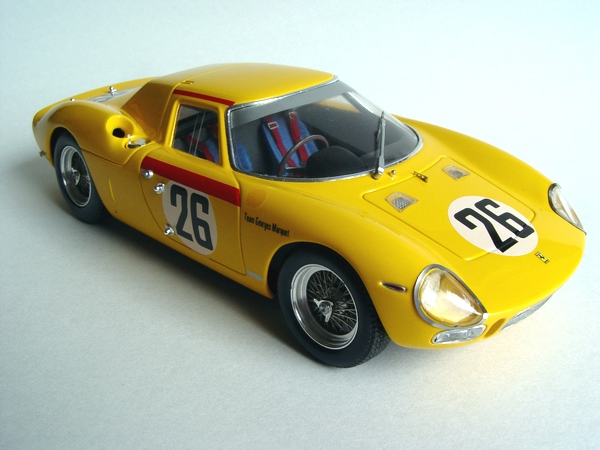
F e r r a r i 250 LM. Le Mans 24h 1965: Ecurie Francorchamps. Dumay/Gosselin, Finished 2nd.
 |
 |
 |
Kit: Academy 1/24 Ferrari 250LM
Pros: Kit is molded in white plastic and its easier to paint red or yellow. Includes PE parts for headlights surrounds, but they are too big! Instruction sheet is very clear and provide relatively correct color guide. Good overall body shape and correct interior details.
Cons: Some fit problems, especially with PE headlights surrounds, they are too big, and require a lot of tweaking before they look more or less ok. Several pinholes that require some filling and sanding. Incorrectly molded door handles. Small chrome parts are little out of scale. No engine, terrible "wire" wheels.
Verdict: It is a very good "base" kit, and with some work could be built as an excellent shelf model. Since there are not many 250LM kits on the market (the only others I know of are ESCI Ferrari 250LM Easy car series, with very crude moldings, but full engine detail (It was a limited edition kit, and almost impossible to find today), and Climax Ferrari 250 LM resin/white metal/PE kit, but with almost $500 price tag....) this is the only alternative if you have to have this model in your collection. |
 |
 |
 |
|
 |
 |
 |
|
 |
 |
 |
Buildup
 |
Contents of the box when I opened it. Moldings are very clean, almost no flash. Nice decals, and a little fret with PE headlight surrounds. Also included are metal axles, good chrome parts, instruction sheet and a small tube of glue. |
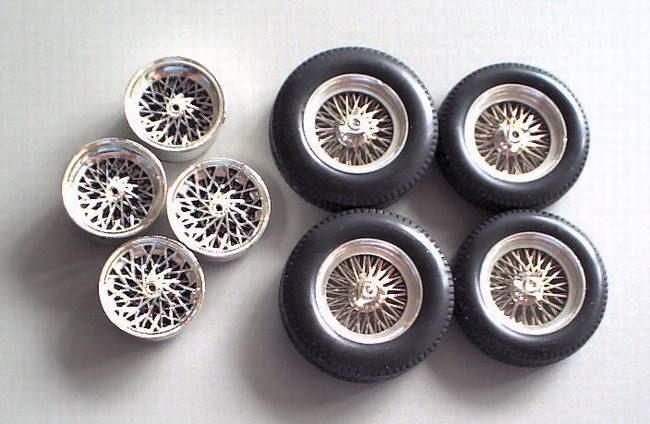 |
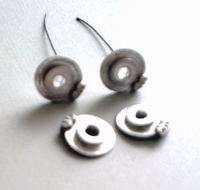
Kit "wire" wheels were awful! I used MG Models turned aluminum wheels with photo etched "wires" that look much better. I used kit tires (they needed a little trimming from inside) and knock-offs though. |
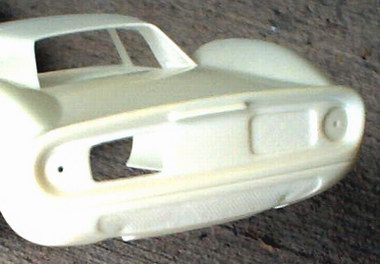 |
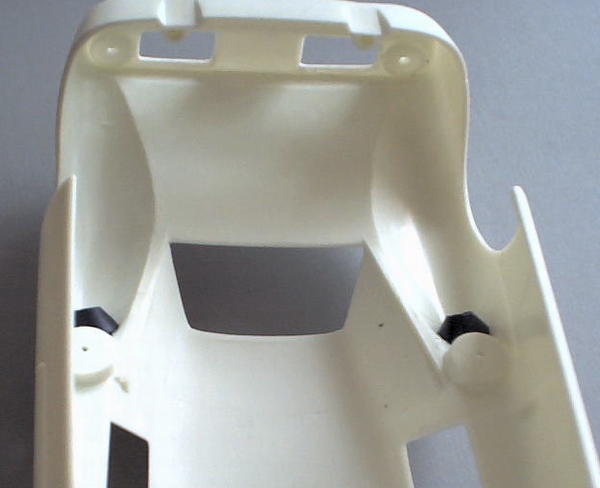
It is a very good "base" kit, which lends itself to many possible modifications and improvements. Immediately when I saw this kit I knew it won't be built box stock! I started with cutting all openings covered with plastic "mesh". Also I removed all molding lines. You could see couple of pinholes on this picture... |
 |
Since kit provides no suspension detail to speak of and kit wheels were not "see-through", I decided to improve this situation. I bought some Model Car Garage metal brake disks, and installed brake hoses. Since my new wheels are "see-through" it was a great addition to the model's appearance. |
 |
To look more like sheet metal, plastic had to be thinned down from the inside, since body is almost 1.5 mm (a little less that 1/16 inch) thick!!! I had no motor tool at the time, and it was quite a task! |
 |
It is a curbside kit, though exhausts provided as separate parts. I painted them with Testors Burnt Metal metalizer, and replaced plastic tips with aluminum tubing. I drilled them to make them thinner, painted Testors Exhaust inside, and polished to high shine. |
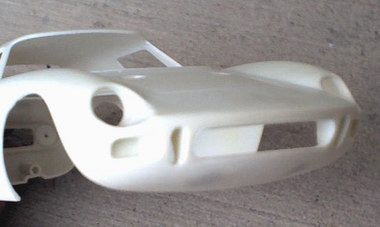 |
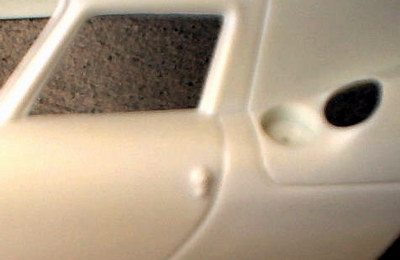
As you can see from this picture, I also opened grille and brake cooling ducts. Several pinholes were filled with putty, together with imprinted Ferrari emblem, which was sanded down. |
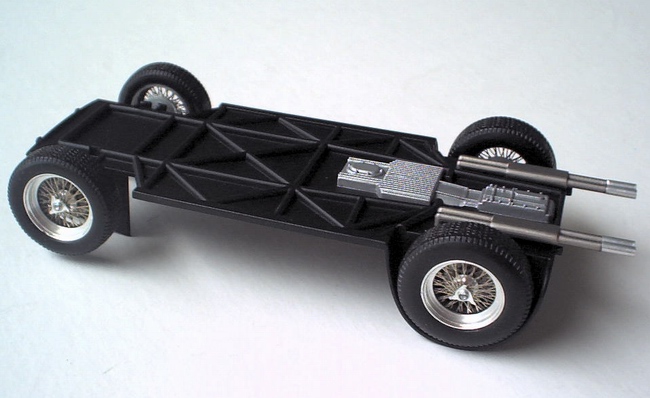 |
This is the picture of completed chassis with installed exhausts, brake disks, and new wheels. |
 |
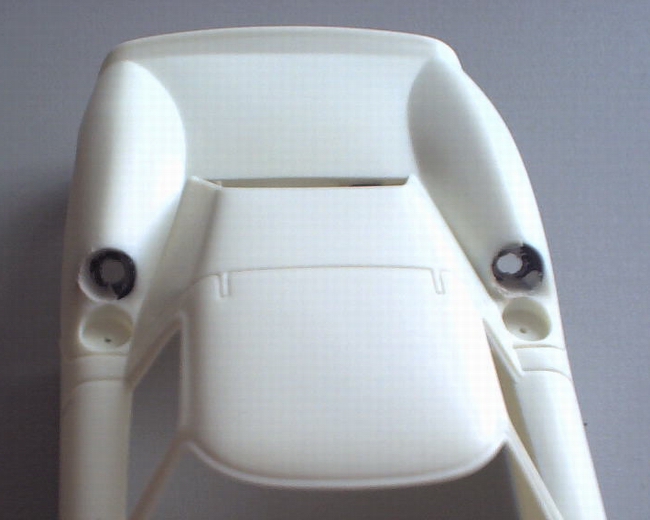
Checking accuracy of the body shape with numerous pictures and books, I corrected all the body flaws with filler. Here you could see that rear spoiler had a huge sink mark. |
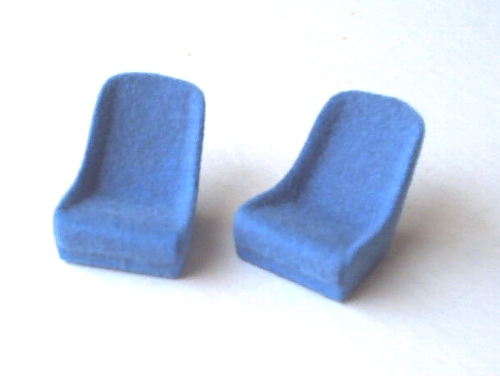 |
Seats were painted with Tamiya Light Blue and carefully flocked with Detail Master flocking. They look very nice! |
 |
Since it is a generic body, many details (door handles, hood flags, catches, etc) were molded on the body. For the car I was building, it had improperly positioned door handles, so I just shaved them along with all flags and catches, since they were too thick and gave somewhat toy appearance. |
 |
This is completed Detail Master racing harness kit. It took some time to put this one together! It has so many tiny P/E details, and it is very hard to work with two tweezers instead your hands! But the results look awesome! One harness was assembled locked, and another open. |
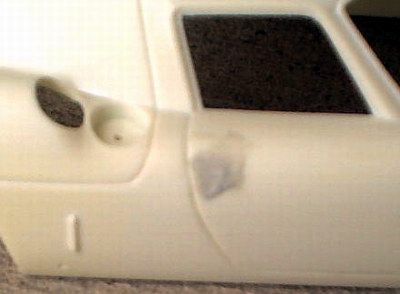 |
I saved door handles though, so I could apply them later to a proper place. All flags and catches were scratchbuilt from aluminum cans. On this picture you can see that I removed a door handle, and filled the area with putty. |
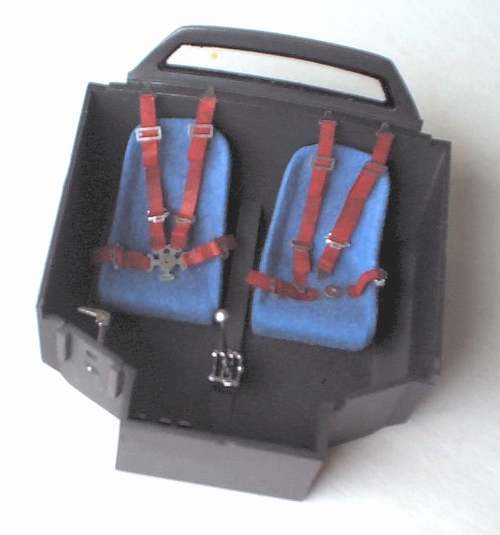 |
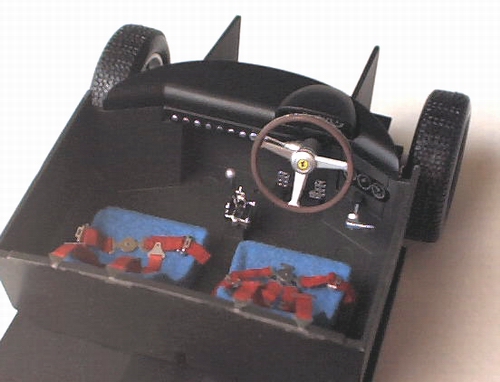
This is a picture of an interior with installed seats and harnesses. Interior tub was painted Testors Titanium metalizer and buffed. Some parts of the harnesses were glued to the seats with white glue to prevent flying away when the model is handled. |
 |
For some reason, engine air ducts were molded in black plastic, and they did not fit at all. It took some work and putty to position them correctly. It also took some primer to cover that black!! |
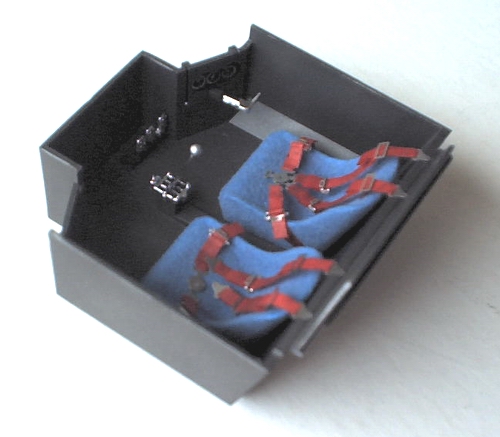 |
Another shot of the interior. Here you can see a shifter made from a ball pin (kit shifter was too thick and looked terrible), PE pedals, and some gauges already in place. |
 |
Since part of the inside of the body will be visible after model completion, I cleaned it with 400 grit sandpaper, and filled and removed all flaws. |
 |
This is yet another shot of the interior with installed dash. Dash was painted black, decaled, then detail painted. Steering wheel was painted brown, and then a thin stripe of BMF was used to simulate aluminum wheel rim. Decal comes from a Revell 512TR kit, cause horn button decal provided in the kit was poorly registered. |
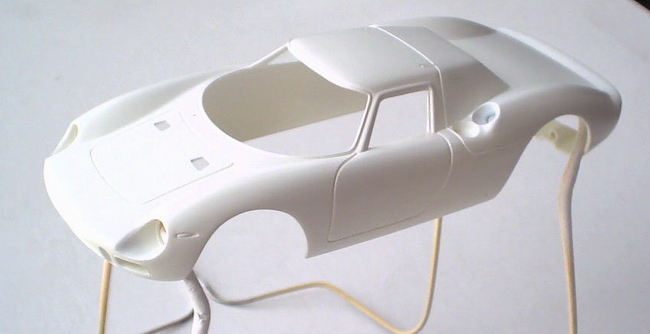 |
Here you can see primed and sealed body ready for paint. It took almost a week to clean it up! |
|
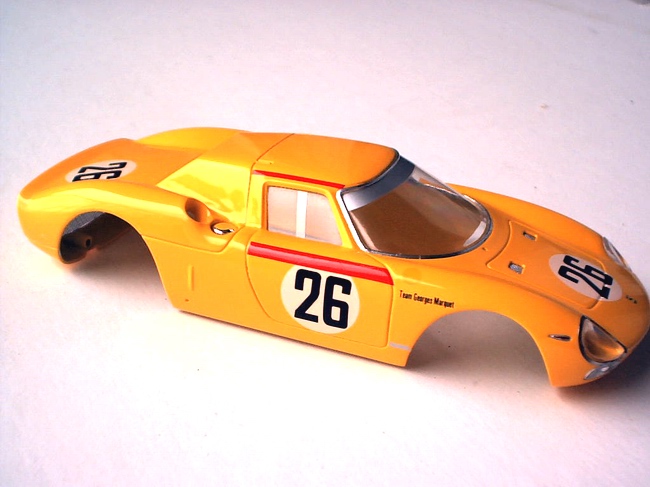
This is the picture of the body painted with 3 coats of Tamiya Chrome Yellow, polished with 3M compound and waxed with "The Treatment" wax. |
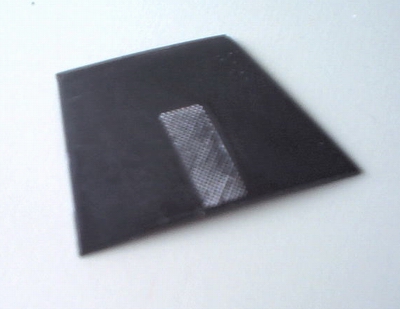 |
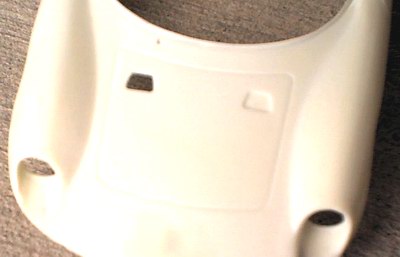
Inside part for the hood. It also had some molded in mesh seen in this picture. It was also molded in black plastic. |
 |
Another shot of finished body. Later I painted body aluminum from the inside, as early Ferraris were never painted inside, and racing examples, like this one, were made from aluminum. |
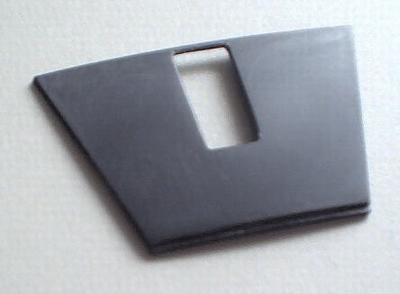 |
Here is the picture of the same part with removed plastic "mesh". |
 |
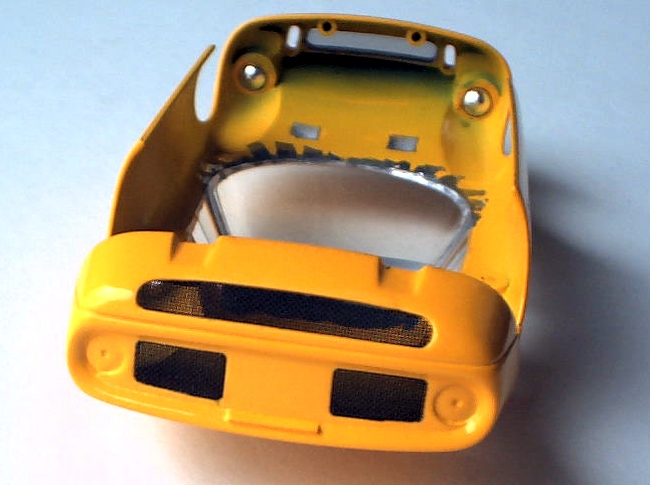
Here is the picture of the body with installed mesh, grille, windshield, and partly painted aluminum. You can also see some BMF pieces from windshield trim. |
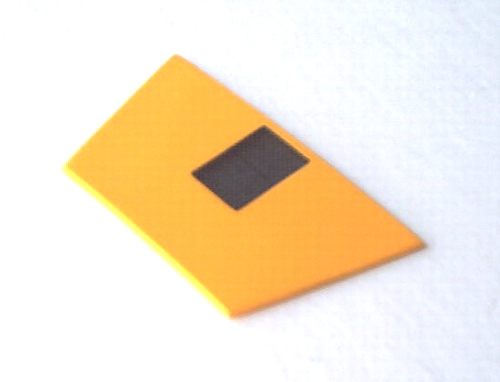 |
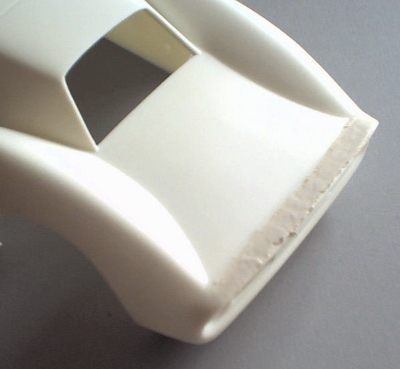
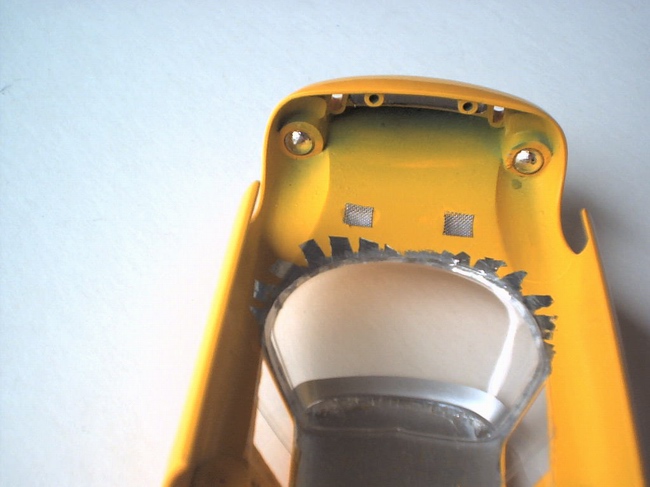
Here is the same part after removal of the "lip" at the narrow end (it didn't fit), painting, and installing new mesh. Here I used Tamiya nylon mesh included with 360 Modena kit, since it has the same pattern as a real thing. |
 |
Body with installed rear mesh. Again, I used Tamiya nylon mesh from 360 Modena kit here. |
 |
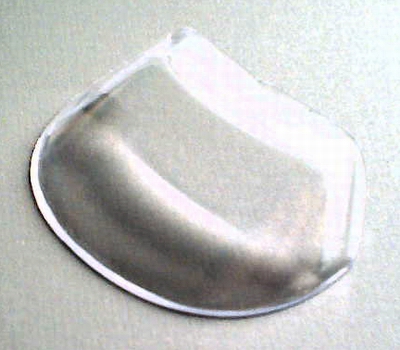
This is the kit glass. It is also very thick piece, so I had to sand it to make it thinner, then rub it with 3M rubbing compound and wax with "The Treatment" wax to make it clear again. |
 |
On this picture you could clearly see diamond-shaped mesh installed in the grille, and partly decaled body. One headlight surround is installed, and it took me almost 3 hours to bend it to the shape. The problem is that it just too big! It doesn't look right, but I had no choice. |
 |
After all that I cut side windows from it, cause real car had sliding Plexiglas windows, and I decided to make them from clear plastic. |
 |
Completely decaled body. Some PE details, like wiper, hood and trunk flag-catches were added later. I also scratchbuilt clear hood vents from clear plastic - kit parts were too thick and completely out of scale. Number lights and door handles were added. Also, on this picture you can clearly see sliding windows made from clear plastic. |
Copyright 2002 Alex Kustov. No copying or reproduction in any shape or form without written permission of the author.