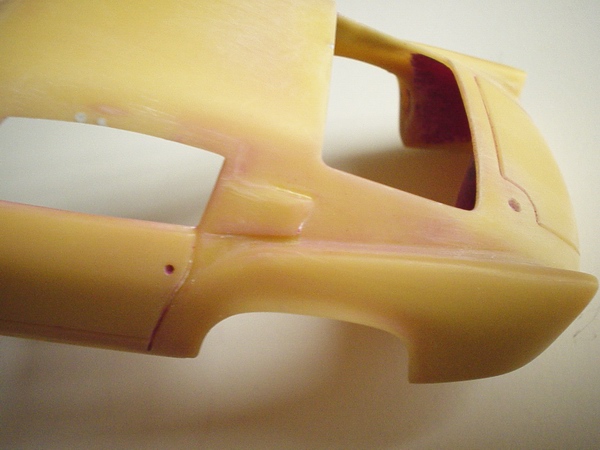
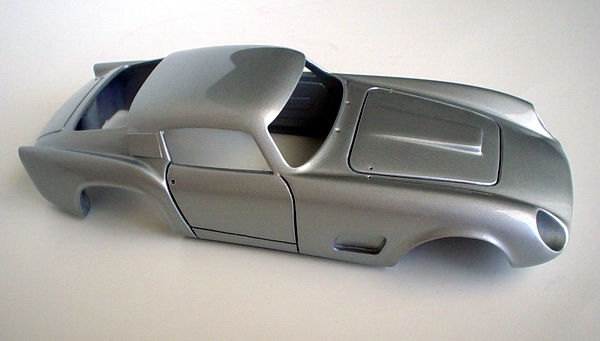
Originally I painted the body traditional Italian Red, but for some reason it didn't look quite right on this body, plus I realized that louvers on rear sail panels are slightly incorrect. I stripped the body, and removed incorrect louvers.
I used automotive lacquer for the body paint. First mist coat revealed some flaws that were corrected before spraying more coats.
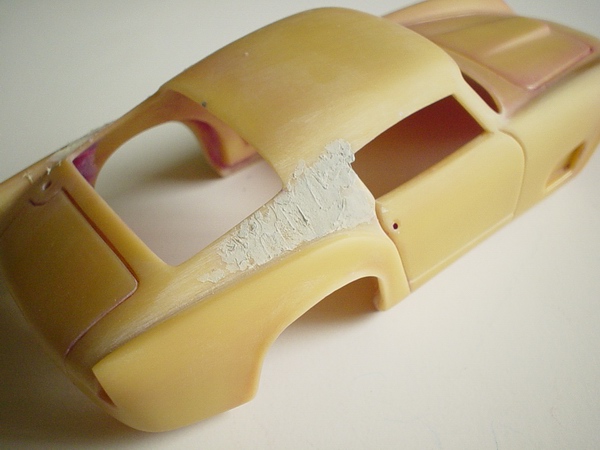
Then I roughed the surface a bit with coarse sandpaper, and carefully puttied the areas with Squadron white putty.
Second and third mist coat went on without any problems, and after they were dry I sprayed the first wet color coat. Paint looked good.

After I sanded first coat of putty, I realized that the surface on the sail panel was not exactly even, so I puttied it more, adding several layers of putty every 20-30 minutes.
After second wet coat was completely dry, I sealed it with 2 coats of Tamiya TS-13 Clear.
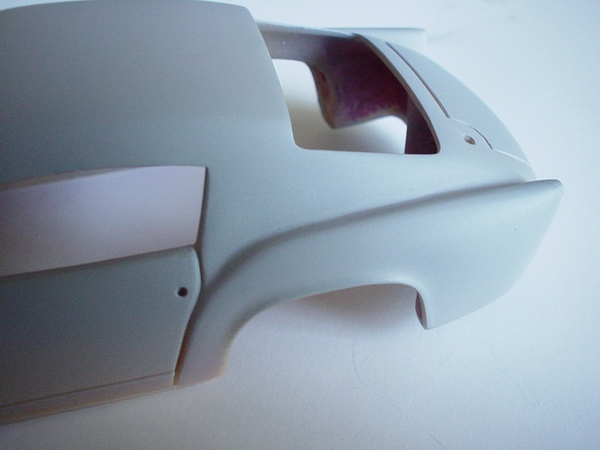
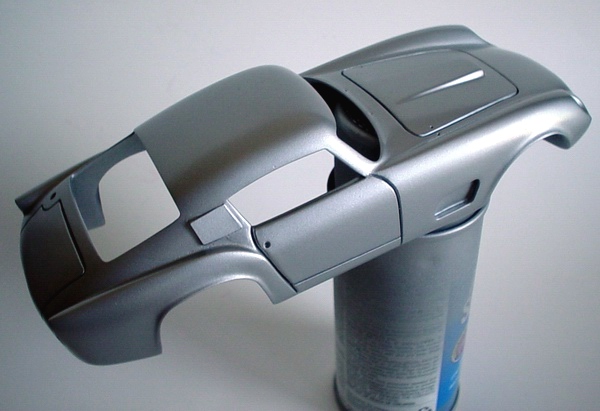
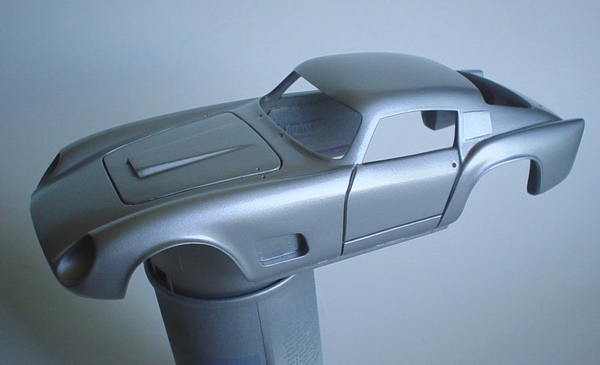
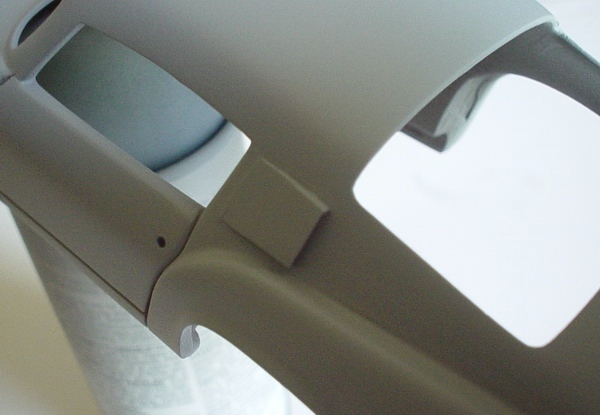
Finally all putty was block-sanded (it was quite tricky to sand it so close to the rear fender), and primed with Tamiya gray primer.

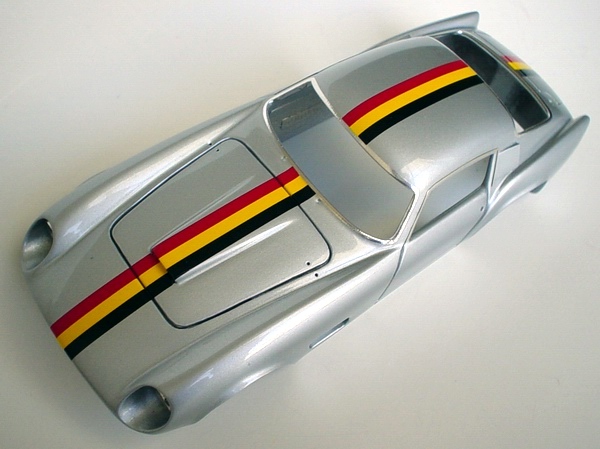
Finally, after clearcoat was dry, I rubbed the body with 3M polishing compound and waxed it with Last Detail's "The Treatment" model wax. Those louvers do look much better don't they?
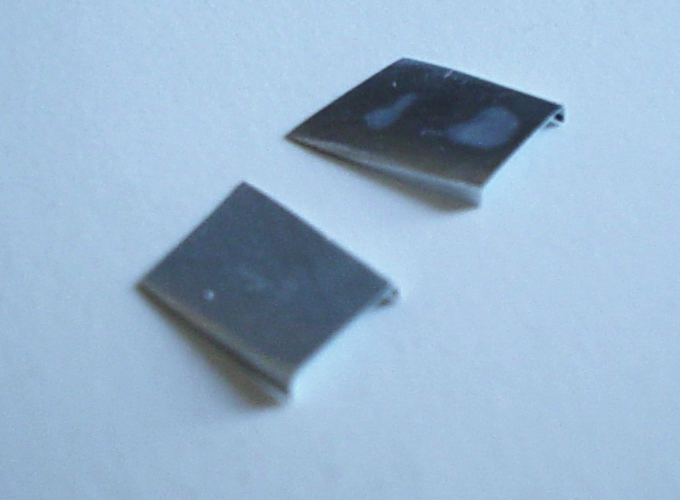
Then I made correct looking louvers from soda can (it took more than one try to get those right!) All paint had to be removed from the aluminum before attaching and painting.
Then I started decorating the body. I foiled the window trim on the rear window and windshield (kit supplied photoetched frames were too big, and honestly, I was really afraid to glue them to the polished body) and photoetched door frames.
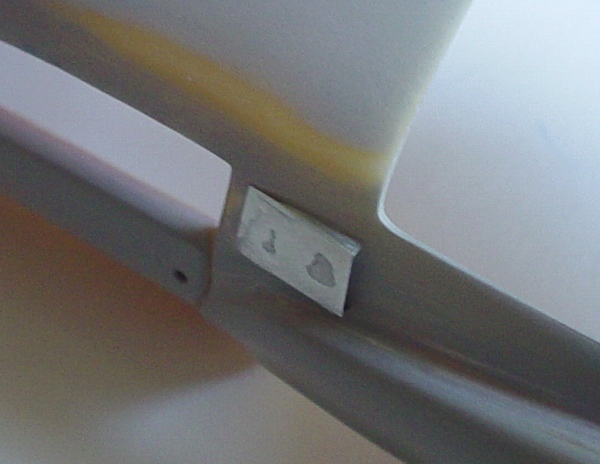
I attached the louvers to the sail panels with superglue and after glue dried, I sanded the edges smooth. Before applying the primer, I checked that louvers were securely glued to the body.
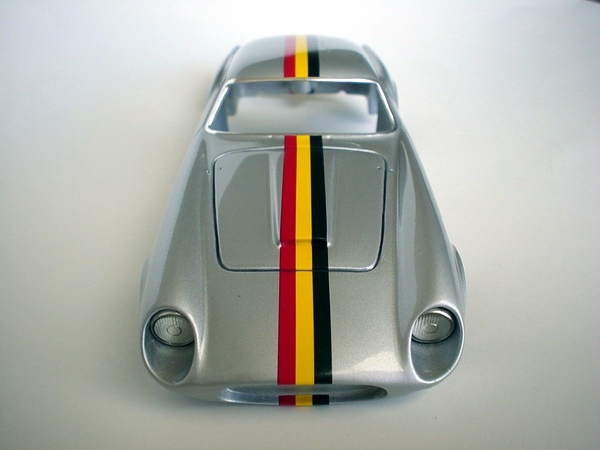
Racing stripe decals were also carefully applied and slit with hobby knife where they were crossing panel lines. I also installed the headlights.
After all was done, I sprayed the areas with Tamiya gray primer, corrected minor mistakes, and then re-sprayed the spots with primer.
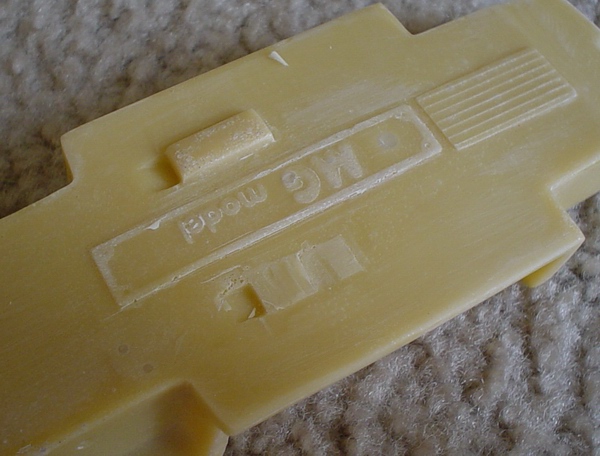
Chassis was full of bubbles, and the details molded on the plate were very crude and, for the most part, incorrect. I decided to remove everything, fill the bubbles, and add some detail to it.

Entire body was given a light rub with fine sandpaper under running water, dried, and sprayed with final primer mist-coat.
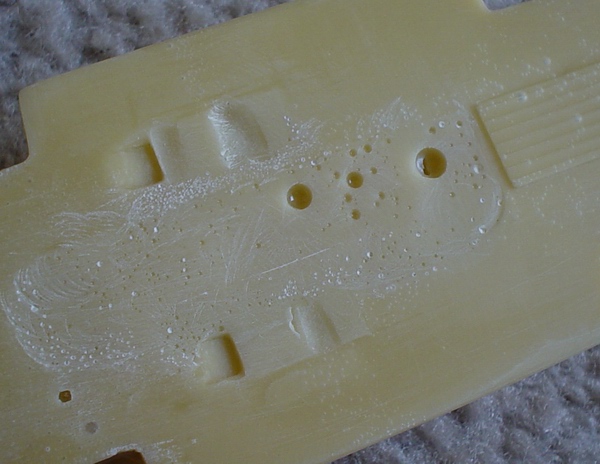
I started with removing the mufflers and MG logo. All I discovered - more bubbles. This will require major filling!