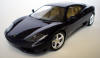
F e r r a r i 360 Modena Rosso Corsa
|
|
See Also: Tamiya 1/24 Ferrari 360 Modena Click on the picture to enter full buildup and gallery. |
 |
 |
 |
Kit: 1/24 Tamiya 360 Modena kit # 24228
Pros:
Full engine detail. Full suspension detail. Full details on everything,
including interior, exterior, and brakes. This models is almost as detailed
as famous Fujimi Enthusiast kits. Window masks, mesh, metal transfers,
excellent rims and tires, full underbody details. No problems during
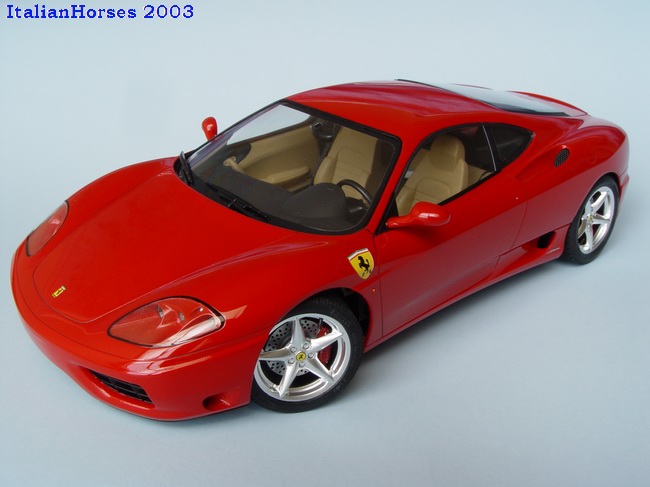
assembly, everything fits very nicely. Verdict: This kit is the one about which you can say "Its perfect in every way". Its pure pleasure to assemble this one, and it builds into a very true to the original, highly detailed model straight from the box, without any additional detailing. Tamiya beats its own quality standard with this one - IMO its one of the best Tamiya models on the market today. I would not recommend this model to beginners though, mainly because of the number of parts. Its a perfect model for seasoned modelers. The model was built to represent an existing car with some additional detailing (see list below). |
 |
 |
 |
|
 |
 |
 |
Buildup:
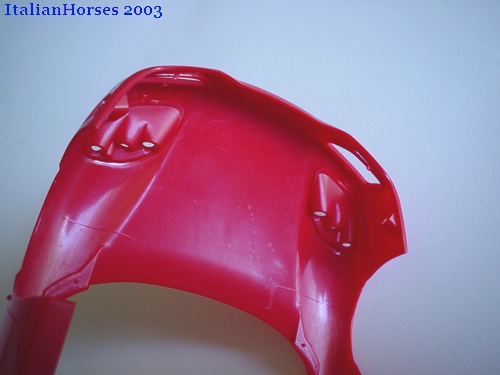 |
Headlights and brake cooling ducts were glued to the body before painting. This way they will be painted together with the body. |
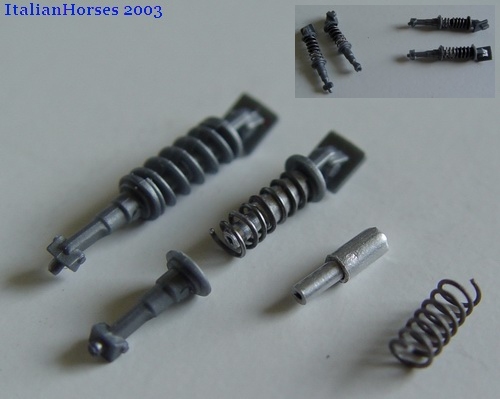 |
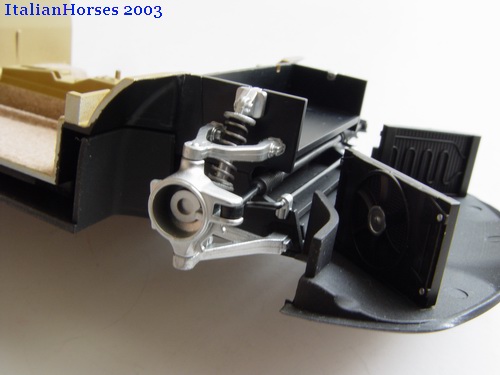
Then I rebuilt the shock absorbers. I removed the part of the shock with molded-in coil, and made a new shock from aluminum tubing. Thin wire wrapped around thicker tube was used as new coil. Then I assembled everything together and repeated all the steps for the front shocks (see inset). |
 |
The rest of the body was cleaned, mold lines were removed, and whole body was lightly sanded with fine sandpaper, then polished with toothpaste under running water, and then thoroughly washed and dried. |
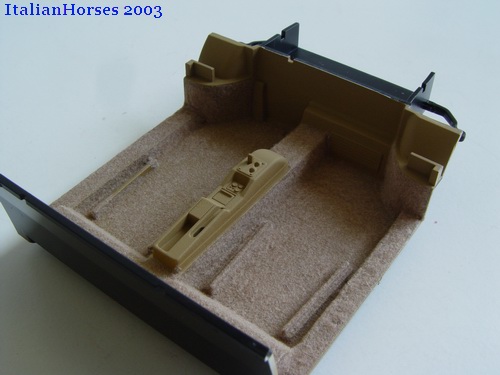 |
Interior tub was masked, primed with white primer (to cover black plastic) and sprayed with some Tamiya tan leather color. Then I flocked the floor to simulate carpet. |
 |
Then I mounted the body on a stand and sprayed several thin coats of Tamiya white sandable primer to seal the plastic. Before spraying color coats, I lightly sanded primer. |
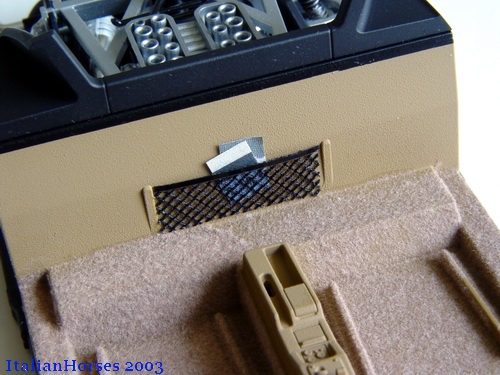 |
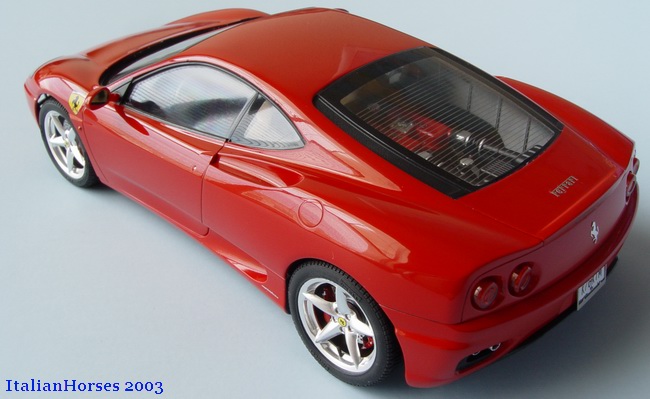
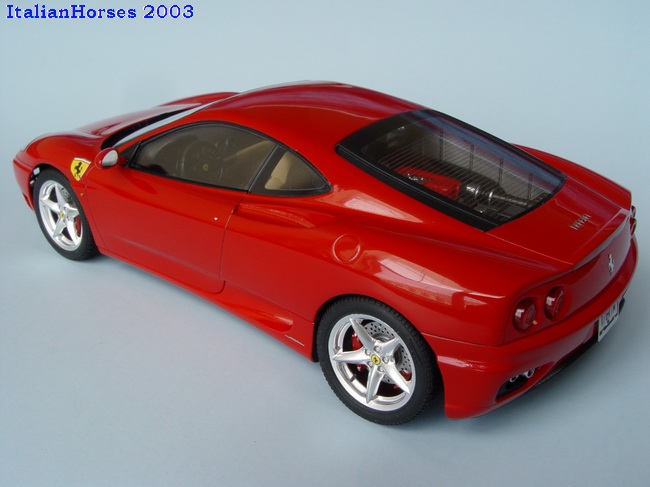
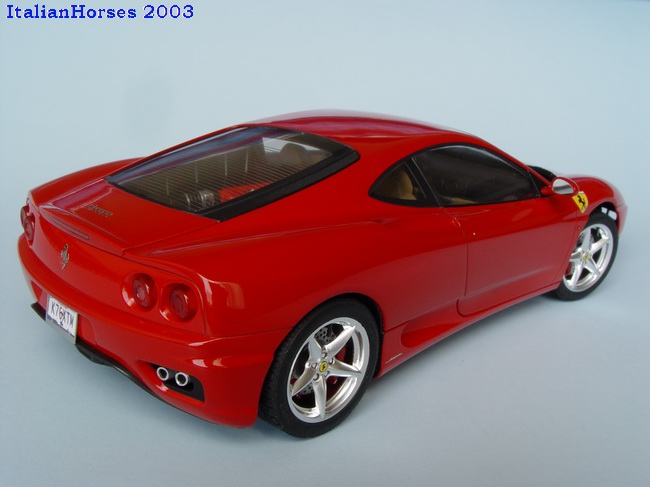
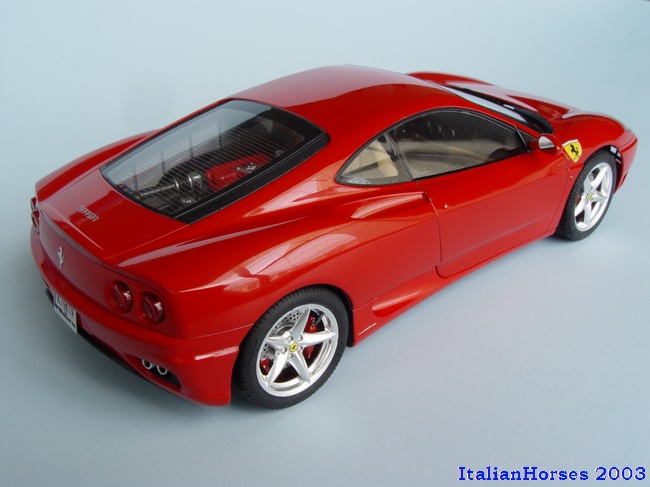
Instead of mesh decal (provided in the kit) for the rear pocket, I cut some real mesh and made a pocket that looks much more realistic. As additional detail, I cut 2 sheets of paper and inserted them into the pocket - looks like someone put a map in it! |
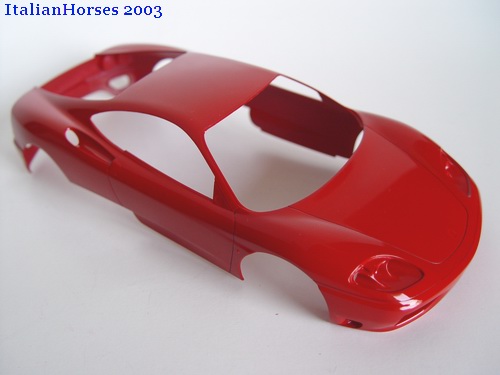 |
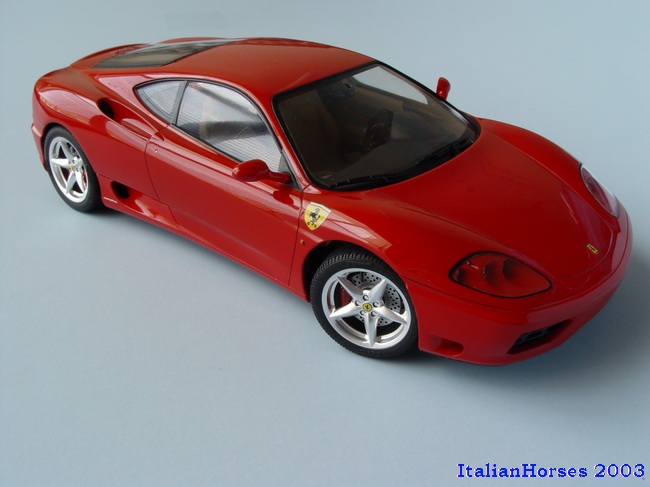
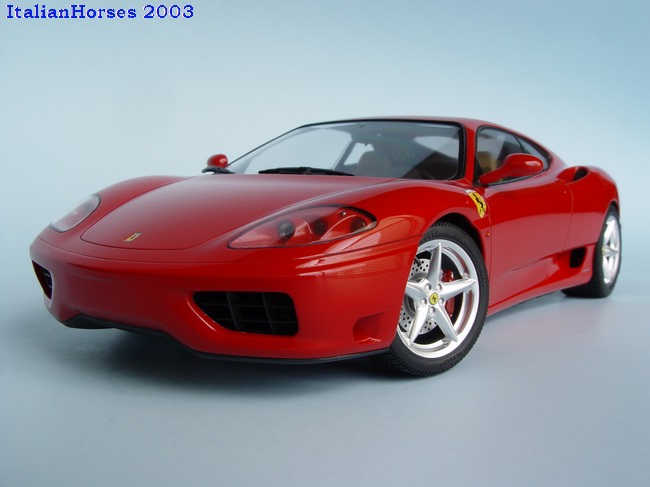
Body was painted with Tamiya TS-8 Italian Red. This is the body after final wet coat. I also darkened panel lines with acrylic wash before polishing the paint. |
 |
Kit seats have no seatbacks. This really gives the model "toy-like" appearance. I cut seatbacks from thin sheet styrene and glued them to the seats. Everything was sanded smooth, primed, and painted with tan leather color. |
 |
Body was polished with 3M polishing compound and then waxed with model wax (The Treatment) for high shine. I also cleaned and touched up panel lines. |
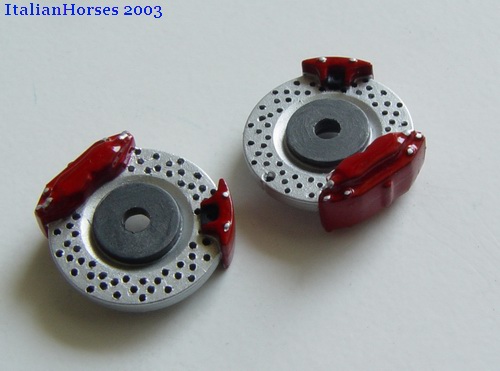 |
Brake rotors were painted with Testors steel metalizer, drilled out with #78 drill, and then detailed with red paint for calipers and titanium for rotor hubs. |
 |
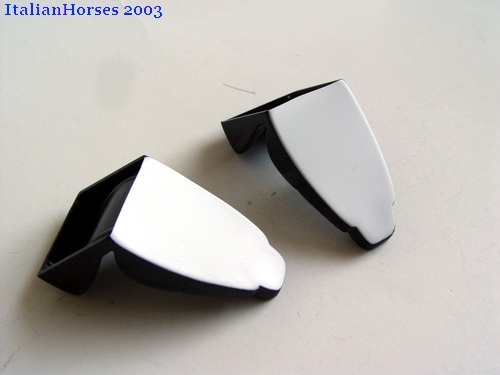
I decided to paint side panels separately, and then painted rear wheel wells black. This is the only way to achieve good paint coverage on them. Then these parts were glued to the body. |
 |
I also assembled front suspension, shock absorbers, steering rack, stabilizer, and hubs at this time, and added radiators to the chassis plate. Interior tub was also added. |
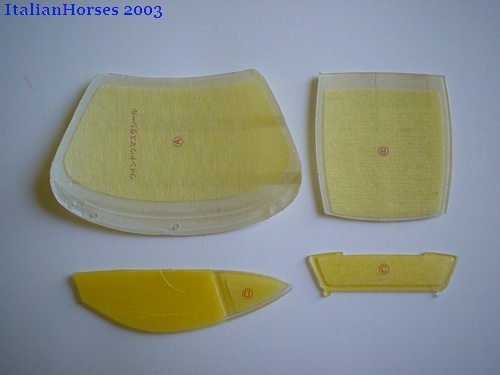 |
Window masks were applied to the windows, and I also masked outside to safely spray the trim. |
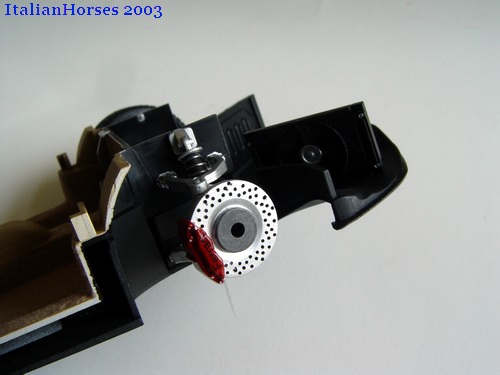 |
Here you can see completed front suspension, with installed front brakes. Home-made black "Ferrari" script decal was added to the front calipers. |
 |
After paint dried, I removed the masks, slightly polished the glass, and glued wipers to the windshield. I also painted rubber gaskets on headlight covers with fine permanent marker. |
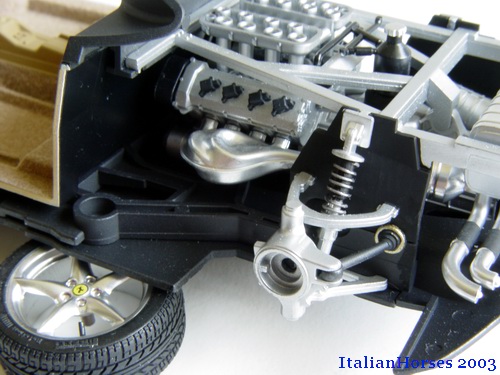 |
Finally I assembled rear suspension and added brakes, cam covers, and some other minor details to the engine bay. |
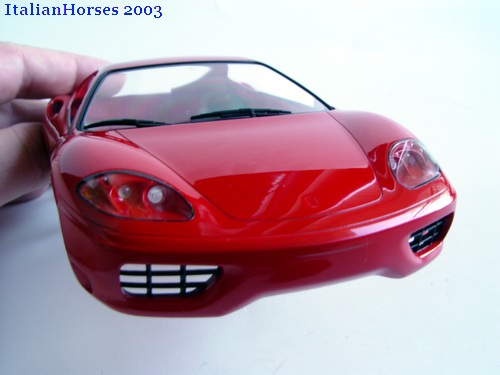 |
Windshield was glued inside the body, and at this time I also installed headlights, headlight covers and intake grilles. |
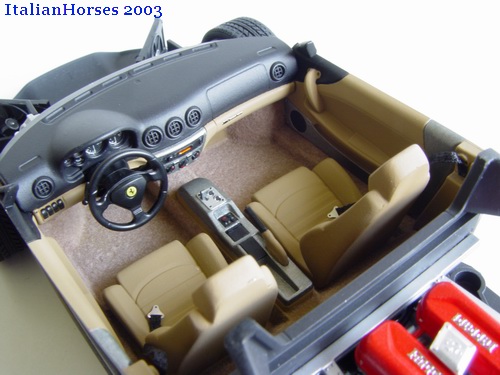 |
The rest of the interior was built straight from the box and the buildup was very straightforward with excellent parts fit. I detailed dashboard with various paints to bring out some details. |
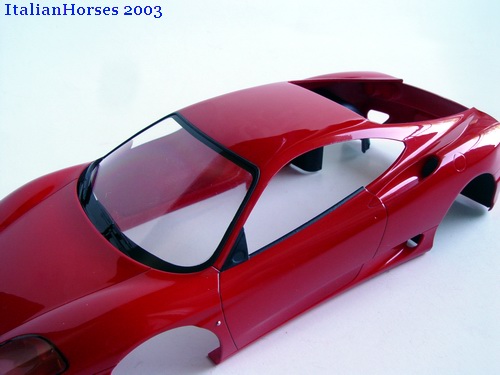 |
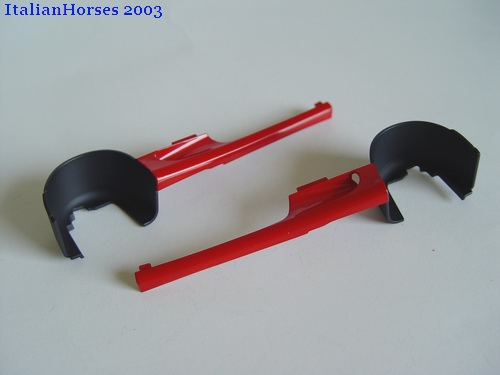
All the window trim was masked and carefully painted with Tamiya flat black. I removed masks before paint was completely dry to avoid jagged edges. |
 |
Finally I added seatbelts with Detail Master photo etched buckles. Buckles had to be superglued to the seats to stay in correct position! |
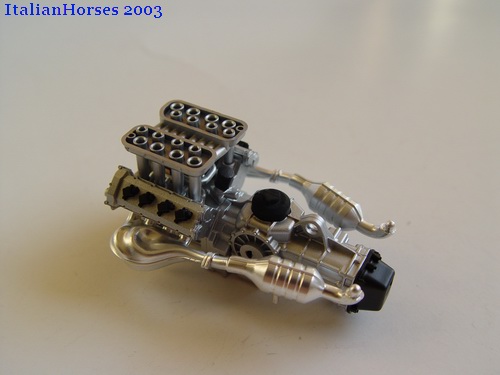 |
Engine was assembled according to the instructions, painted with Testors metalizers, and detailed with Tamiya acrylic paints and washes. |
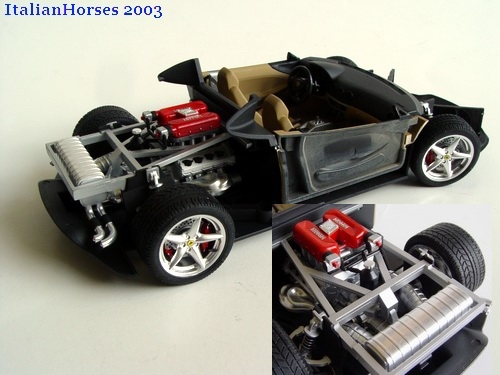 |
Completed chassis ready to be inserted into the body. I painted insides of the body flat black and headliner dark brown before doing that. Inset shows the engine before installation of the body. |
 |
Then I installed the engine block on the chassis and attached exhaust, suspension arms, and other minor details. |
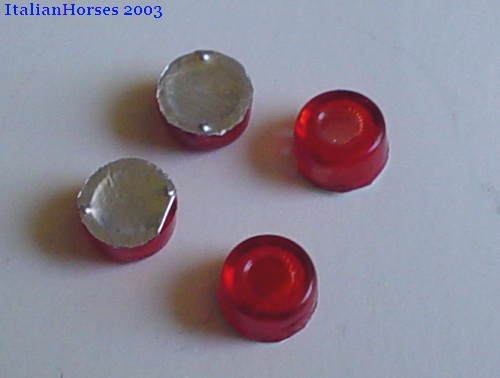 |
Finally all exterior details were added to the body - taillights were painted and backed with reflective foil. I also glued side mirrors, metal transfers, decals, and lightly waxed the model to remove fingerprints. |
List of Additional Details:
Body
Foil
taillights backing
Photoetched license plate frame
Reinforced hinge
Interior
Cloth (ribbon) seat belts with photoetched hardware
Seatbacks
Interior flocking
Real cloth mesh pocket behind the seats
Chassis/Suspension:
Drilled out rotors
New polished aluminum drilled exhaust tips
Real metal suspension coilover springs (all 4 corners)
Tire valves
Copyright 2003 Alex Kustov. No copying or reproduction in any shape or form without written permission of the author.