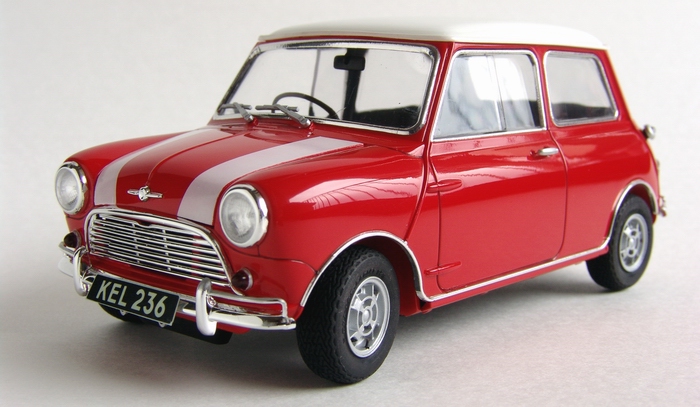
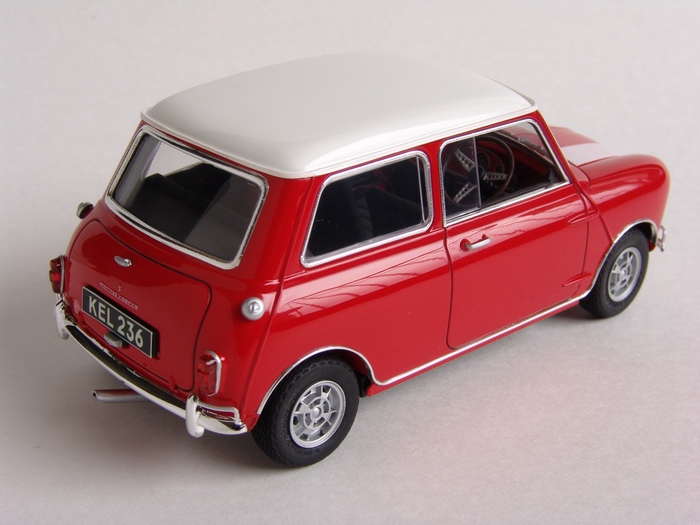
Morris Mini Cooper 1275S Mk.1
 |
 |
 |
Kit: 1/24 Tamiya Morris Mini Cooper 1275S Mk.1, kit #24039 Pros: Full detail kit, with accurately reproduced engine, front and rear suspensions, authentic interior with separate door panels. Great engraving on most parts, accurate proportions. Soft tires with realistic thread pattern and accurate rims. Separate roof panel, easy to paint in different colors. Good fit for the most parts. The kit goes together fairly well, like most Tamiya kits. Cons: I was really disappointed with the mold quality of the kit, but this is probably because it is one of Tamiya's early releases, and the tool is worn out - lots of mold lines, even a bit of flash here and there. Nothing really serious, but took some time to clean up. Chrome quality is also not the best, and certainly not up to the Tamiya's own standard - lots of dust particles and other inclusions in the plating. The plating itself is somewhat thick too. Some of the smaller details, such as wipers, emblems, and handles are a bit on the heavy side. Glass is too thick as well. Minor fit problems, especially in the hood/chassis/body area. Verdict: Overall, this is a great little kit. It is so small, I had hard time believing it was actually 1/24th scale - the wheels look like 1/43! Kit is fairly easy to assemble, and would make a great first (super) detailing project. This car can be built in thousands of different variations, and recommended to all modelers. |
 |
 |
 |
|
 |
 |
 |
Buildup
This buildup was also published in Scale Auto December 2005 Volume 27, Number 4, Marvelous Mini
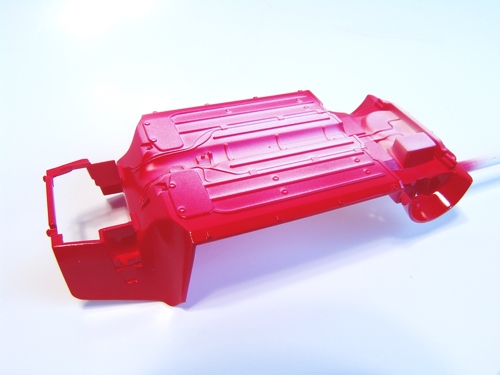 |
Most body and interior parts were molded in white plastic, and it was an added bonus, since I was painting my model red. Chassis was cleaned, sprayed with a coat of Tamiya white primer, and then engine bay area, wheel wells and sides were painted red. (I used leftover Tamiya Italian Red TS-8) |
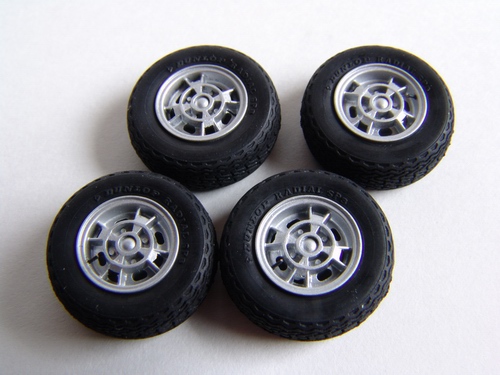 |
Tires were washed in soapy water to remove mold release agent, rinsed, dried, and fitted on the rims. I also drilled the rims with #76 drill bit and installed valve stems made from thin black Sakatsu wire. |
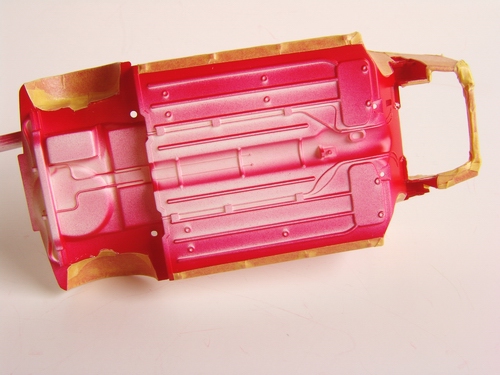 |
After paint has completely dried, I masked wheel wells, sides or the chassis and part of the engine bay with Tamiya masking tape according to the instructions. The tape was carefully burnished with the burnishing tool. |
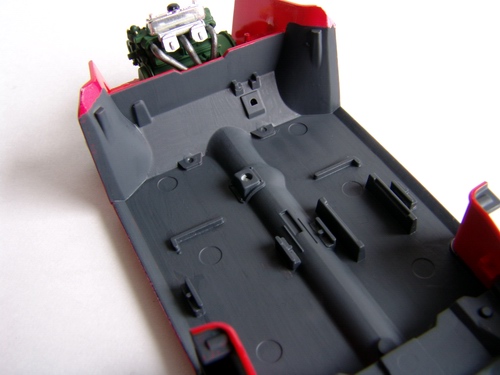 |
Interior looked pretty plain, so I decided to spice it up a bit. Most Minis had carpeting inside, so I decided to add flocking. Entire area to be covered with the flocking was painted with Tamiya XF-63 German Gray using just wide flat brush (brush marks will be covered by flocking). |
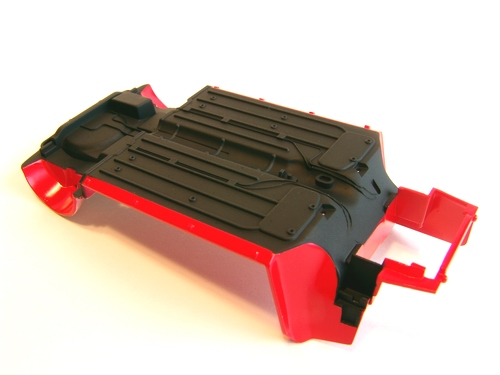 |
Chassis was painted with 1:2 mix of gloss : flat black Tamiya acrylics. I have removed masks almost immediately after painting to allow paint to smooth itself a bit at the edges (flat paint dries fast!) |
 |
Then I applied Detail Master gray flocking using white glue method as described in my tutorial. After glue has completely dried, I removed excess flocking with a fine wide brush. Big difference! |
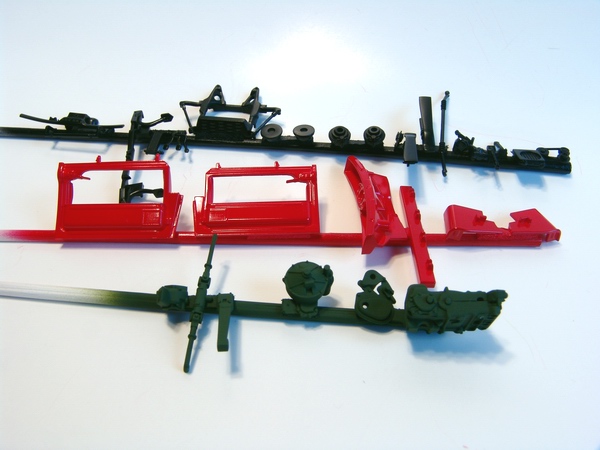 |
As usual, I separated parts by color, cleaned all the mold lines, and mounted them on wooden dowels with double sided tape. Engine parts were painted with a mix of greens, body panels TS-8, and others in different shades of black. |
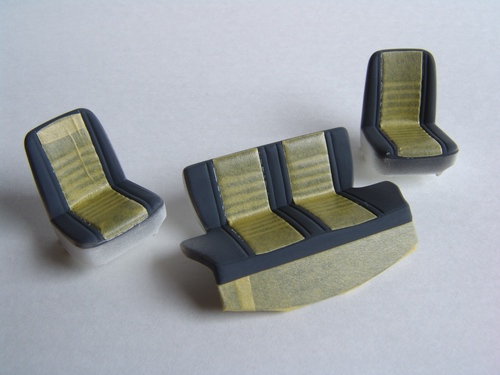 |
Seats were cleaned, sprayed with a light coat of gray primer, and painted with XF-63 German Gray. Central areas were masked off with Tamiya masking tape and carefully burnished. |
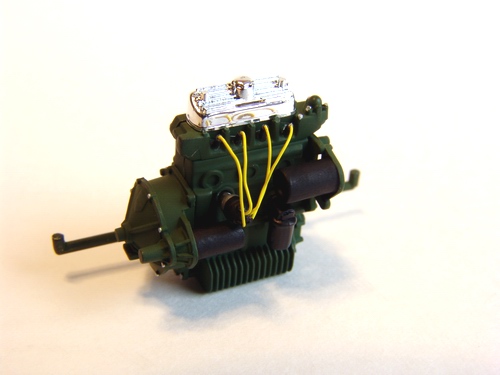 |
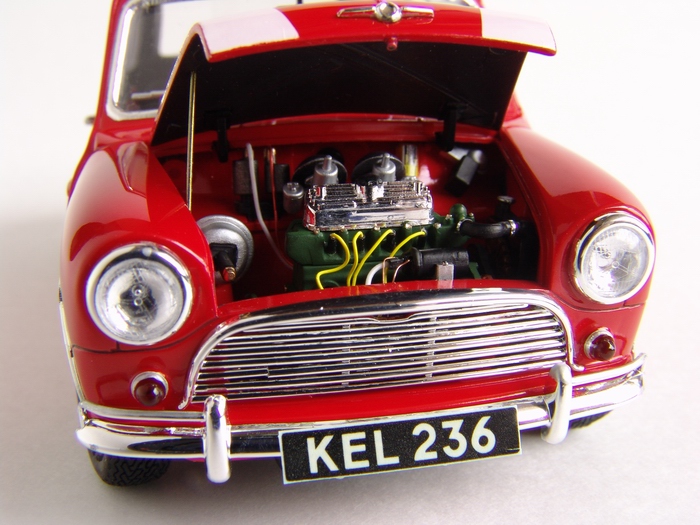
I wanted to build this model strictly box-stock, but when engine block was put together, I couldn't stop myself from detailing it. I drilled the distributor, and cam cover, made plugs from black wire insulation and wired them to the distributor with some Detail Master yellow wire. |
 |
After masking, I sprayed the seats with 2:1 flat : gloss Tamiya acrylic black mix, and carefully removed the masks before paint completely cured. This left me with a set of nice looking two-tone seats. |
 |
Then I cleaned exhaust manifolds, painted them gun metal, and glued them to the block. The whole assembly was dropped into engine frame, and front suspension and a steering rack were added. |
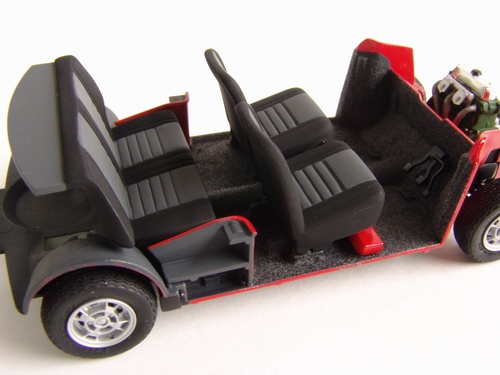 |
After paint on the seats was dry, I glued a body-colored front seat support, and installed both front and rear seats to the interior. Then I glued-in hand brake and pedals. |
 |
Brake calipers were painted gun metal. I also picked all bolts and nuts with different shades of metalizer paints. Distributor was glued to the block. |
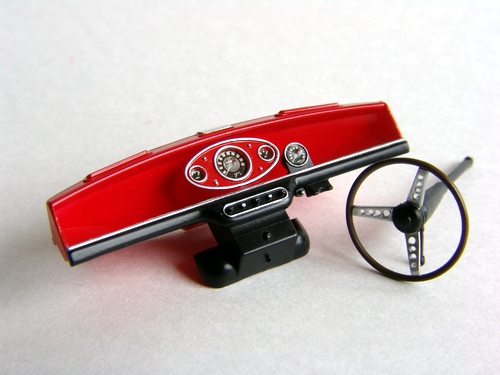 |
Dashboard was assembled from two pieces (black lower piece and red top) and detail painted with fine brush (silver trim and knobs). Decals were applied to the instruments. Steering wheel's spokes were drilled out, then the wheel and the column were painted and assembled together. |
 |
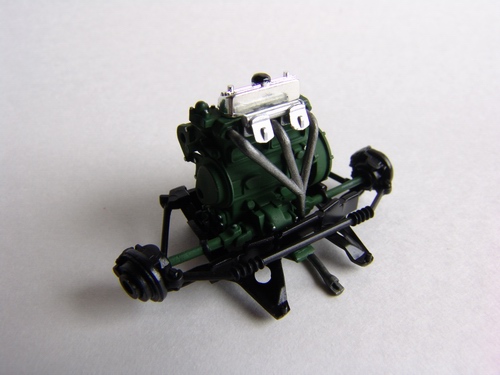
Entire engine assembly was carefully glued into the chassis, manifolds attached to the exhaust system, and front suspension fitted with shock absorbers. |
 |
Steering column was glued to the dashboard, and entire assembly was installed to the interior. I also added gear shifter, and few other small details. |
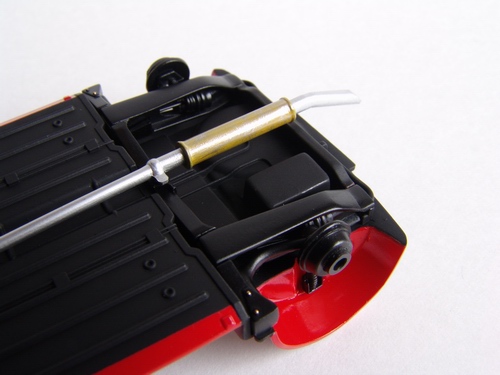 |
Rear suspension was also assembled, fitted with shock absorbers, and glued to the chassis. Muffler was painted yellow (according to instructions), then I dry brushed it with Burnt Metal metalizer to give it a metal (and somewhat duller) look. |
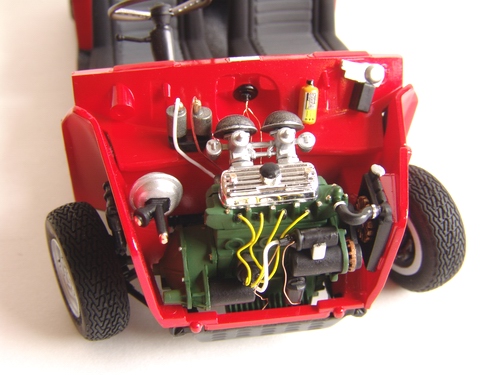 |
Engine bay was accessorized and detailed. I wired the instrument panel, added wired ignition coil, master cylinder, air filters, capacitors, relays and other components. Radiator hose was detailed with BMF clamps. |
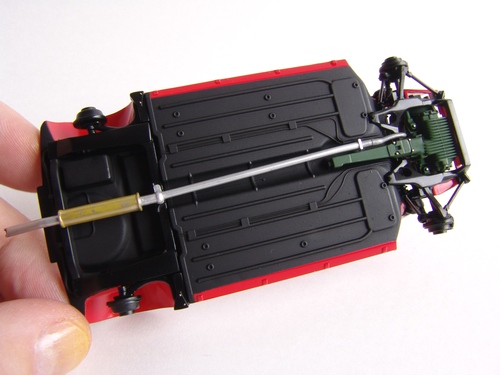 |
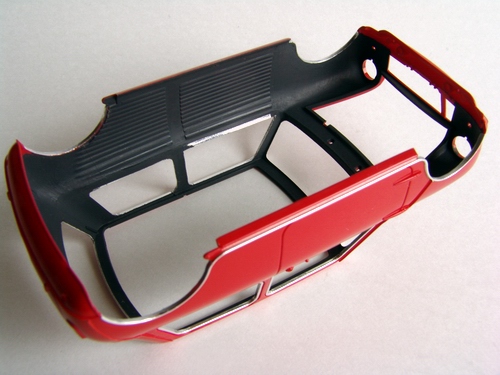
Exhaust tip was drilled out, and painted flat black inside. This little trick adds a lot of realism to the model. The picture shows completed chassis. |
 |
As a final touch I covered ashtrays on the dashboard and near the rear seats with BMF, and the chassis was completed. |
 |
All mold lines on the body were sanded off with sanding sticks, and entire body lightly wet-sanded with 1200 sand paper. After a coat of Tamiya white primer, I sprayed 3 mist coats and 3 wet coats of Tamiya Italian Red TS-8. |
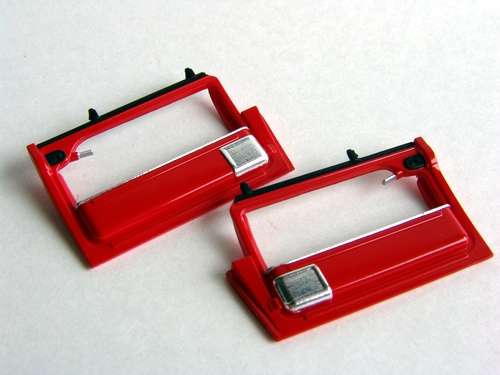 |
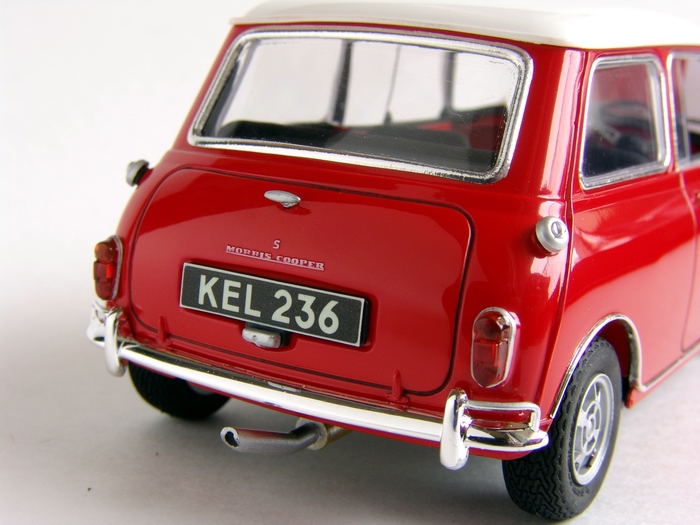
Door panels were detailed with BMF, window trim and latches were painted Tamiya's semi-gloss black X-18. |
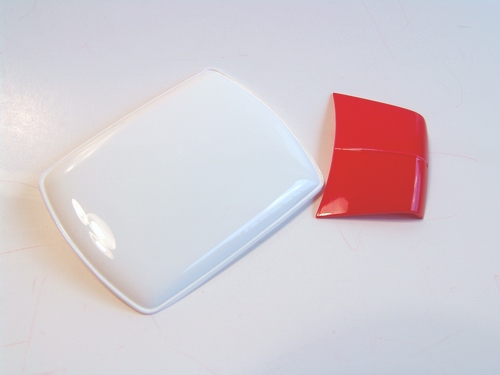 |
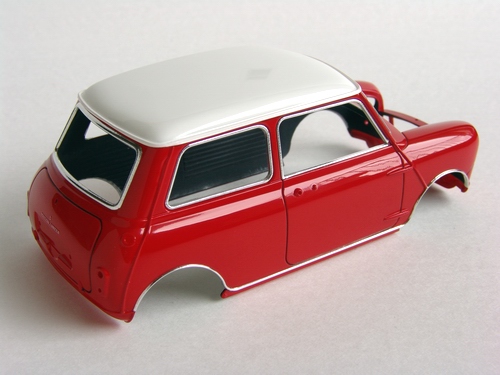
Roof and bonnet were also carefully cleaned and sprayed with a coat of white primer. Hood was painted Italian Red, and roof with Tamiya's Pure White TS-26. |
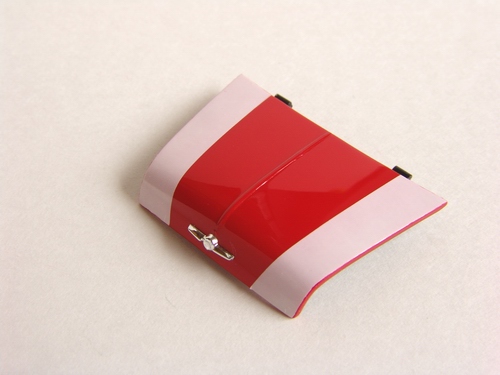 |
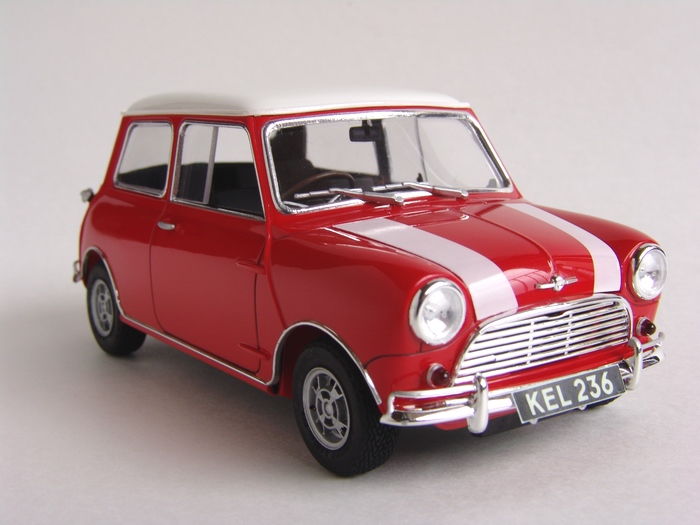
Hood was painted flat black from the inside, and fitted with kit-supplied hinge. Then I added chrome hood emblem...but it still looked plain so I decided to add white stripes to complement the roof. Stripes were made from two layers of white decal paper (single layer was not covering red paint completely). |
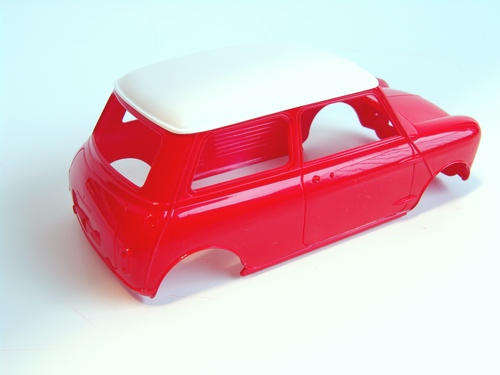 |
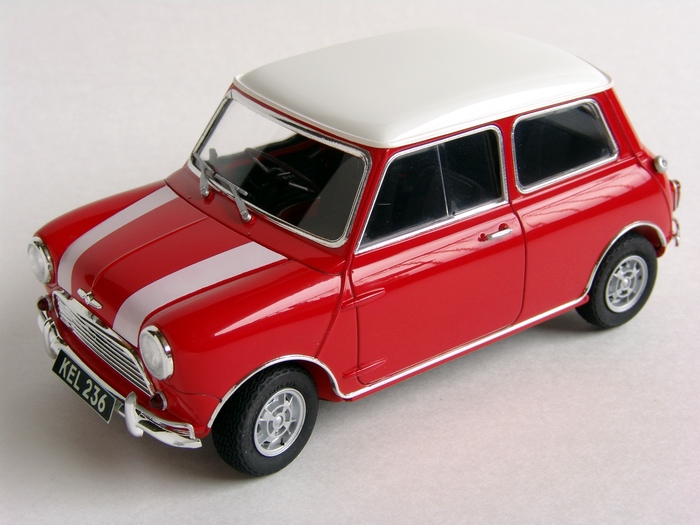
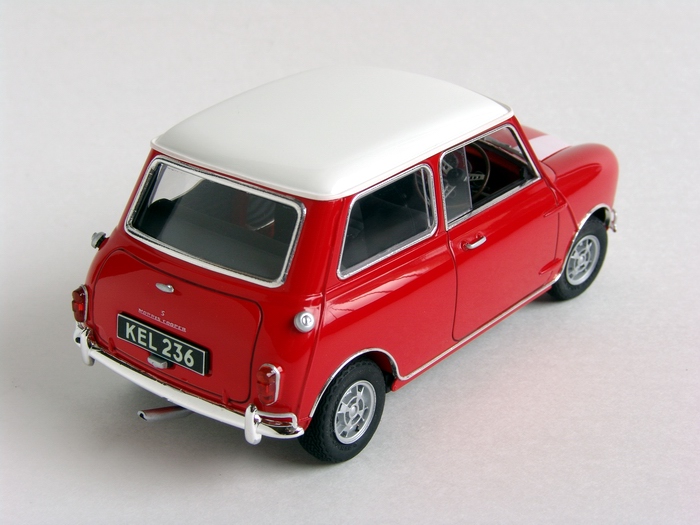
Body was polished with 3M polishing compound, followed by Tamiya Fine Compound, and Last Detail model wax. Body looks great with red/white paintjob in this mock-up! |
 |
Insides of the body were painted flat black with wide brush. Inner side of the roof was painted flat white and glued to the body. |
 |
Wheels were molded in black, so I primed them with gray primer and painted with two coats of Model Master Aluminum metalizer followed by light burnishing to bring out the shine, and a light coat of Tamiya TS-13 clear to seal the metalizer. |
 |
Window and body chrome trim was covered with BMF, panel lines washed with red/black wash. Body was waxed, fitted with door panels and the hood, and snapped onto the chassis. I had some fit problems in the hood area, but nothing serious. Finally, I added lights, grille and other chrome-work. |
Copyright 2005 Alex Kustov. No copying or reproduction in any shape or form without written permission of the author.