How to Make Flocked Floor Mats
Materials and Tools Needed
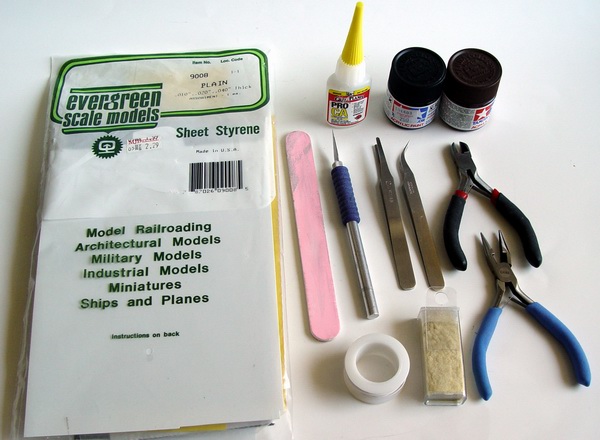
Ever looked at a great model interior and wondered - something is missing... Floor mats! Great and simple way to add some more realism to your interiors. To make realistic floor mats you will need the following tools and supplies: sheet styrene (the thinnest you can find, I used .010", its almost like paper), thin coated wire, flocking, super glue, some paint, hobby knife, tweezers, side-cutters and pliers with jagged jaws.
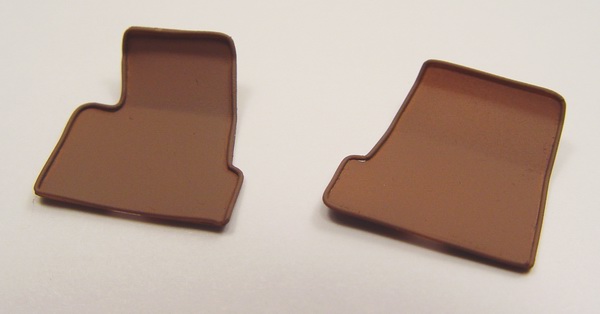
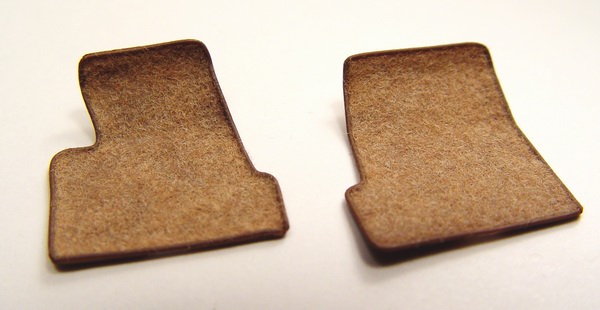
Cut the basic shape of your floor mats from sheet styrene (you can actually use thick paper, but plastic is better), test-fit them on your model and bend plastic to shape. Make sure the shapes are correct, then round the corners with a sanding stick.
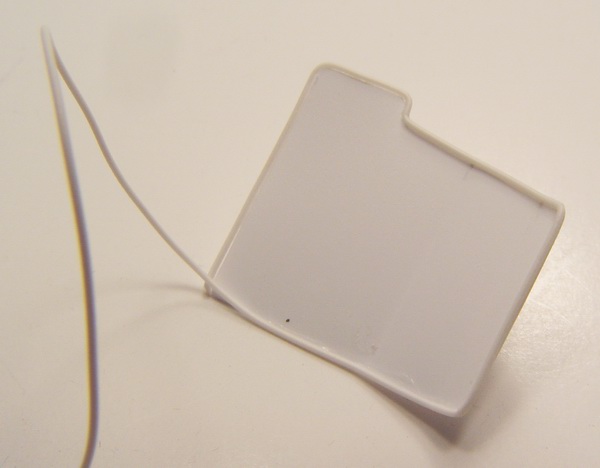
Using superglue applied with a toothpick, glue coated wire (insulation on the wire helps stick to the plastic) to the edge around the floor mat. This will be our mat trim.
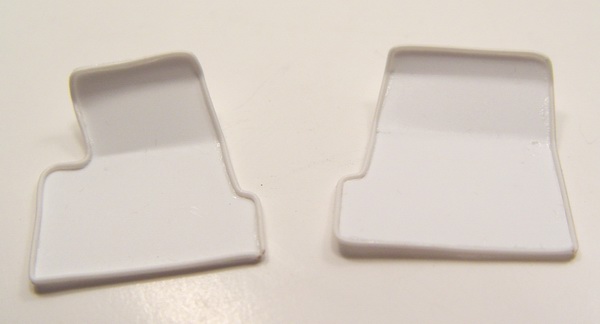
Do not worry if you get some glue on the mats, or if the trim is slightly "off line", just make sure the trim is glued securely to the plastic. When glue dries, sand all the imperfections with the sanding stick, and bend the mats into correct shape.
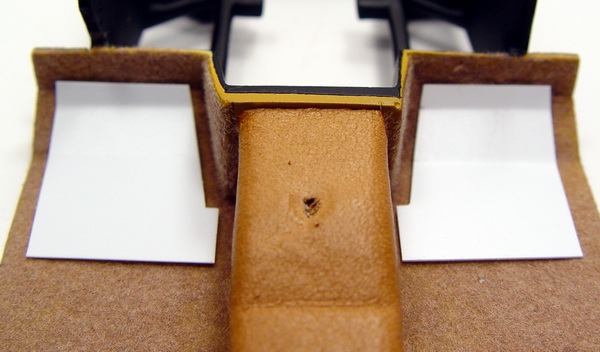
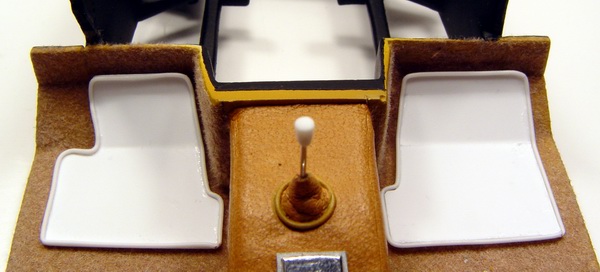
When finished, test-fit both mats in the foot wells, checking for proper alignment and curvature.
Paint the mats using appropriate color. You may brush paint them, flocking will cover small imperfections in the paint. I just airbrushed my mats since I had some leftover paint from previous paintjob.
Using fine brush, cover both mats with water-diluted Elmer's white glue. Be careful not to put glue on the trim.
Sift some flocking over the floor mat and let it dry for 30 minutes or so. After the glue visibly dried, press flocking with your finger (see flocking tutorial for detailed process of flocking application).
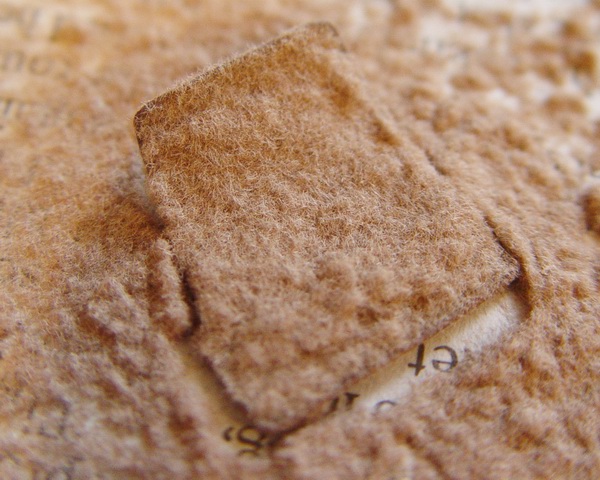
Almost done! Shake the flocking off the floor mats, and let them dry overnight. Now we have two very realistic-looking floor mats! They looks almost like the ones in my car.
You may leave your mats as is, and they will greatly enhance your interior. But you can make them even more realistic!
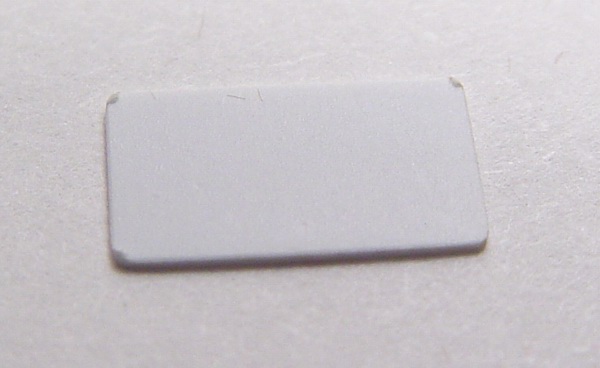
Lets give some final touches to the driver's mat. Cut small rectangular piece from the same thickness sheet styrene (or thin leather). and round the corners.
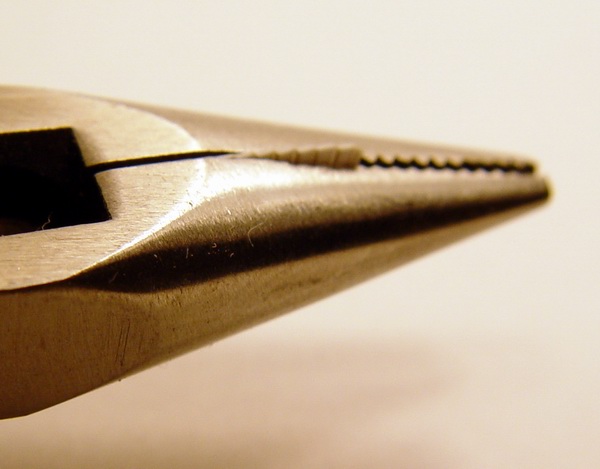
For the next step you will need a pair of pliers that look similar to the pair on the picture - with jagged jaws.
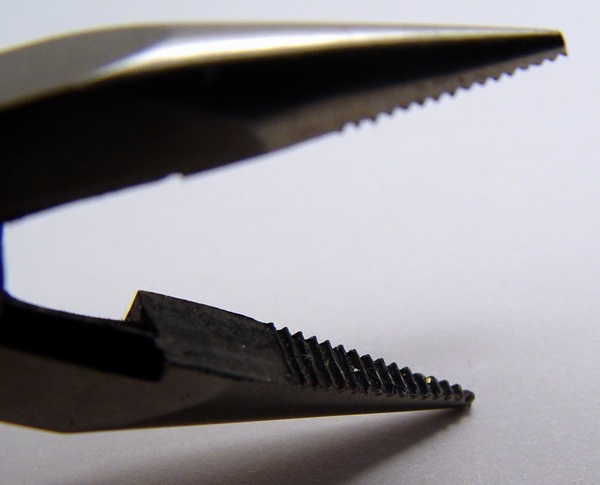
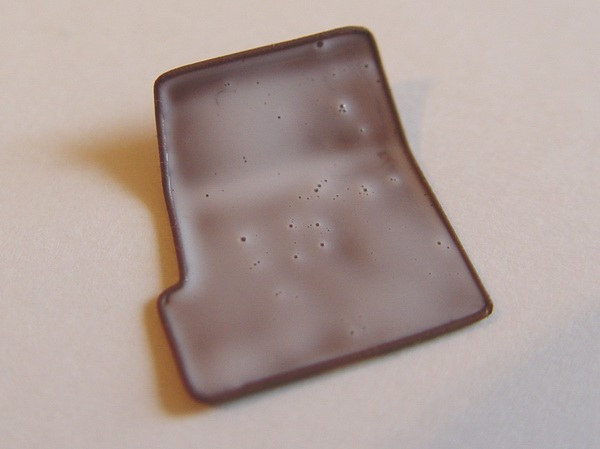
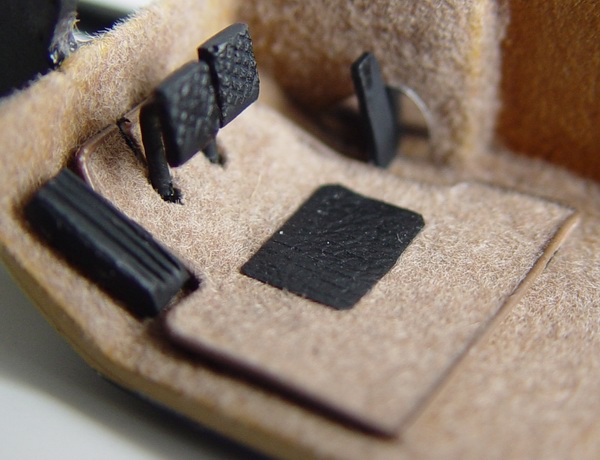
Holding your plastic plate between the jaws, lightly squeeze the pliers to emboss the plastic. It can be done using other methods, this one is the fastest of all I tried, though not the best.
You will have something similar to the picture below. My pliers were not wide enough to cover entire plastic plate, so I had to squeeze it 3 times, which resulted in some problems with groove alignment. Use the pliers that will cover the whole piece.
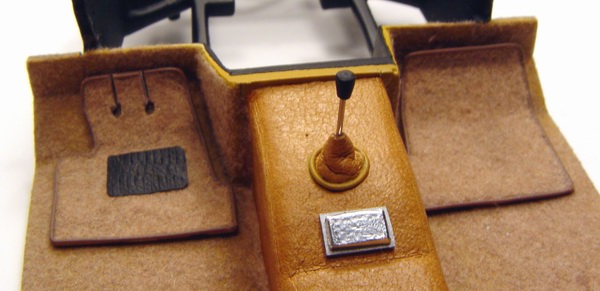
Paint the plastic flat or semi-gloss black, and glue it to the driver's mat. Now it looks even more real!
Another picture of the completed mats.
Finally, if driver's mat interferes with the pedal assembly, you can cut it to fit around the pedals. Using very sharp Xacto blade, cut the holes for the pedals.
Test-fit the mat, and using pencil or marker mark pedal locations to drill in the floor through the floormat.
Glue the mat to the floor, and then install the pedals (not the other way around). Now you have the ultimate floor mats! Hope this tutorial will help you enhance model interiors on your future models.
Copyright 2004 Alex Kustov. No copying or reproduction in any shape or form without written permission of the author.