PERFECT PAINT
How to Apply, Polish, and Wax Your Paint to Perfection
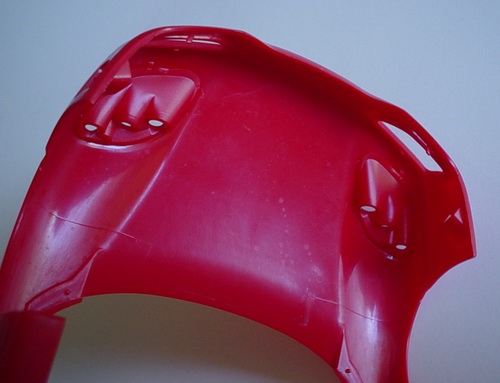
When I take the body from the box, I carefully examine it for possible problems when painting - like cavities where paint probably won't be sprayed, high points, difficult curves, etc. This gives you an idea HOW to paint this particular body. If the body consists of several parts (hood, doors, bumpers, etc), I paint them separately. (I know most people try to paint them all as one thing to keep number of paint layers the same, but I just count the layers). If there are several parts that will be glued to the body and painted body color, like headlights bases, cooling ducts, etc, glue them before painting.
First thing I do is preparing the body. Plastic preparation is relatively simple
- wash the parts, sand all the mold lines, fill all the sink marks, smooth all
irregularities, correct all inaccuracies, then light sand everything with fine
grit (800) sandpaper under the running water, then dry.
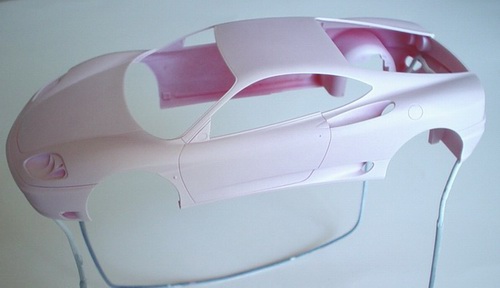
Now it is time to prime the body. I use Tamiya Surface primers - these are the best I found so far. First coat is ALWAYS gray primer. If everything looks good, I spray a coat of white primer and let it dry completely. If I make more corrections, I spray another coat of gray, then white. This is very critical stage, and I'm a firm believer that the body MUST be white for absolutely any color, except black and silver. These two colors will cover anything. Gray color requires gray primer. After white primer is dry, I smooth it by slightly wet sanding it with 1200-1500 sandpaper, and then brushing it with toothpaste. Make sure you don’t sand trough white. Then thoroughly wash the body several times to remove all toothpaste and other residue. Dry for 2-3 hours.
When primer is dry, actual painting starts. My favorite paints are lacquers, but a perfect finish can be achieved using any type of paints. I used enamels and acrylics, cellulose paint and nail polish, but lacquers are my preferred type of paint, especially Tamiya synthetic lacquers. It doesn’t really matter how you apply the paint - spray can or airbrush - both methods are good for large area coverage such a body of a model car (many may not agree with me, but I laid very good paintjobs using both cans and airbrush). Rattle cans could be tricky sometimes, because you can't really control the pressure and paint flow, but I found that Tamiya cans are very easy to use, and their paint is very forgiving. I will give the guidelines for lacquer paints, but all the steps are similar for other types of paint, with only slight differences in application and drying times. In any case, to lay the foundation of the good paint job, mount the body on your favorite stand, and spray a very light coat of paint.
Do not even bother to cover most of the primer - just mist some paint, but make sure you mist it everywhere. Also, make sure that the humidity and temperature are suitable. Do not paint when it is cold or very humid, and when its very hot and dry. After about 20 minutes (more for enamels), lay down a second mist coat, this time try to cover most of the primer.
If there are still some white spots - do not worry about it. After 20 minutes, inspect the paint - if you managed to put some dust in the paint already, wait another hour (more for enamels) and then wetsand the dust and other particles in your paint with very fine (3200) paper. Wash and dry the bodyshell. Spray another (usually the last one) mist coat.
This coat must cover all white primer, and the body must be covered completely. The paint could be flat in places, but this is normal. Make sure its uniform and covering every possible surface. Dry for 2-3 hours. If the paint is not completely dry before spraying a wetcoat, solvents in the paint may dissolve the paint underneath and cause many problems, like poor coverage on the high spots, paint running, and uneven coverage.
After all of your mist coats are dry (I usually wait about 2-3 hours with lacquers and a 24hrs with enamels) its time to spray a wetcoat. If you using your airbrush, thin your paints a little less than you would for your mist coats. This will prevent paint from easy running. If you are using spray cans, just increase the distance to the model 1 inch, but move your can little bit faster when spraying.
Now to the most important part. Press down the trigger and start painting. Add paint to the surface with steady motion until the paint starts to gloss up, or the better way to explain it would be when the paint starts to look WET. This is when you have to stop, or the paint will run. Make sure you cover the entire body, not only one side. Do not spray one side till the paint glosses up and then move to another side. Do it all at the same time to assure even coverage everywhere. I rotate my bodyshell very often when painting; this is why I prefer using coat hanger as my stand. After spraying the first wetcoat, cover the body with something to avoid dust in your paint. You can remove the cover in 10-15 minutes to allow the paint to gas out. Now the paint needs to cure for much longer period than 2-3 hours. Even lacquers. I usually wait 24 hours for lacquers, and 2-3 days for enamels, acrylics are very similar to lacquers in their drying time btw.
After paint has cured, you will probably see some texture to it - even if your undercoats were glass smooth. That's normal because paint gets textured while it dries. This is especially true for lacquers. Second wet coat will cover this. About the only thing you need to do before spraying the second wetcoat, is make sure you do not have dust and other things in your paint. Wet sand them with 3600 sandpaper, and smooth out the paint with even higher grit (or toothpaste!). Wash and dry. If your wetcoat removed some paint from the high spots and you can see white primer bleeding through - this is the time to touch up those spots. Do not put a lot of paint though - or it will be visible even after second wetcoat. Mount your body, and repeat the process. This time leave the paint to cure for at least 4-5 days for lacquers, and good 10 days for enamels.
Now when your paint is dry, we need to polish it to a high gloss shine! Its not a necessary process, but even if your paint looks awesome after second wetcoat, it will look mile deep after polishing. If you managed to put some dust in your paint while laying down a second wetcoat, wetsand it with very fine (3600) sandpaper. Be extremely cautious if you used metallic paints - metallic colors tend to get lighter in places of sanding, and you do not want this. The rule of thumb when polishing metallic paints, is to apply a coat of clear over the metallic paint, let it dry completely, and then polish the clear coat, not the paint. This adds one more step to the painting process, but believe me, its better than stripping the entire body! Lightly sand the entire body with 6000 grit, and then smooth out with higher grits (8000, and maybe even 12000, but I rarely use this one!). When sanding is done, rinse the model under the running water and let it dry.
Now about polishes and waxes. I use 3M polishing compound and The Treatment wax "the last detail".
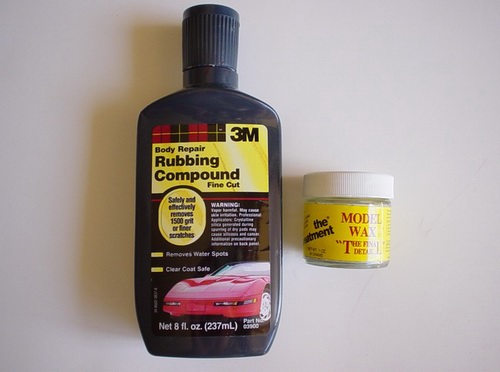
I had great success with Novus
polishing system, and also with 3M compound and Tamiya Wax. Basically, you can
use any fine polish and wax (even automotive wax on lacquer paints). The
polishing process is simple enough: get a cotton cloth (old t-shirt work fine),
preferably white (this will help you see how much paint you removing), several
q-tips, 2-3 toothpicks, and a polishing cloth (same t-shirt). Wrap the cloth
over your index finger and dip it into polish. Then start rubbing the surface
with circular motion. Try not to rub over fine details and raised edges. Polish
works just like fine sandpaper, only in a liquid state. It removes paint and by
doing this smoothes the surface, and if you rub over raised edges, it will
remove paint just like sandpaper does. When polishing the paint, rub it till all
polish is absorbed by the cloth, and then take another (clean) cloth and rub
over the polished area to remove remaining polish. You will immediately see if
you need to polish this area some more, or if its already polished enough. Do
not worry if some of the polish filled the panel lines, you will get rid of it
later. Use q-tips dipped in polish to polish hard to reach areas. Work slowly,
and check your work often. Repeat the process if needed, and move to another
part of the car. I usually start with the hood and continue to the roof, trunk,
then to the sides of the car. When you done polishing the entire body, get an
old toothbrush, and wash the body under warm running water gently scrubbing
panel lines with toothbrush and mild detergent to remove all the polish from the
panel lines. Rinse the body and let it dry completely.
When its dry, use the same technique as with the polish to apply wax.
Wax is even finer abrasive, and will bring your paint to an amazing shine, you
will see your reflection in the paint!
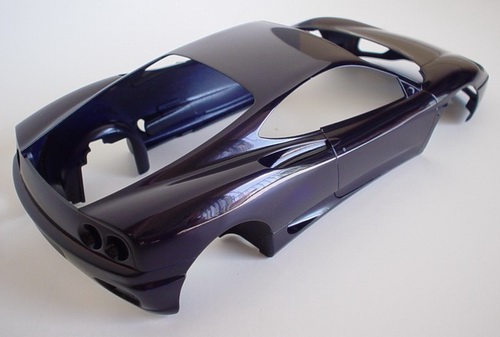
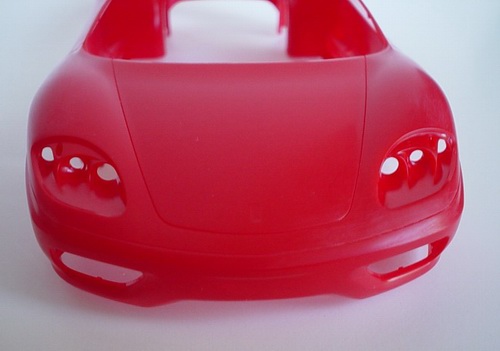
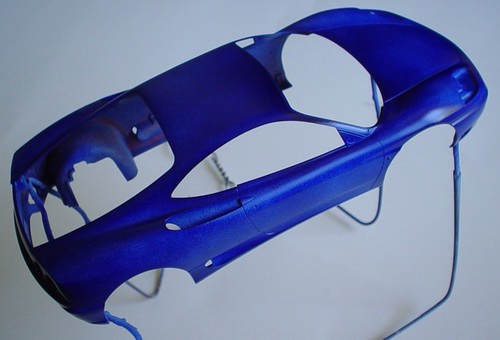
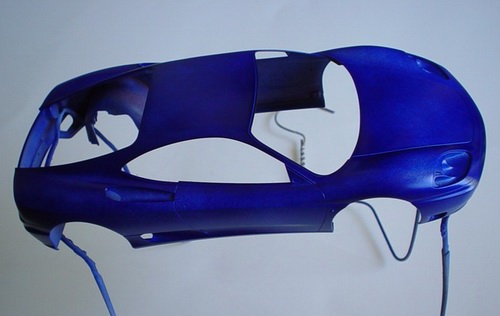
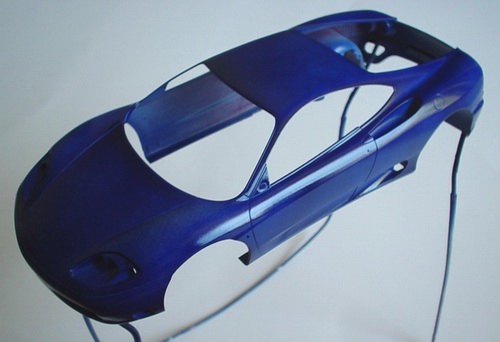
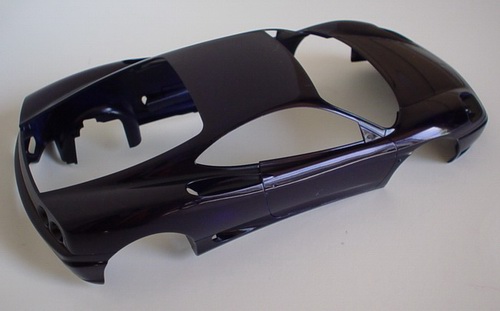
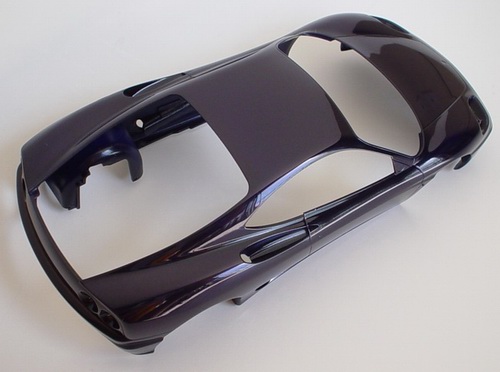
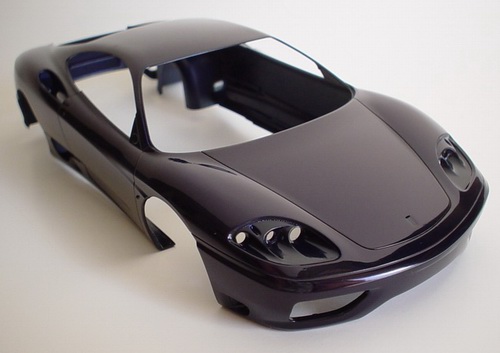
Again, work slowly, and check your work often, because it will be really frustrating if you cut through the paint on this final stage! Of course you'll be able to touch it up, but its better not to. On this stage try not to put a lot of wax into the panel lines, cause you wont be able to wash the body after waxing. Put very little wax on your cloth, and try not to rub over the panel lines with loaded cloth - only when there are almost no wax left on it. After you done waxing the entire body, take a toothpick and carefully remove all the wax from the panel lines. Then give a body one final rub with clean cotton cloth. Try to rub in circular motion again. After you finished, your paint should look similar to the one on the pictures below.
Copyright 2003 Alex Kustov. No copying or reproduction in any shape or form without written permission of the author.