Building a Simple Photo Booth for Under $20
Materials and Tools Needed for the Job:
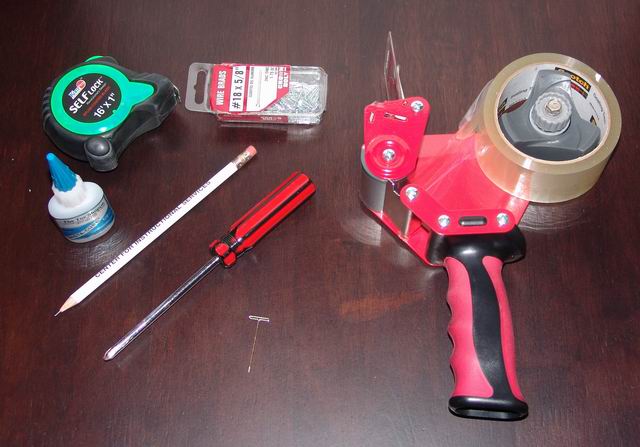
You will need a roll of clear packaging tape (I used 3M Scotch brand), a measure tape, some wire brads, a pencil, screwdriver, steel pin, sharp knife, and a bottle of liquid CA glue.
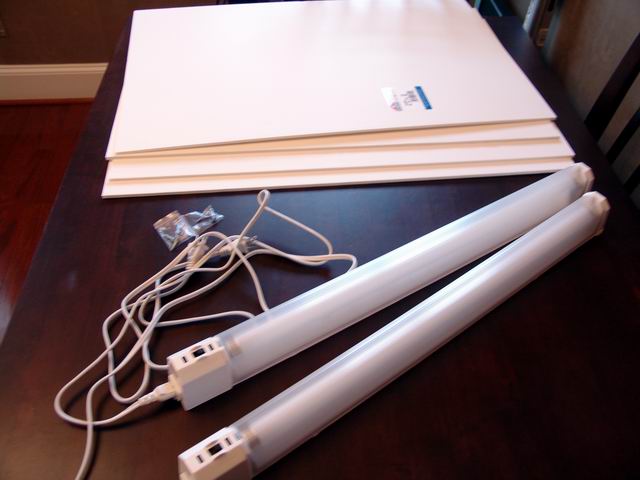
You will also need 4 Elmers (or other similar brand) white poster foam boards ($1.50 each at Wal Mart), and two 24 inch under-cabinet fluorescent lights (any brand, I used American Standard with 75 Watt lamps, $6.49), the brighter the better.
Building the Booth
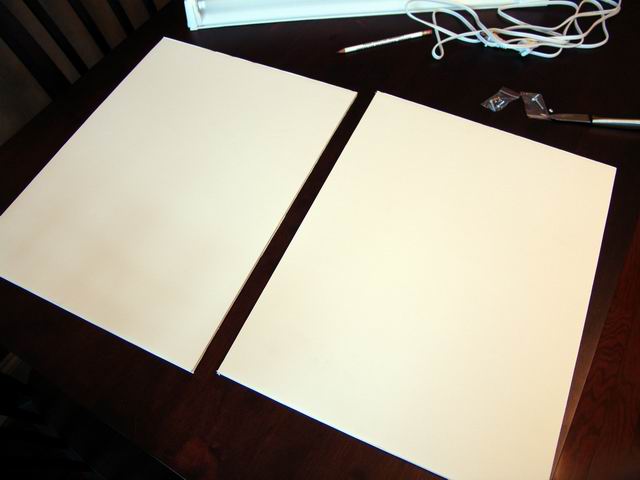
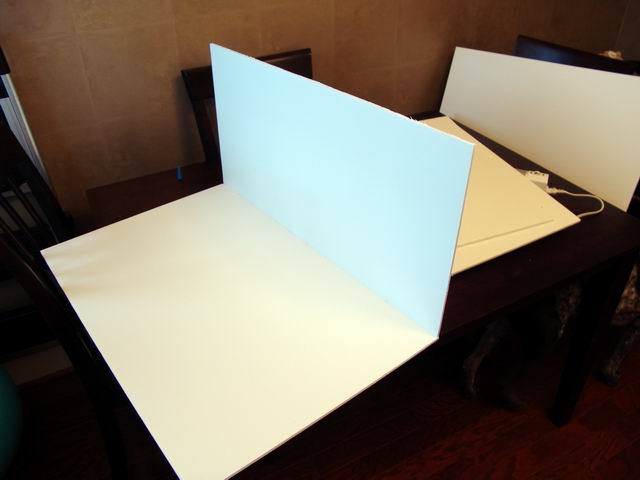
Now we need to build a box. Cut one of the boards in half (15 inches) - these will make sides of the new booth.
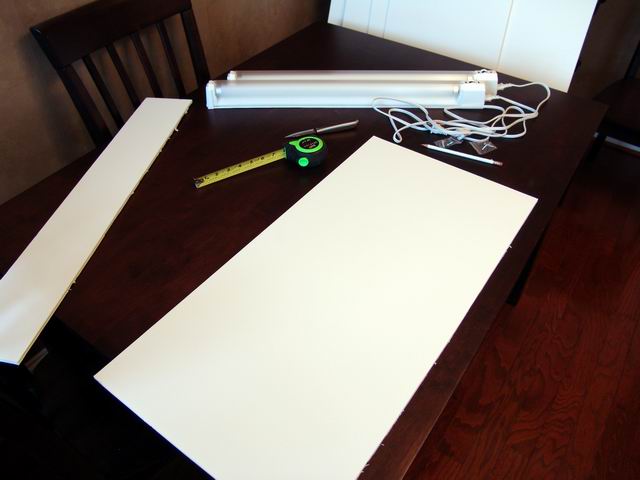
Then use another board to make a back side of the booth. Cut it at 15 inches high all the way. Do not discard the remaining piece of the foam board - we will use it later.
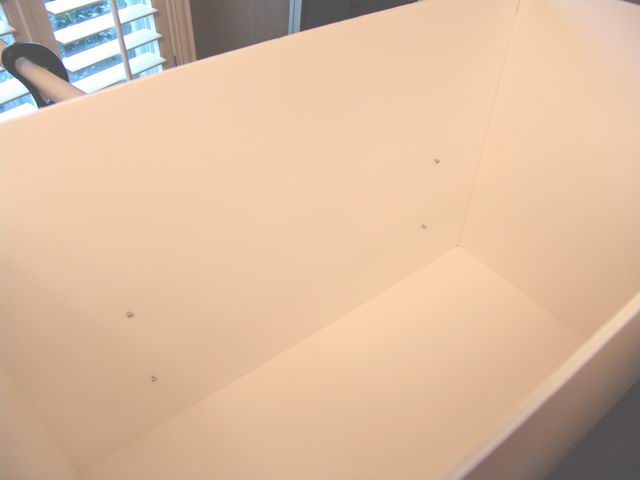
Now take another foam boards that you will use as a bottom of the box, and put wire brads (or you can use long staples) along the perimeter of the board.
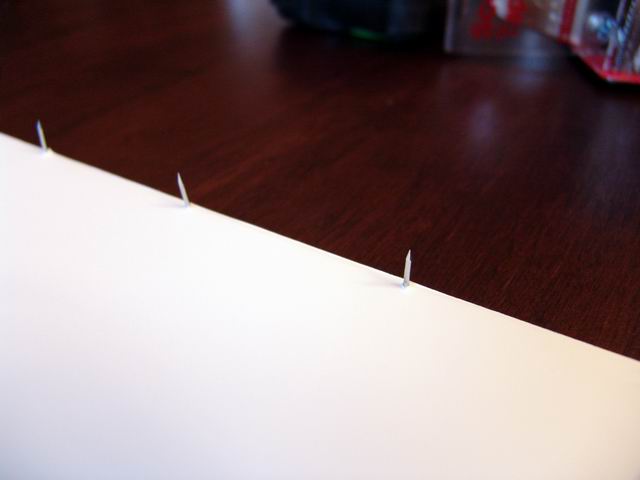
Apply a little bit of a CA glue and slide the sides of the box onto the bottom.
Then put the top on, and put more staples or wire brads in to hold it all together. Reinforce with CA glue.
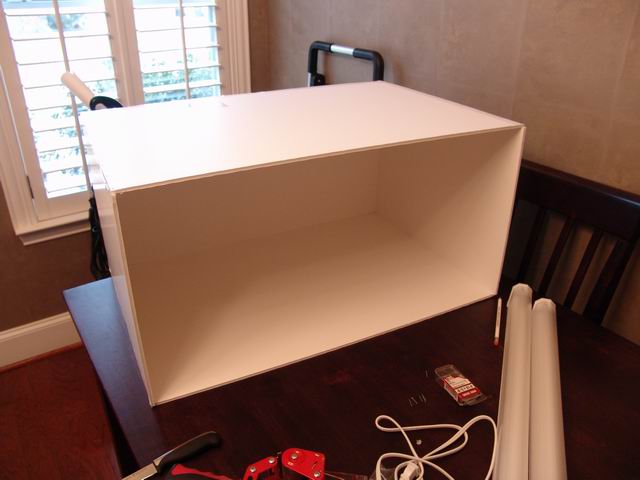
Finally, when the box is ready, run some packaging tape along the seams to reinforce the joints and make sure the sides fit snugly together.
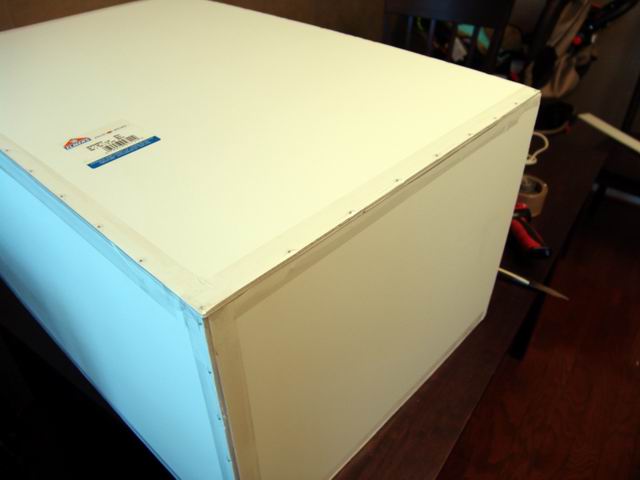
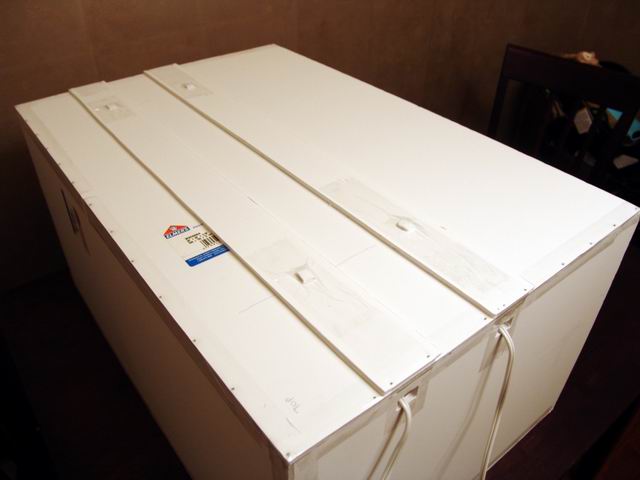
Now, cut that piece of the foam board left from the back side into two strips (lengthwise). This will be used as reinforcements for the lamp attachment screws. Glue the pieces to the top of the booth - one roughly in the middle, one closer to the back side of the booth.
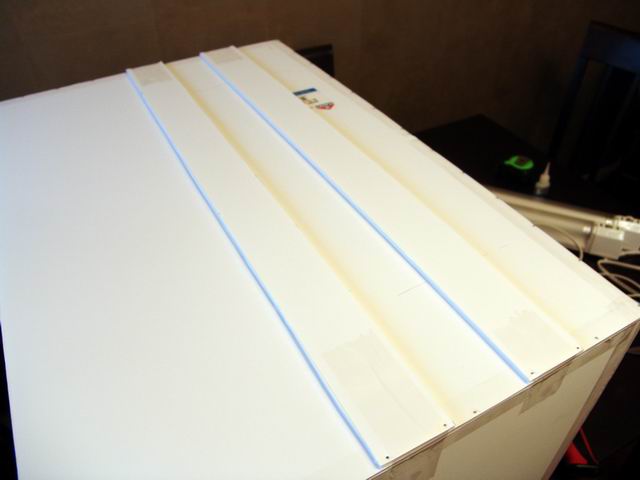
Mark the location of the lamp attachment points and make a hole in the boards with a pin - this is where the screws will go. Slowly screw in the screws (the screws come with the lamps), and after you done, put a drop of CA glue to make sure they are "set" in the boards. Mount the lamps.
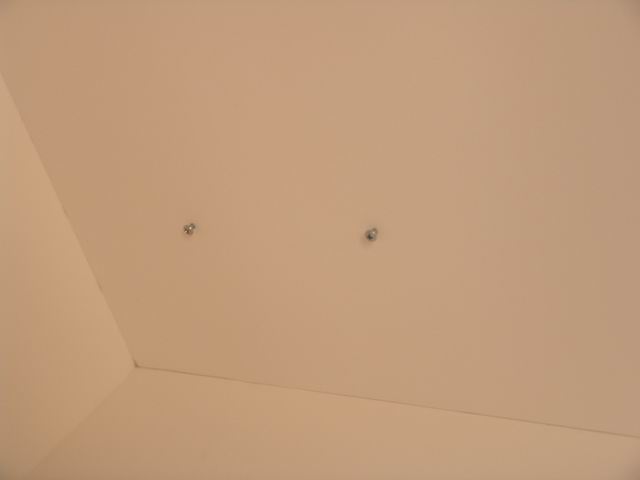
Use small pieces of foam that you cut out to run the power cables (see below) to make caps for the screws that are sticking out at the top. Run some tape to make sure they stay in place. Mount the lamps.
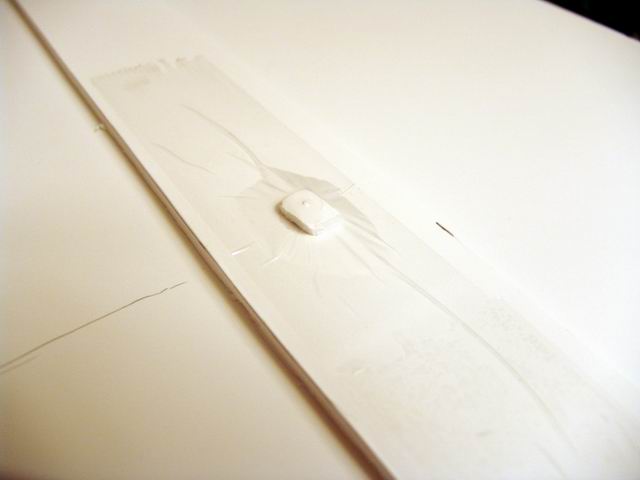
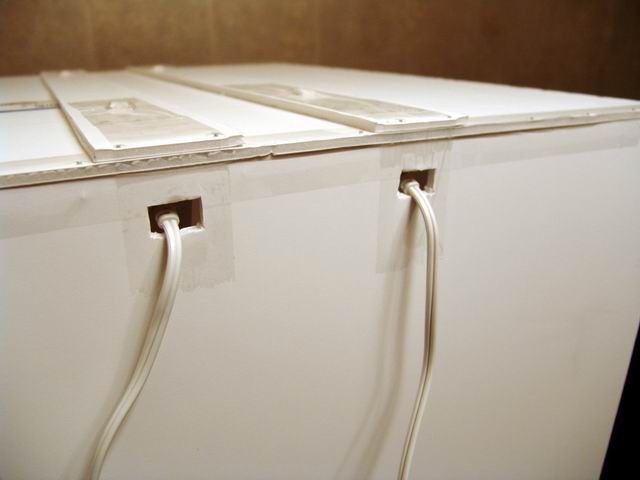
Cut the holes to run the power cables in the side of the booth and connect the to the lamps.
Run some tape over the reinforcements to make sure they are firmly secured in place. Not your booth is almost ready!
Plug the light in, turn them on, and shoot away!
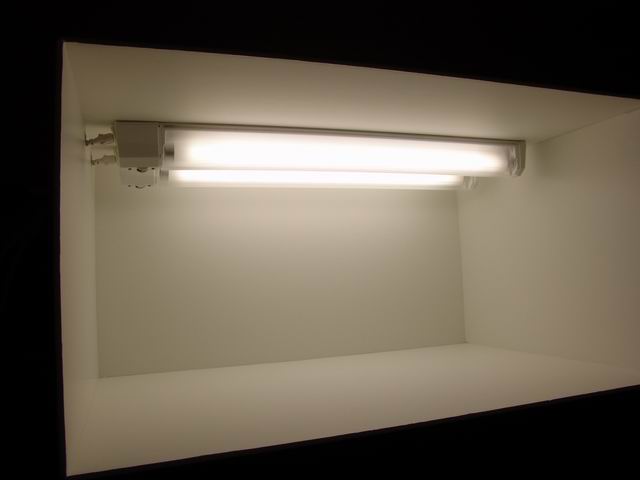
Here is a test picture I made using the booth (no other light in the room):

Copyright 2007 Alex Kustov. No copying or reproduction in any shape or form without written permission of the author.