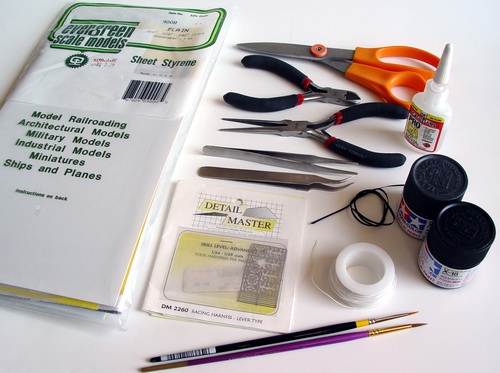
Materials and Tools Needed
One of the best ways to detail interiors is to add seatbelts! In this tutorial I will explain how to add good looking seatbelts for the front seats. The problem with the front seatbelts is that in most modern cars they are mounted on the panel between front and rear door (B-pillar), and most kits have no interior panels to attach the seatbelt bracket. To make a great looking seatbelts, you will need: some sheet styrene (get the thinnest, yet strongest styrene), scissors, side cutters, needle-nosed pliers, couple of tweezers, thin wire, belt ribbon (or other belt material), photoetched buckles, fast CA glue, some paint you used for your interior and a couple of fine brushes.
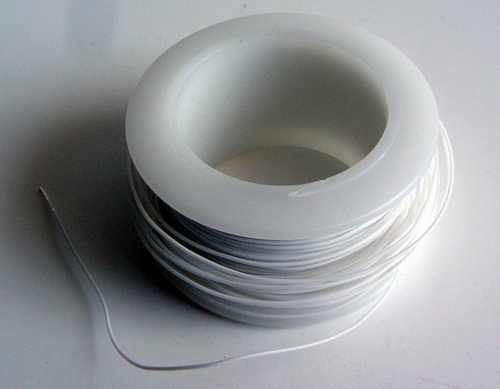
To make the bracket I used thin wire from Radio Shack. It has a million other uses in modeling, so I suggest you pick up a roll. I bought white, because its easier to paint it any color you want, although it doesn't really matter for our project. Cut about half an inch of the wire and strip the insulation.
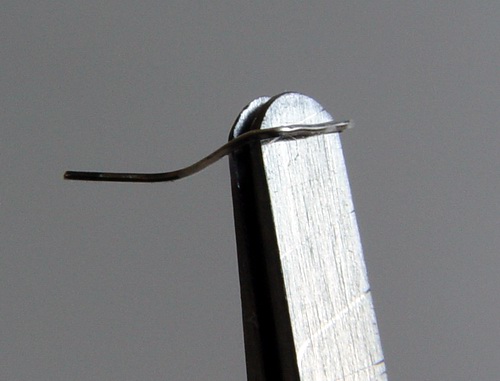
With your pliers, squeeze about 2-3 mm (1/16 of an inch) of the wire to a flat end.
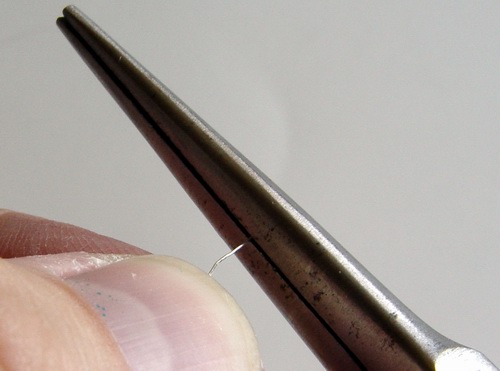
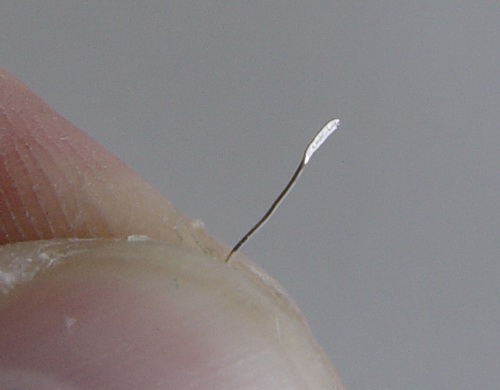
After you are done you should have something similar to this:
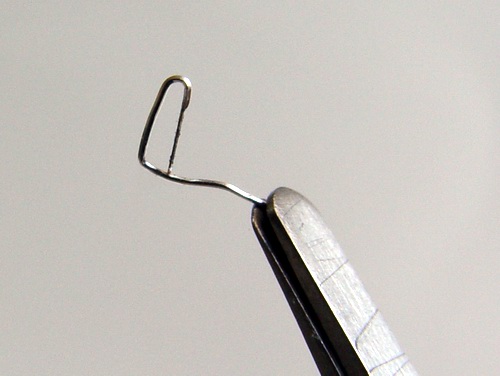
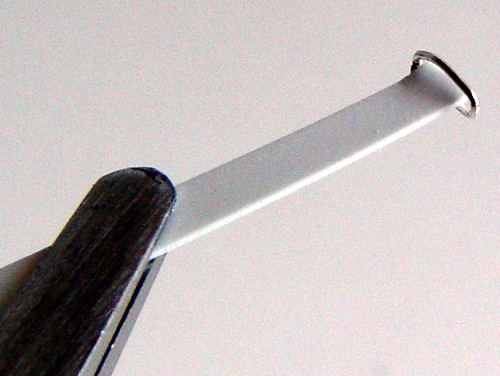
Then wrap the wire around some really flat tweezers, or any other suitable tool. Make sure flat end is inside the tweezers.
When you are done, carefully remove the wire from tweezers. You should have something similar to the shape on the picture - this is your belt bracket.
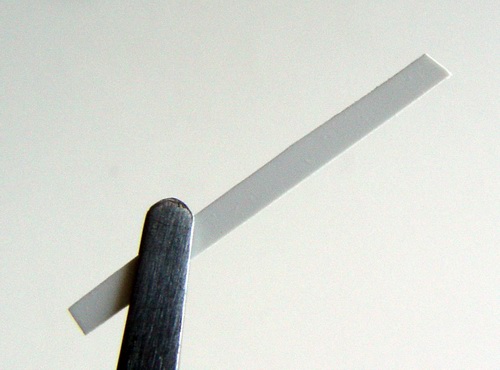
Then from sheet styrene cut a thin stripe (slightly thinner than the B-pillar of your model) with scissors, and trim the top at s slight angle (B-pillars are usually angled to the rear, and you want the top of your stripe to be parallel to the doorline).
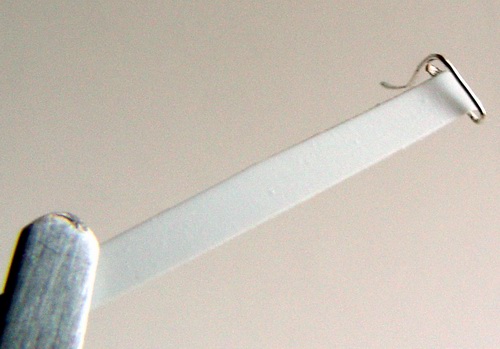
Then glue flat part of the bracket to the outside of the styrene strip with fast CA glue. After glue fully cures, you may add some more glue with a toothpick to reinforce the joint. This is what you should have at this point.
After the glue dried, carefully trim the wire with side cutters, and file the cut with the needle file or a sanding stick. Be careful not to break the joint. Now your seatbelt panel with the bracket is ready.
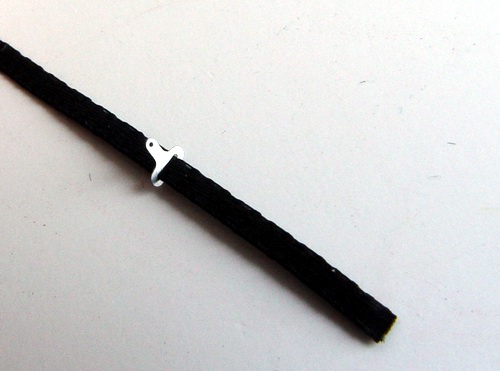
Take your favorite photoetched buckle (I used Detail Master buckles from racing harness set), and thread your favorite seatbelt material (I used 1/16 ribbon from a craft store) into the buckle. Leave enough of the ribbon from both ends - you will see why later.
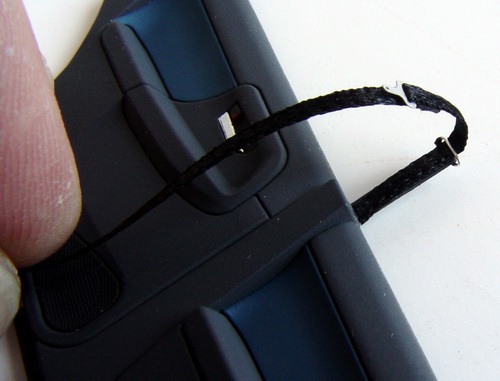
Now thread the upper portion of the ribbon into the bracket, and check if it can be moved freely in the bracket.
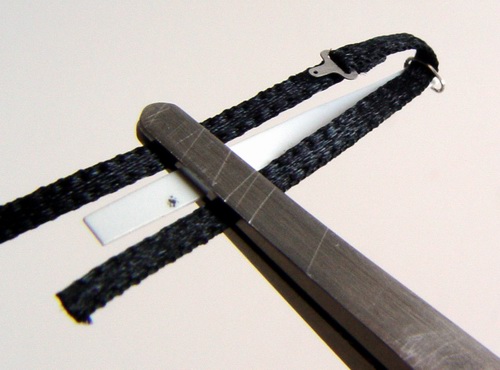
Holding the assembly with the flat-end tweezers, check the length of the ribbon - it should be long enough to reach the end of the door panel. Then trim the ribbon, and remove it from the bracket.
Using fine brush, paint the portion that will be visible with the same paint you used for the interior (door panels). Make sure you paint both sides, but leave the bottom area free from paint - you will use it to glue the bracket to the door panel.

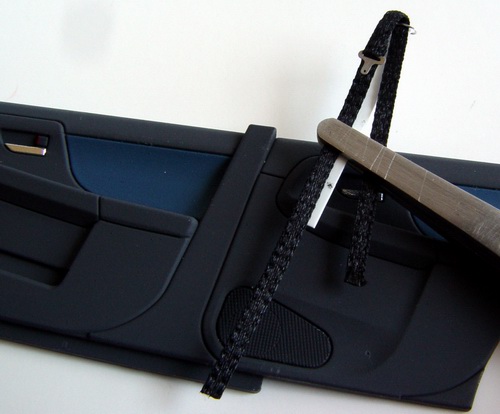
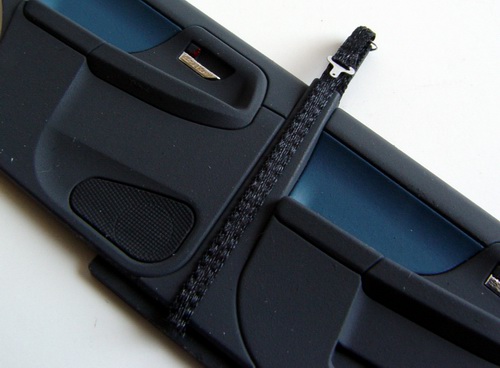
Thread the ribbon back into the bracket, and glue the bracket and the ribbon to the outside of the door panel. You may have to cut a little groove in the door panel if the fit between the door panel and the body is very tight. Before gluing the bracket, check the angle of the B-pillar on the body to make sure the bracket and the pillar aligned correctly.
Finally, glue the rest of the ribbon to the door panel, then trim the ribbon as needed. Glue the door panel to the interior, and then adjust the belt buckle and glue it to the ribbon with a little drop of CA glue (optional).
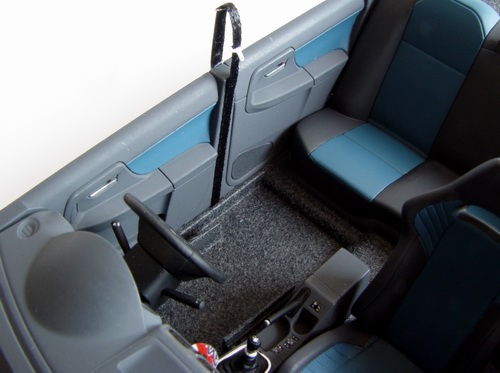
Here is complete assembly. When you insert the interior tub into the body, you may also glue the bracket to the B-pillar for more realism.

One more picture of the completed seatbelt. Now your model is equipped with some passive safety features!

Repeat all the above steps for the other side (below). Now you have great looking front seatbelts. Hope this simple technique will allow you to create more realistic interiors with little effort. Happy Modeling.
Copyright 2004 Alex Kustov. No copying or reproduction in any shape or form without written permission of the author.