How to Make Window Masks
Materials and Tools Needed
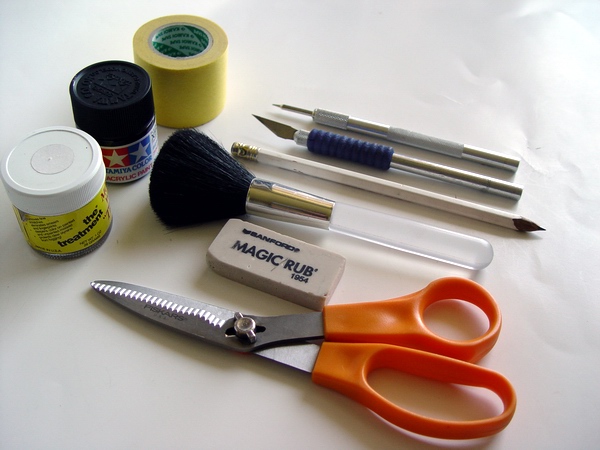
To make your own window masks you will need several simple tools and materials: hobby knife with new sharp blade, HB pencil, soft white eraser, scissors, burnishing tool, duster (or wide brush), some model wax, black paint, and most important - roll of Tamiya 40mm masking tape.
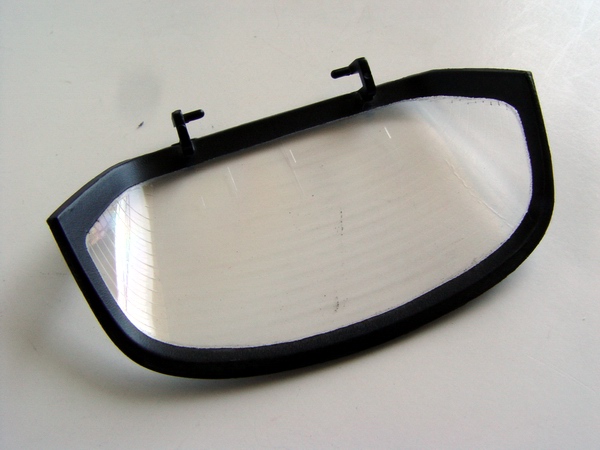
I will show you how to make your own window masks using the rear window from Tamiya 1/24 Acura NSX kit as an example. Cut the part off the tree, and clean attachment points with knife or sanding stick.
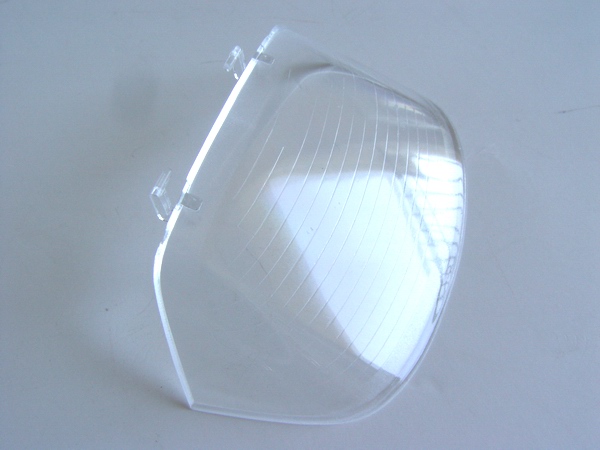
Most (if not all) kit windows that come without window masks, have frosted trim around them. This will be your guide for making a window mask.
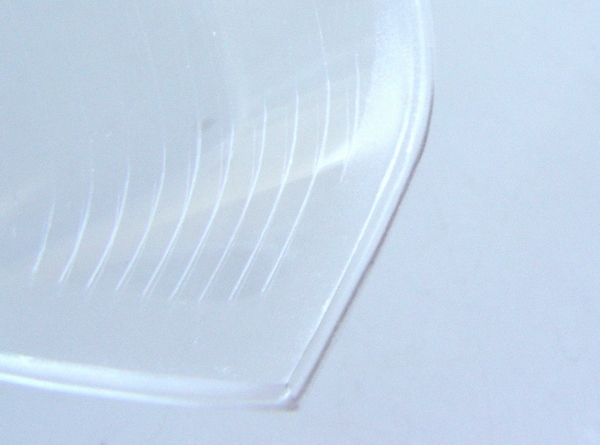
With soft (I use HB) pencil, carefully draw a line on the edge of the frosted area all around the window. The advantage of having plastic frosted is that you can actually write on frosted part, but pencil won't be visible on smooth (glass) part of the window.
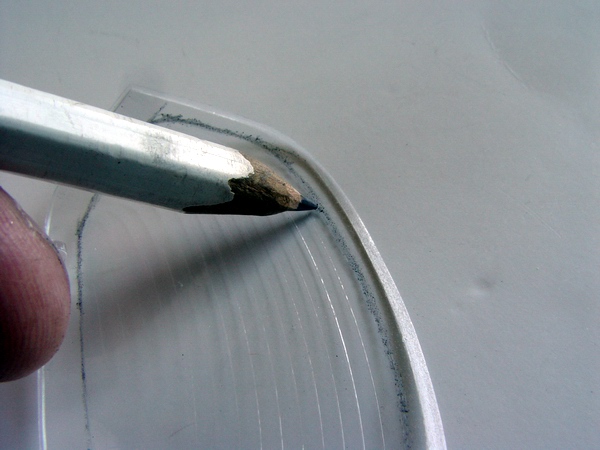
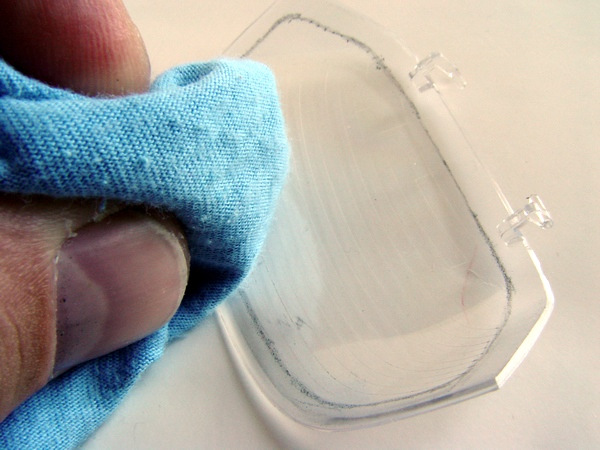
After you marked entire window, use a soft cloth to wipe the excess from the glass area. Do not worry if you erase some of the pencil, it still be visible. In fact, you will need an eraser to fully remove the pencil after the work is completed.
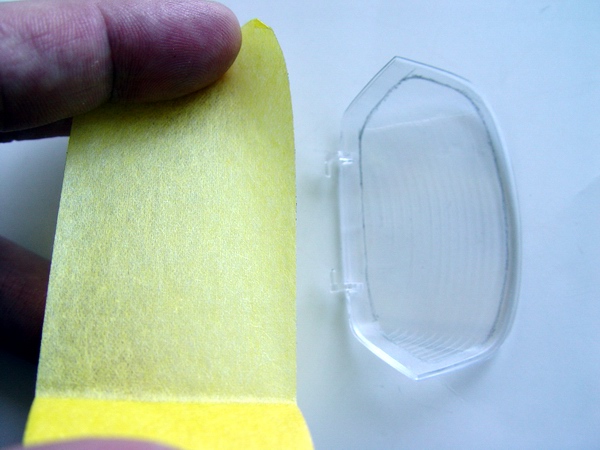
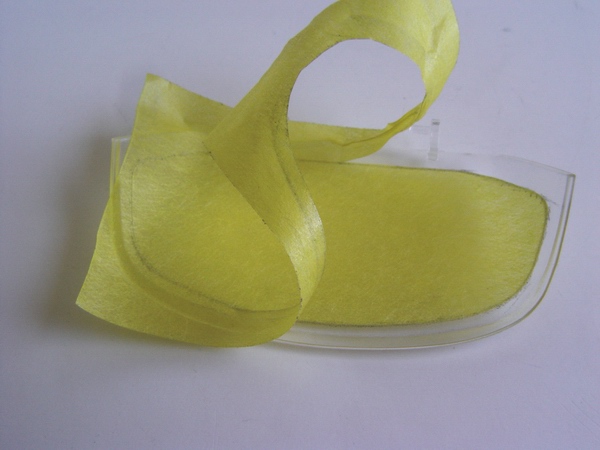
Cut a piece of the 40mm Tamiya masking tape the length of your window. I use 40mm tape cause it easily covers entire window. Yyou can use other, narrower tapes, but make sure its Tamiya, or similar semi-transparent tape. Carefully stick the tape to the inside of the window, making sure there are no ripples and wrinkles on the tape.
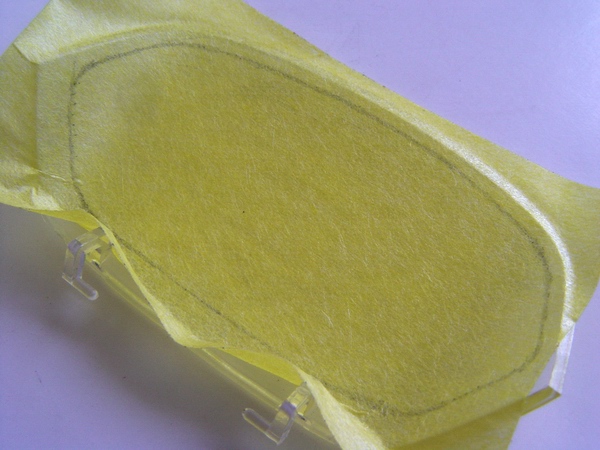
As you can see on the picture below, the pencil line is perfectly visible through the tape. With careful application, Tamiya tape conforms easily to almost any shape of the window without wrinkles.
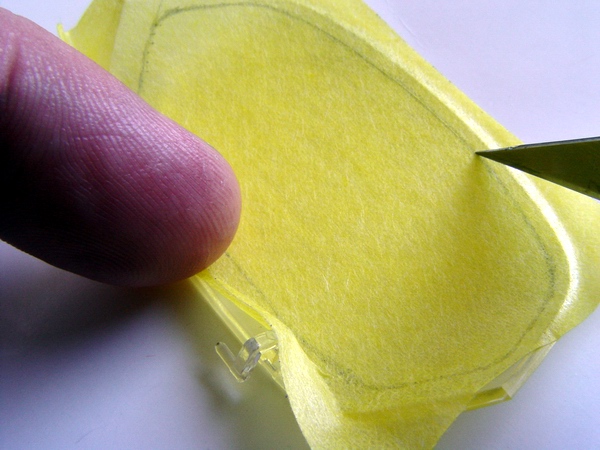
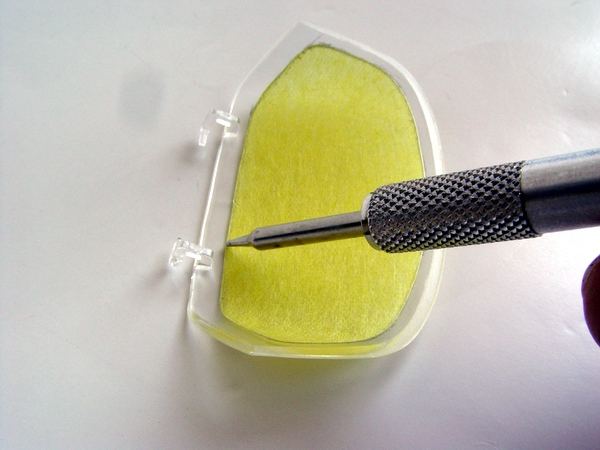
Using your knife with the new blade and steady hands, cut the tape along the line. Don't press the blade too hard to avoid cracking the window. Work slowly and be patient, this is probably the most difficult part of the process.
After cutting is done, remove the rest of the tape
With your burnishing tool (you may use a toothpick, just make sure its smooth and won't tear the edge of the tape) burnish the tape to the plastic. Go over entire edge.
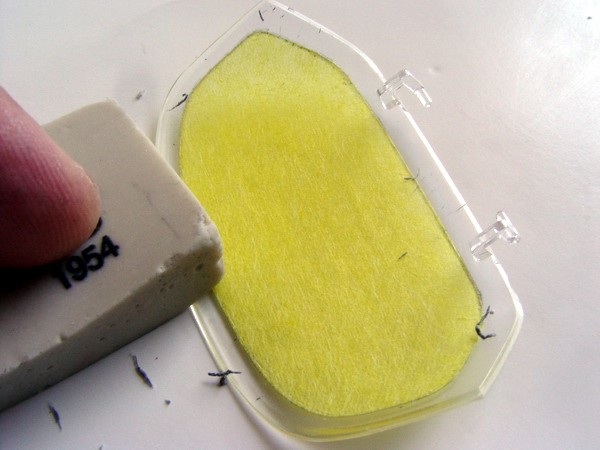
Then erase the pencil line with soft eraser, and clean the window with the duster.
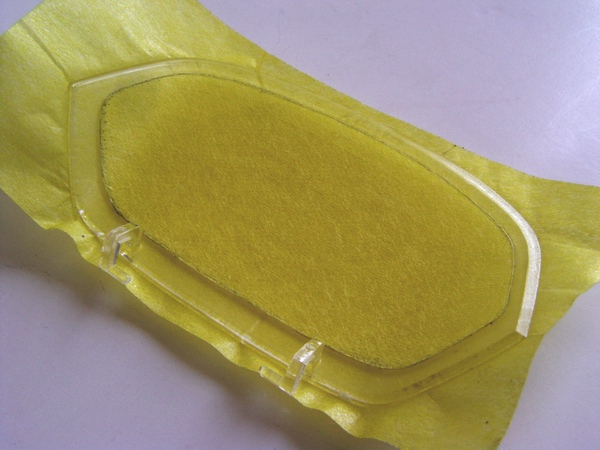
You now can go ahead and paint the trim with the brush, but if you prefer to airbrush it (I do), take another piece of 40mm tape and stick it to the outside of the glass. Burnish the edges with your fingernail.
Load your airbrush with some black paint (or you can use rattle can for this purpose), and spray the trim. When paint is dry to the touch, remove both outside and inside masks and let the paint cure completely for 3-4 hours.
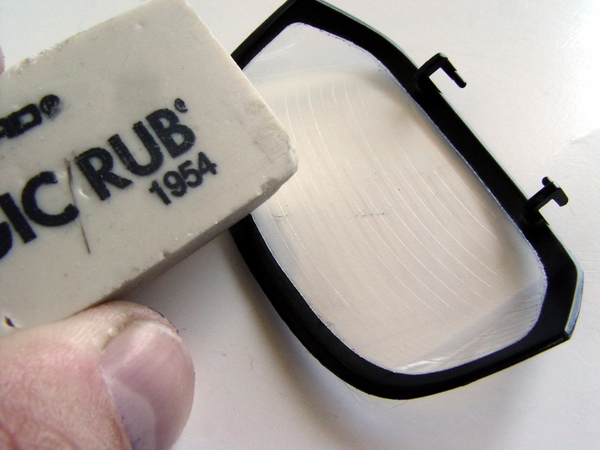
When the paint is completely dry, erase the rest of the pencil with eraser. Glass surface may become slightly dull after erasing (eraser is abrasive), but the shine can be easily be restored with some model wax or fine polishing compound.
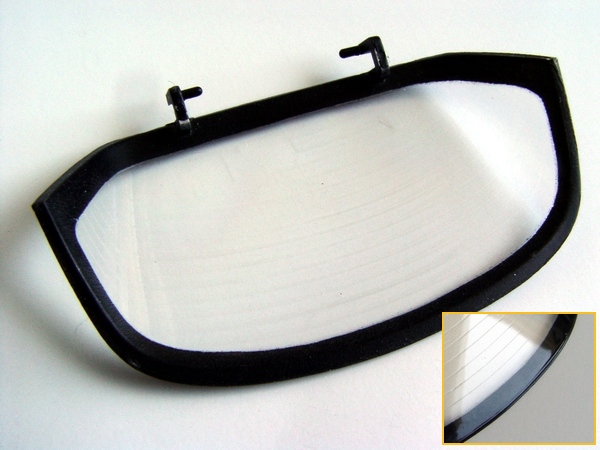
Finished window looks very realistic - accurate window trim and crisp lines will result in great looking model.
Happy modeling!
Copyright 2004 Alex Kustov. No copying or reproduction in any shape or form without written permission of the author.