F e r r a r i 288 GTO
 |
 |
 |
|
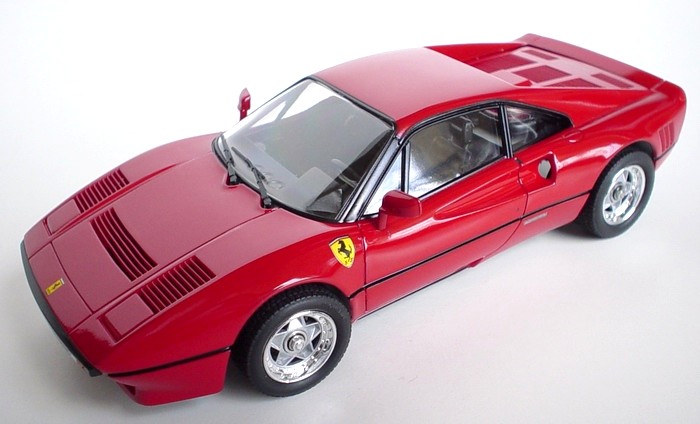
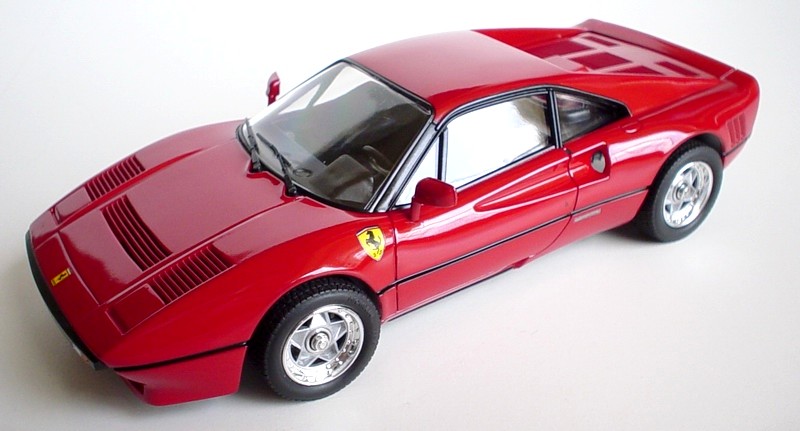
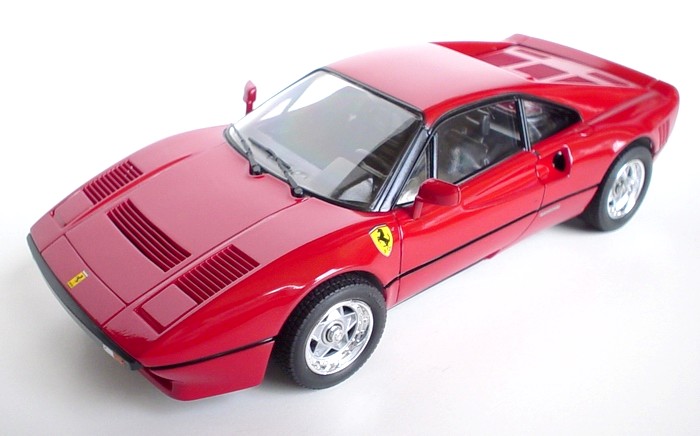
Kit: Italeri Ferrari GTO, #652 Pros: Good body proportions, good parts fit, very nice details and engraving on the interior parts. Detailed engine and suspension. Good looking tires. Cons: Windows are too thick, clear parts were foggy in my kit. Rims are too wide, and do not fit as they should in the wheel wells, rear hatch has no hinge, extremely bad fit of exhaust parts. Like many Italeri kits of that period, this one is full of pinholes and sinkmarks, but nothing really serious. Verdict: With some work the kit builds into a very nice replica, and its an excellent choice for the price. If you are willing to spend more for Fujimi Enthusiast kit - it is much nicer and closer to the original car than this kit. |
 |
 |
 |
|
Model Details
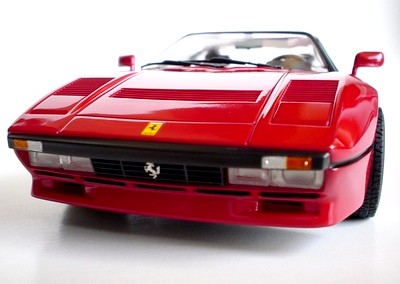 |
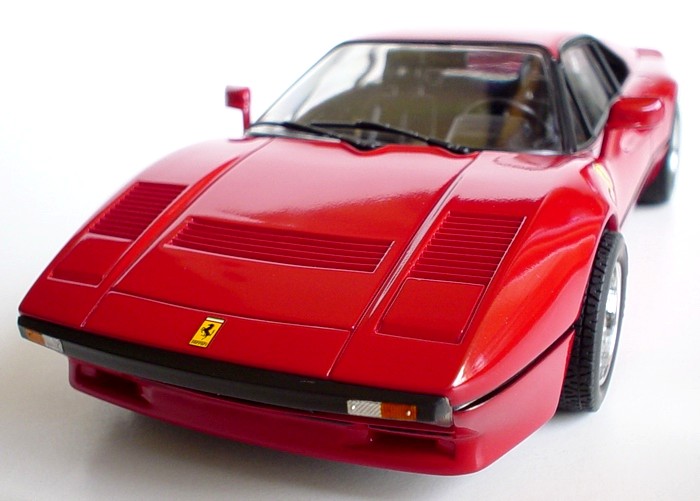
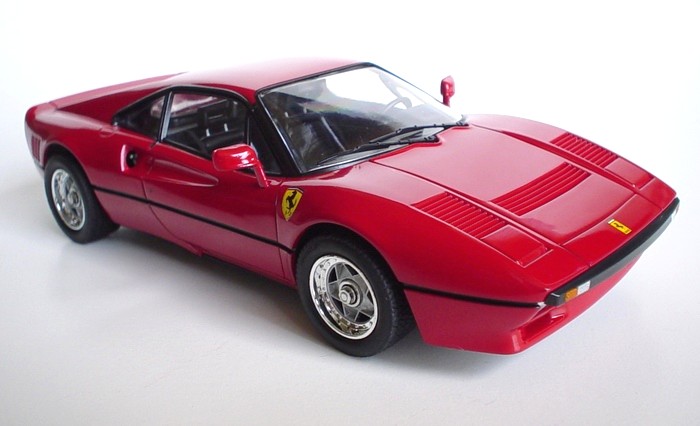
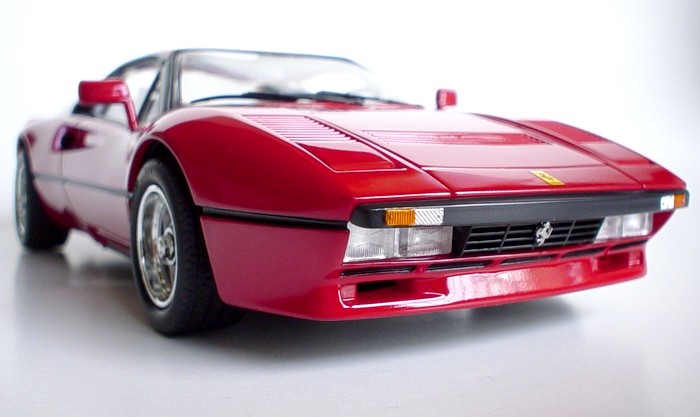
The front end gives the game away - its unmistakably GTO! Kit features nicely molded running lights and separate grille, but indicators are molded in the front bumper, so I painted mine with transparent Tamiya acrylics over a silver basecoat. The headlights molded lowered. |
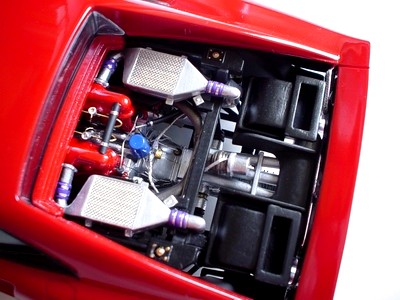 |
The engine is done really good, and with some additional detailing will look fantastic. I added several braided lines, wiring, hoses, mesh to the intercoolers, BMF clamps, black wash to the engine block, and other small details to the kit. I used several books on Ferrari as a reference. |
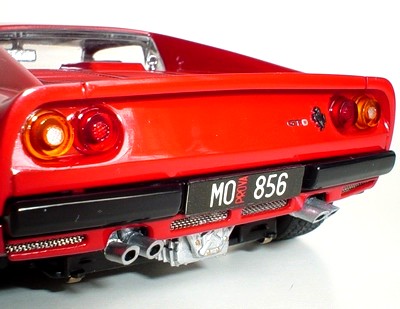 |
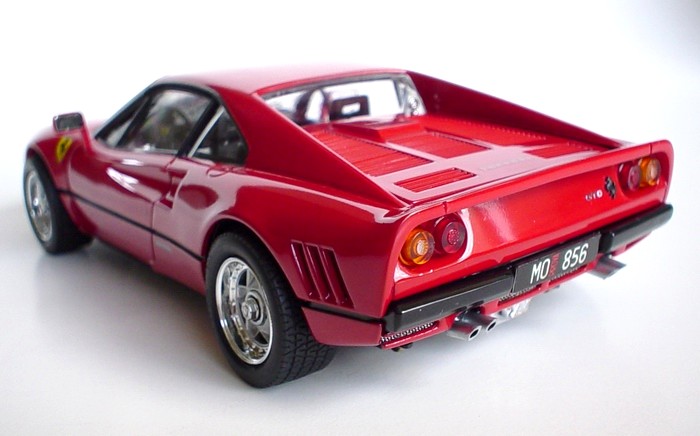
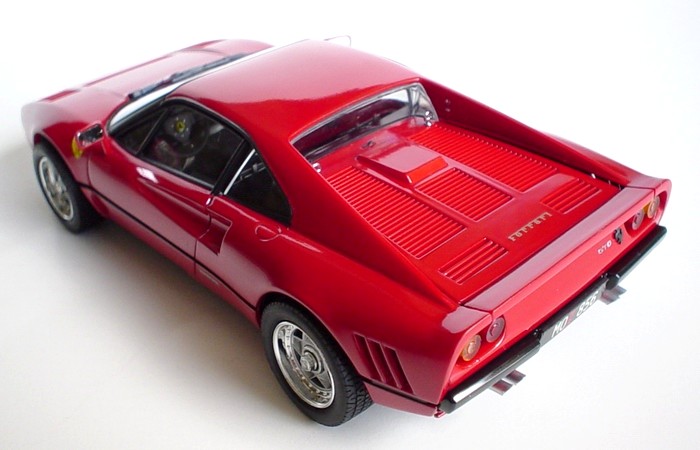
The rear end has some nice detailing, plus I cut open the plastic mesh and attached a fine metal mesh from the inside. Black Cavallino is a separate plastic part, but it needs to be thinned down since its too thick. Taillights were painted with Tamiya transparent paints. |
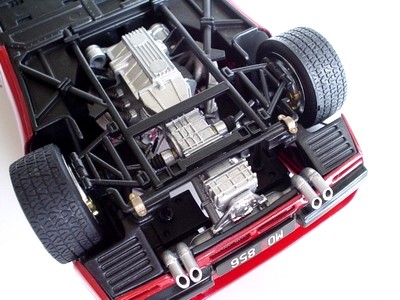 |
Rear suspension is very detailed, with separate sub-frame, A-arms, anti-roll bar, and several other parts, but it is full of pinholes. It took a while to fill them all. Brake disks are thin and have engraving on the rotors simulating the brake pads scratch marks. Kit exhaust tips were cut off and substituted with plastic tubing and painted flat black inside. |
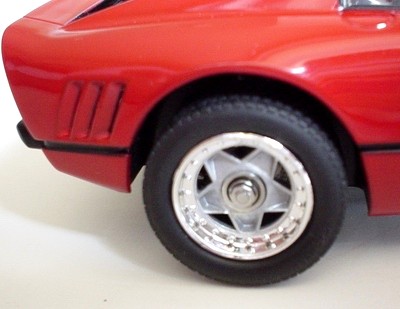 |
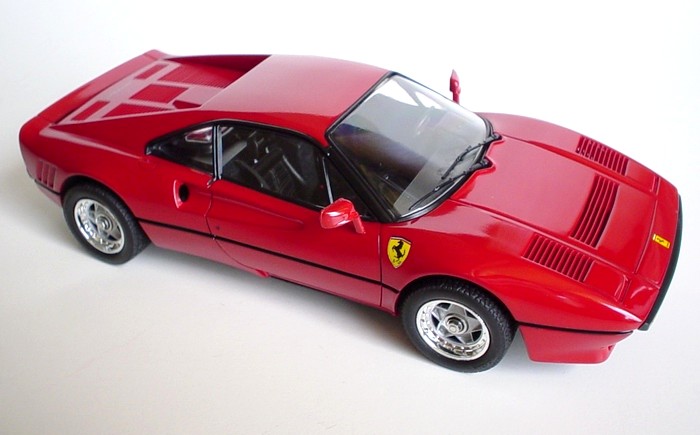
This kit has really nice wheels, but unfortunately they are too wide to fit properly inside the wheel wells. The rim has a separate chromed lug nut, and I also painted center aluminum and left chrome lip, like on some real cars. Rear heat extraction slots are molded open, and its a very nice touch. |
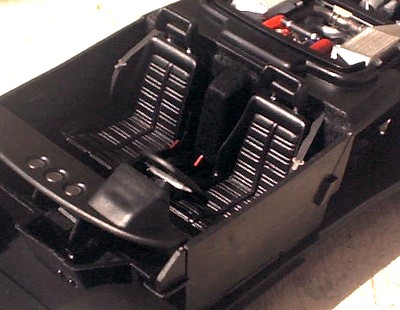 |
The interior was build almost box stock, except some flocking, and seatbelts with photoetched buckles and plastic retainers. I also cut off the plastic rods that support the headrests and used thin wire to make new rods. Seats were glued on the different distance to the dash, and I also added some Detail Master gauges with PE frames to represent small clocks in the middle. |
|
The body was painted with Model Master Guards Red enamel, interior and chassis was sprayed with flat black enamel from a can (WM brand) and detailed with different enamels from Testors and Model Master. The building process is very straightforward, and Italeri instructions give you relatively correct color guide and are easy to follow. With some additional detailing, new wheels, and some patience, this kit could be built into amazing replica, but it also looks good built straight from the box. For a more detailed model, with opening front bonnet, spare wheel, and great interior detail, I would suggest getting a Fujimi 288GTO kit. |
Copyright 2003 Alex Kustov. No copying or reproduction in any shape or form without written permission of the author.