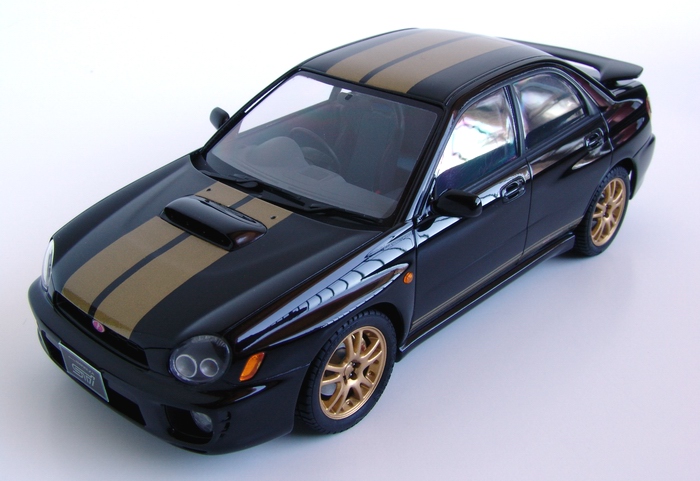
Subaru WRX STi "Hertz" Edition
 |
 |
Kit: Tamiya 1/24 Subaru WRX STi, kit #24231 Pros: Traditional Tamiya high quality kit, crisp moldings, very light mold lines, no flash. Nicely molded and accurately proportioned body, correct size gold plated wheels and calipers, adhesive masks for windows, metal transfers for all badges and mirror faces, tinted taillights and turn signal lenses, soft rubber tires with authentic thread pattern. Nicely detailed interior. Great fit of all parts, no problems with assembly whatsoever, the kit just falls together. Good and easy to follow instruction sheet with correct color guide. Another great example of exceptional Tamiya engineering. Cons: Curbside. Simplified one-piece chassis, all details are molded together and extremely hard to detail-paint. Metal axles and limited suspension and brake detail. Too much clear carrier film around decals (requires careful trimming for all small decals). Verdict: The model started as a quick build to get some rest from my super-detailed projects, but I had to re-paint it 3 times (paint problems), then I lost interest, then I decided I don't like the color, then something else. Eventually, when I have finished it (some 4 months later), it looked nothing like I wanted it to be in the beginning, but I liked it that way even more. The kit is pretty straightforward, and very easy to put together. It will look spectacular if built right out of the box, and due to simplified construction and small number of parts shouldn't take very long to finish. Will little additions, it can be built into very life-like replica, and highly recommended to modelers of all skill levels. |
 |
 |
|
 |
 |
Buildup
This buildup was also published in Model Cars October 2006, #117, Hertz Subaru STi
This buildup was also published in Tamiya Model Magazine International July 2007, Issue 141, Killer Hertz
 |
After messing up and stripping paint on the body 3 times, I broke an A-pillar. I had to reinforce it with thin brass wire before continuing. Anyway, the body was prepped, and sprayed with 2 coats of Tamiya gray primer. |
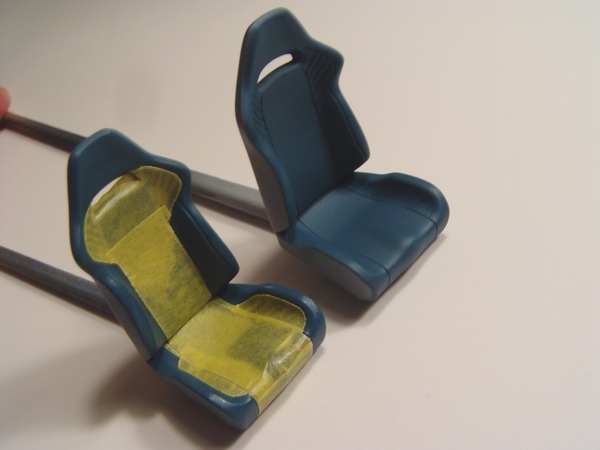 |
After some cleanup and a coat of gray primer, front seats were also sprayed with custom blue mix and masked for the second color. Masks were carefully burnished to the seats. |
 |
I did the same thing to all other body parts. After being submerged in stripper few times, plastic became somewhat etched, and required 2 coats of primer, and some light sanding before painting. |
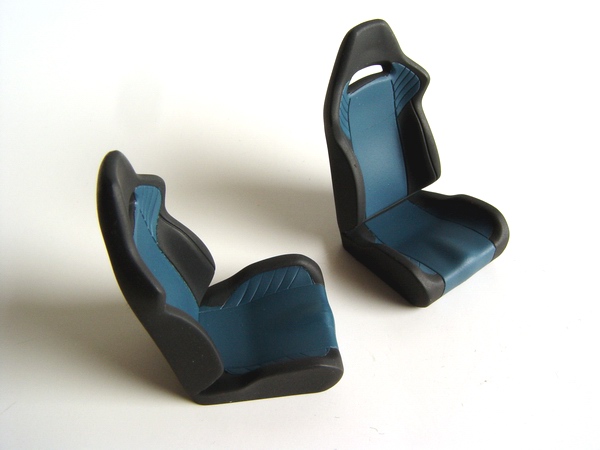 |
Then I sprayed two light coats of German gray and removed the masks - seats required a bit of careful touch up, but looked good! |
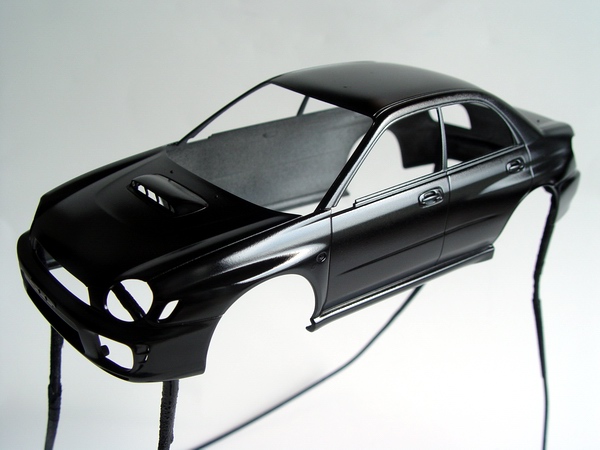 |
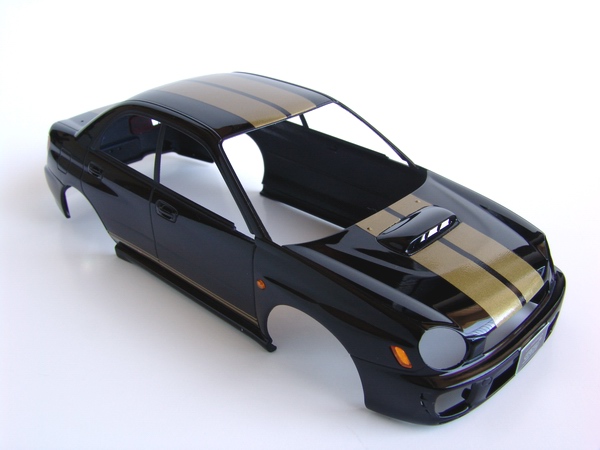
Finally, when primer was dry and smooth I shot 3 mist coats of Tamiya gloss black through the airbrush until the primer was completely covered. |
 |
The rest of the interior also received two light coats of German gray, plus new carpet and some Detail Master flocking on the package shelf as well. |
 |
After two more wet coats, and a week of drying I polished the body and all body parts with Tamiya Fine polishing compound and waxed the paint with Last Detail's Treatment model wax. Finally! |
 |
Door panels were cleaned, primed, painted blue, then masked and painted German gray. |
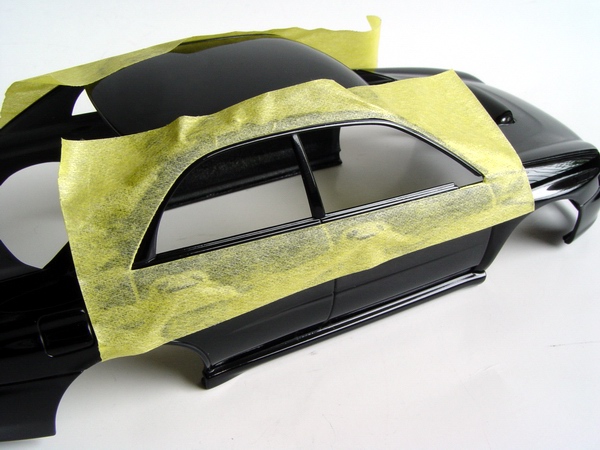 |
Even though the body was black, I still wanted to do an authentic looking finish for the window trim. So I used 40mm Tamiya masking tape and masked the side trim, and later front and rear window trim too. |
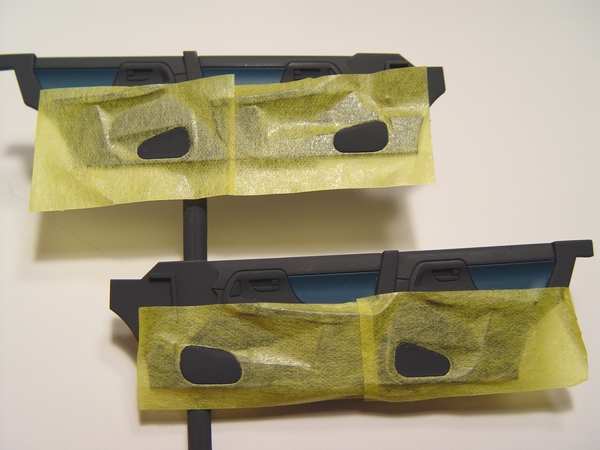 |
Speaker grilles were masked off and sprayed with a mix of German Gray and some semi-gloss black (to darken the gray a bit). |
 |
After cutting the tape, I burnished the edges really well with a toothpick, and painted the trim with Tamiya flat black. |
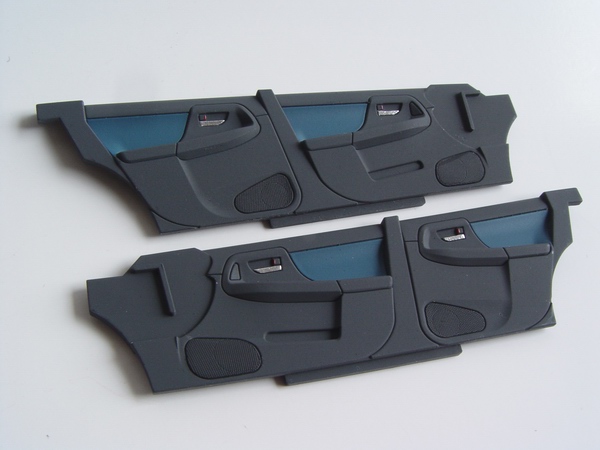 |
Then I applied tiny strips of Bare Metal Foil to the door handles, and painted the locks red. |
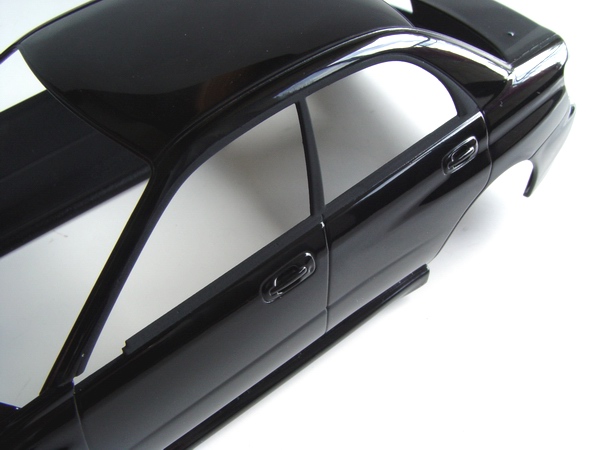 |
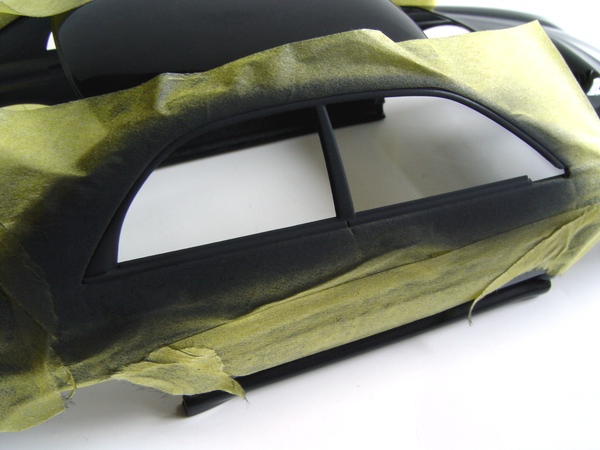
As you can see on this picture, even though the trim is barely visible, it adds a lot of realism to the model. |
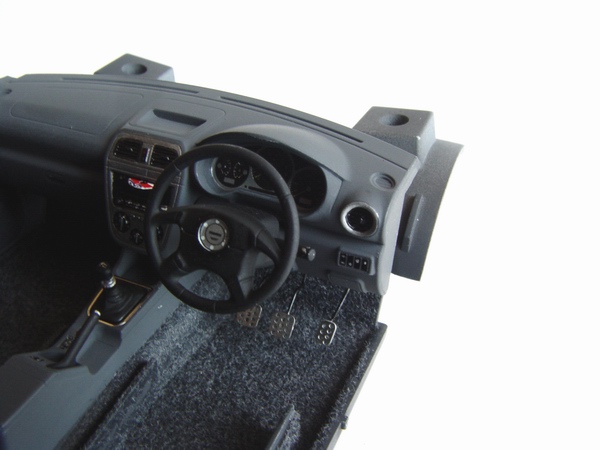 |
Dashboard was glued into the interior tub. I had to adjust the pedals to fit the foot well! I also added hand brake and a shifter with some BMF detailing to the central tunnel. |
 |
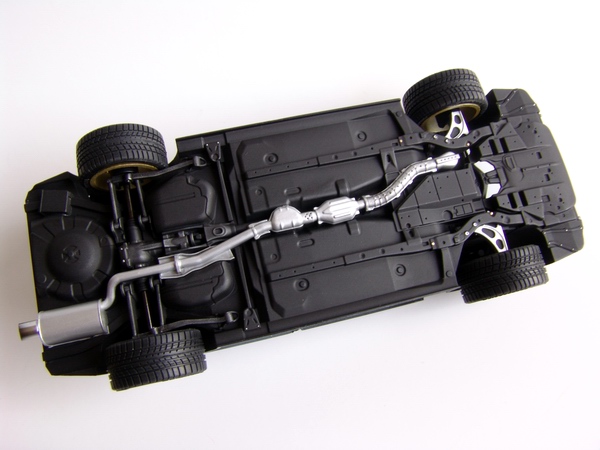
One of the most disappointing parts of this model is its one-piece chassis. Everything is molded together - exhaust, front and rear suspension, gas tank, even the muffler. I carefully sprayed it with gray primer, then painted semi-gloss black. |
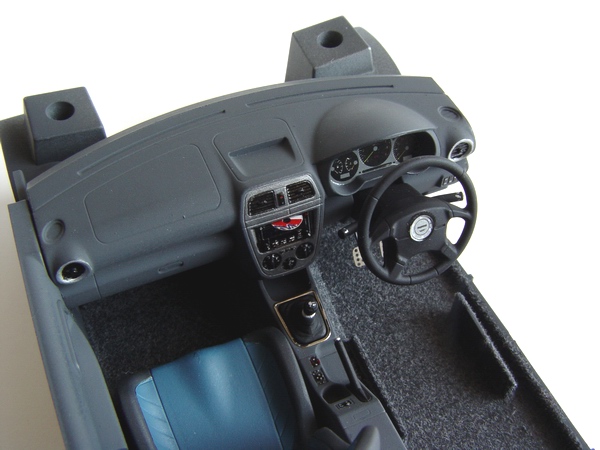 |
I took this picture before final installation of the door panels. Interior looks quite real from this angle. |
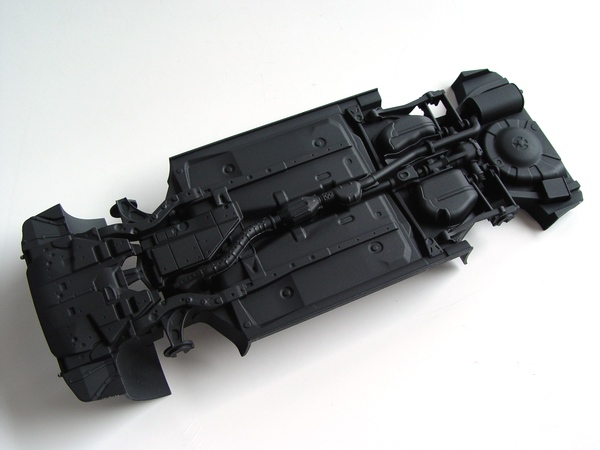 |
The chassis is very hard to detail-paint, and that is one of the reasons I chose black for the body color (otherwise chassis needs extensive masking, because some of its areas should be painted body color, and if its black - its all black). |
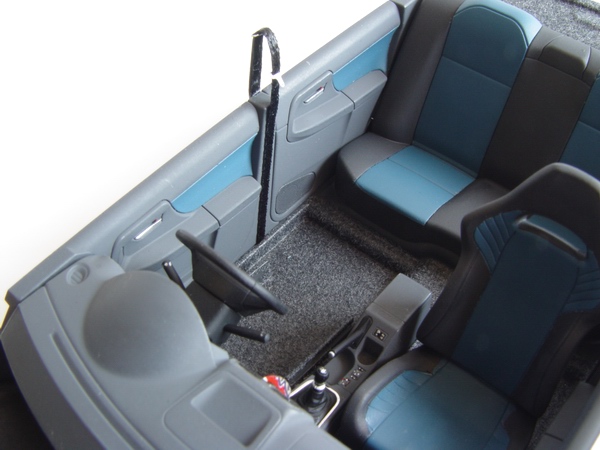 |
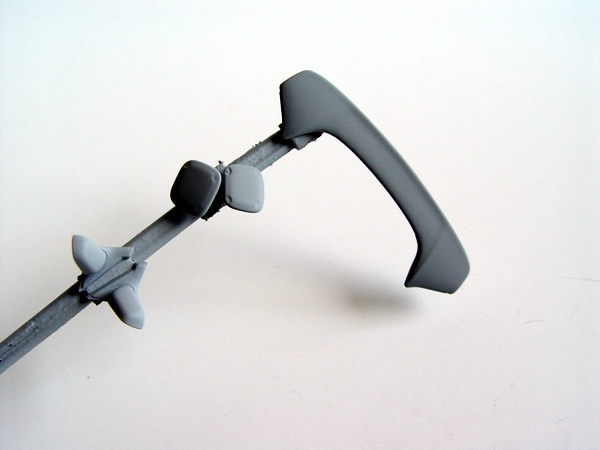
Finally, I added seatbelts made from thin cloth ribbons and Detail Master photoetched buckles to the door panels, with the help of some scratchbuilt panels and brackets as shown in this tutorial. |
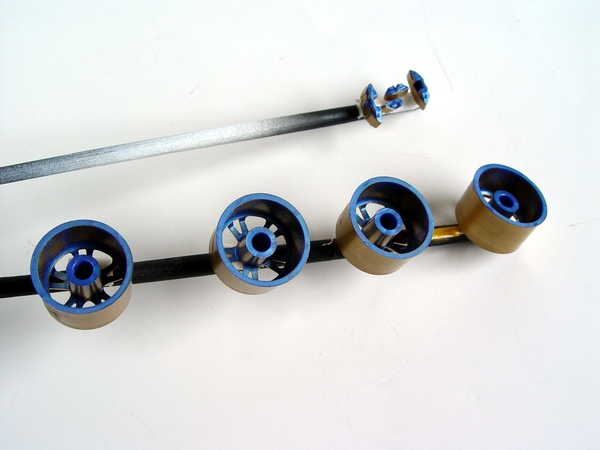 |
Rims and brake calipers supplied as gold-painted parts in the kit. The problem is that they are painted only from one side, and you can see bare plastic on the other side. I decided to remedy this situation. |
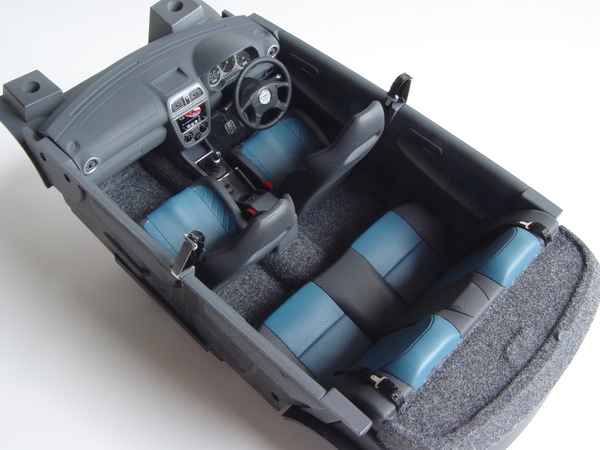 |
I also added scratchbuilt front seatbelt retainers, and rear seatbelts. All parts of the interior were then assembled together. Driver's seat was glued a bit closer to the dash for additional realism. |
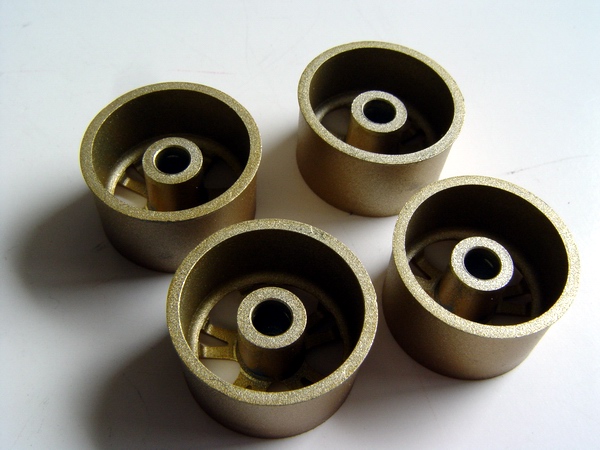 |
Custom mixed Tamiya acrylic paint was sprayed on rims and brake calipers, and covered bare spots perfectly. |
 |
Instructions call for very intricate painting with flat black paint inside the headlight bezels. Its not easy to paint over chrome plated surface, so I decided to do it the other way around. |
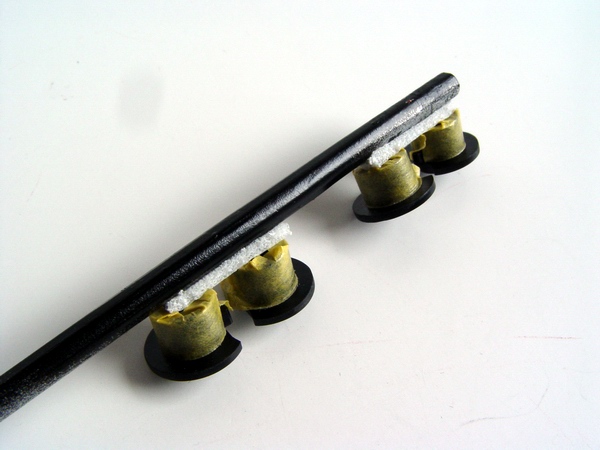 |
Brake disks are very simple moldings. They were painted black, then masked, and sprayed with Testors aluminum metalizer. When paint was almost dry, I lightly buffed it to introduce light scratches to the rotors and added the calipers. |
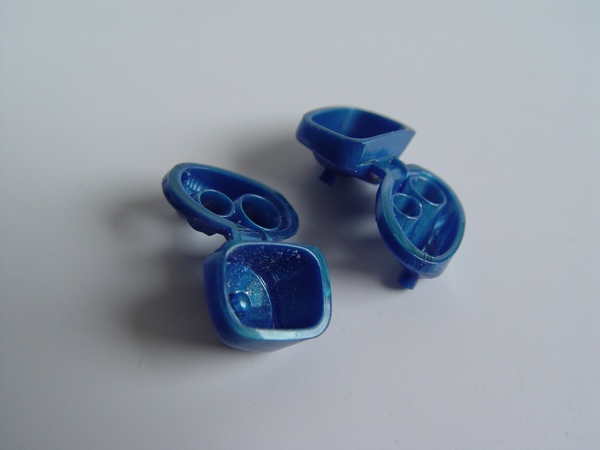 |
I stripped the bezels off the chrome plating with Castrol Super Clean, and painted them black. Then, I carefully painted reflectors with chrome paint and installed the lenses. |
 |
Then I painted exhaust and muffler, attached brakes and wheels, dry-brushed some of the suspension parts with a mix of black and gunmetal wash (for additional detail) and picked out all the nuts and bolts with metalizers to bring the chassis to life. |
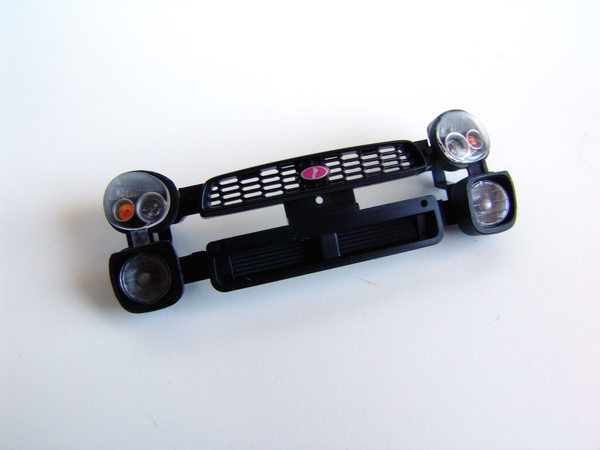 |
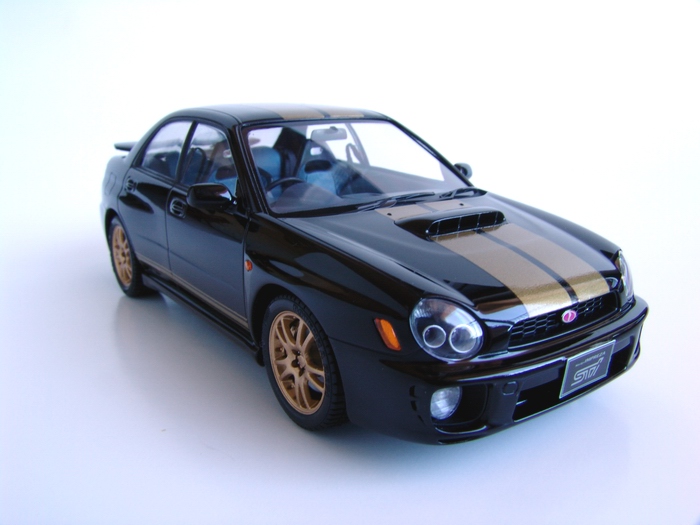
Then bezels were installed in previously painted front grille assembly, and topped off with light covers and Subaru emblem decal. |
 |
Kit exhaust tip was substituted with bigger diameter polished aluminum tubing that was glued to the muffler and sprayed with highly diluted flat black. The effect of a "used" tip is quite convincing. Moving to the interior. |
 |
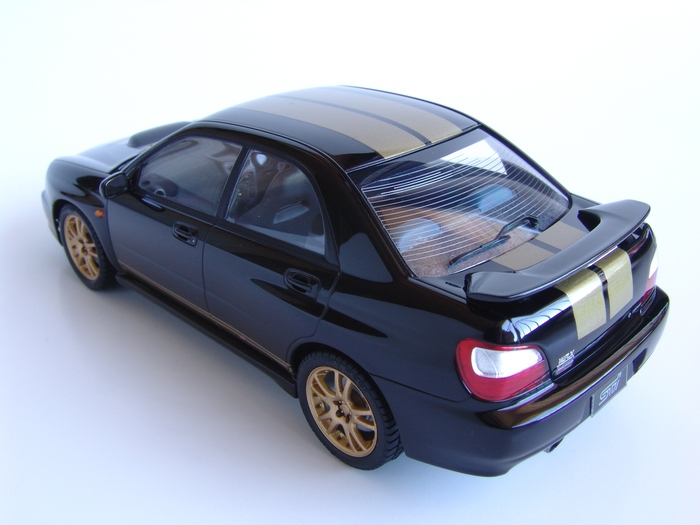
Tamiya provides reflective stickers for the taillights, but I found them very hard to apply to curved surfaces, so I used BMF instead - it conforms much better. Clear portions of the taillights were just stuck to the BMF adhesive without any glue. |
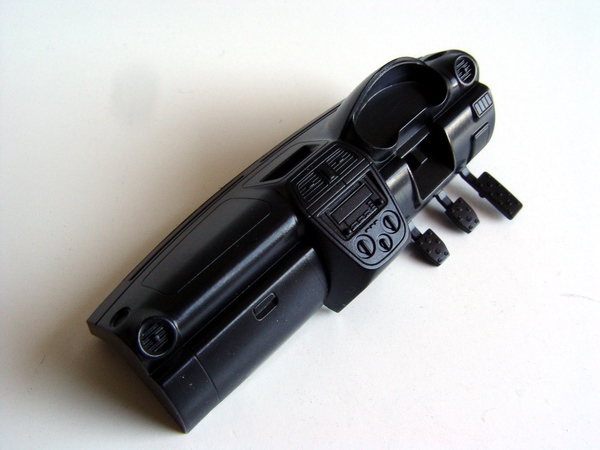 |
The dashboard was cleaned and painted semi-gloss black. I also cut off the pedals since I wanted to replace them with photo etched Detail Master pedals. |
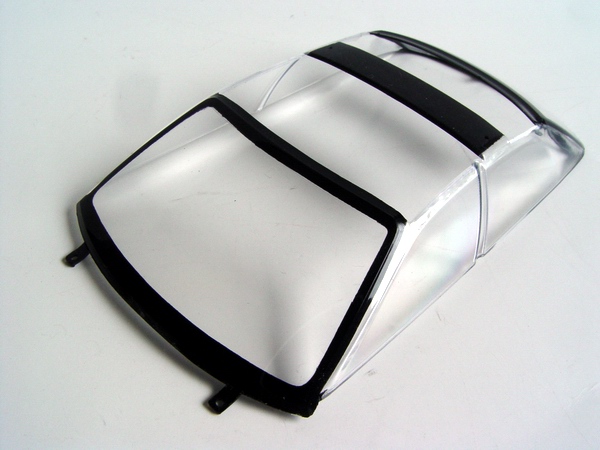 |
Windows were masked with provided masks, then with 40mm Tamiya masking tape, and sprayed with some flat black from the inside (I use flat black because it dries faster). Tamiya window masks are really great and always provide excellent results. |
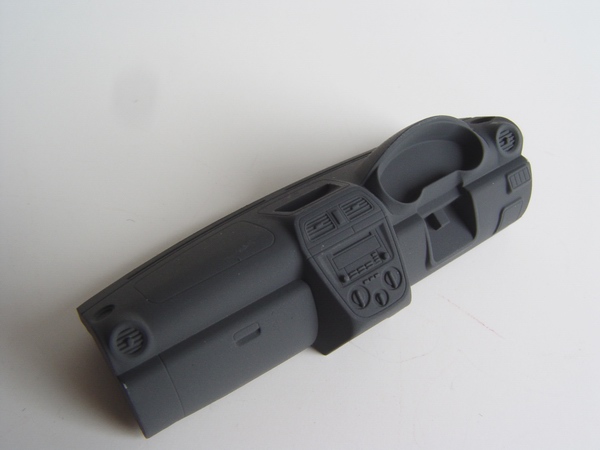 |
After the "surgery", dash was painted with XF-63 German gray, since that was the color that I chose for the interior and it was close to the reference pictures that I had. Central console and vents were painted black/ gunmetal. |
 |
And this is where I changed my mind. I wanted a plain black model, but after test-fitting it was not looking right. I tried few different paint schemes on my computer, but all were too weird. Then I saw a black Monogram Mustang "Hertz" edition kit in my closet. |
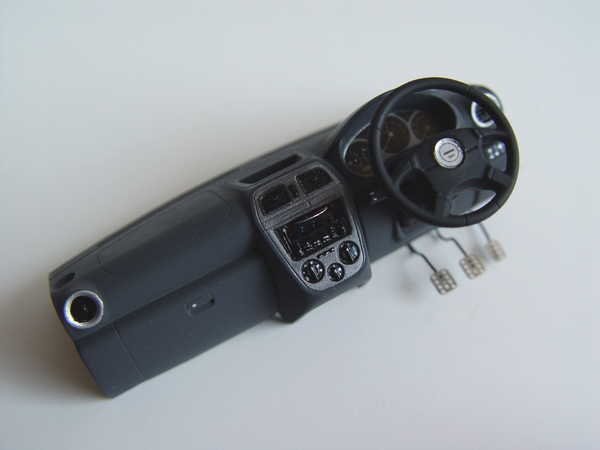 |
Then I added photo etched pedals, steering column and a wheel, instrument cluster, a CD made from aluminum can, and detail painted all the knobs and controls. |
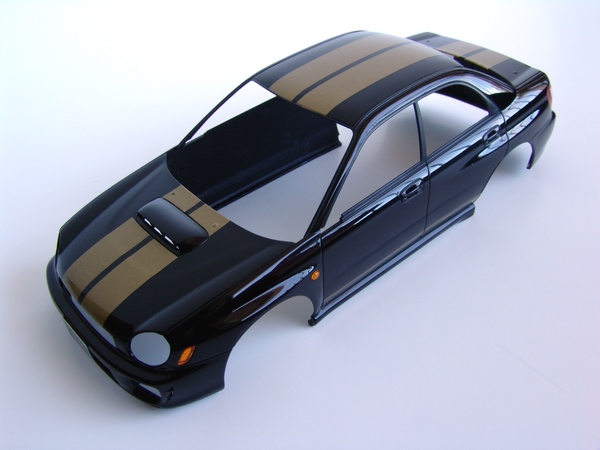 |
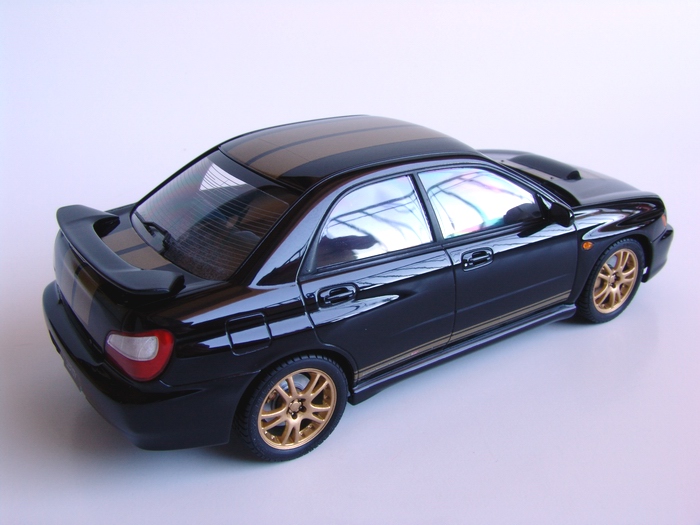
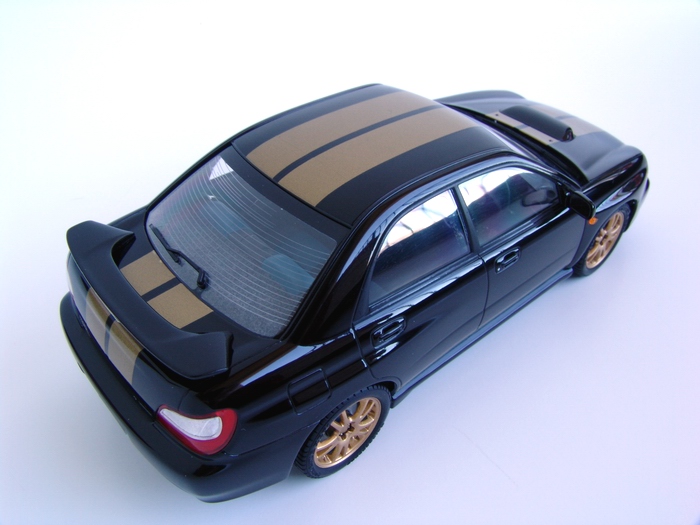
This was exactly what I was looking for! With careful cutting and lots of Microsol, I was able to put somewhat thick (gold color) decals on the body to make my own "Hertz" edition Subaru! |
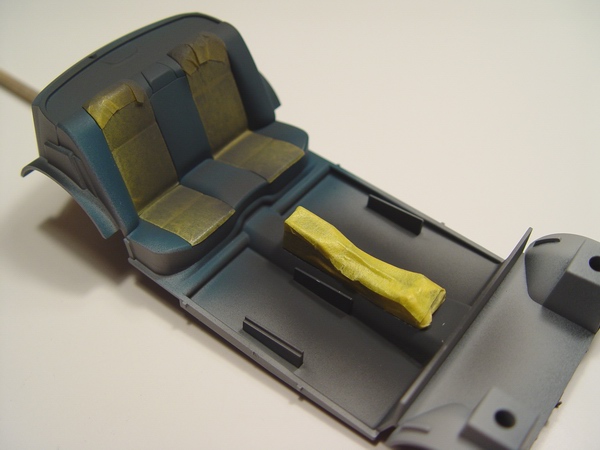 |
Interior was cleaned and primed, then I painted rear seats with custom mix of Tamiya X-4 Blue and XF-18 Medium Blue, and central console with German gray. Parts of the rear seat and central console were masked off. |
 |
When decals were dry, I lightly waxed the body, installed blinkers, lights, license plates and badges, glued in the glass, and assembled everything together. Stripes really look good on black and compliment gold plated wheels on this aggressive looking car! |
Copyright 2005 Alex Kustov. No copying or reproduction in any shape or form without written permission of the author.